1. Introduction
This manual provides essential instructions for the safe and effective installation, operation, and maintenance of your Technical Precision Replacement Ballast, model TP120-2/32. This product is designed as a direct replacement for the TOSPO TP120-2/32 ballast. Please read this manual thoroughly before installation and retain it for future reference.
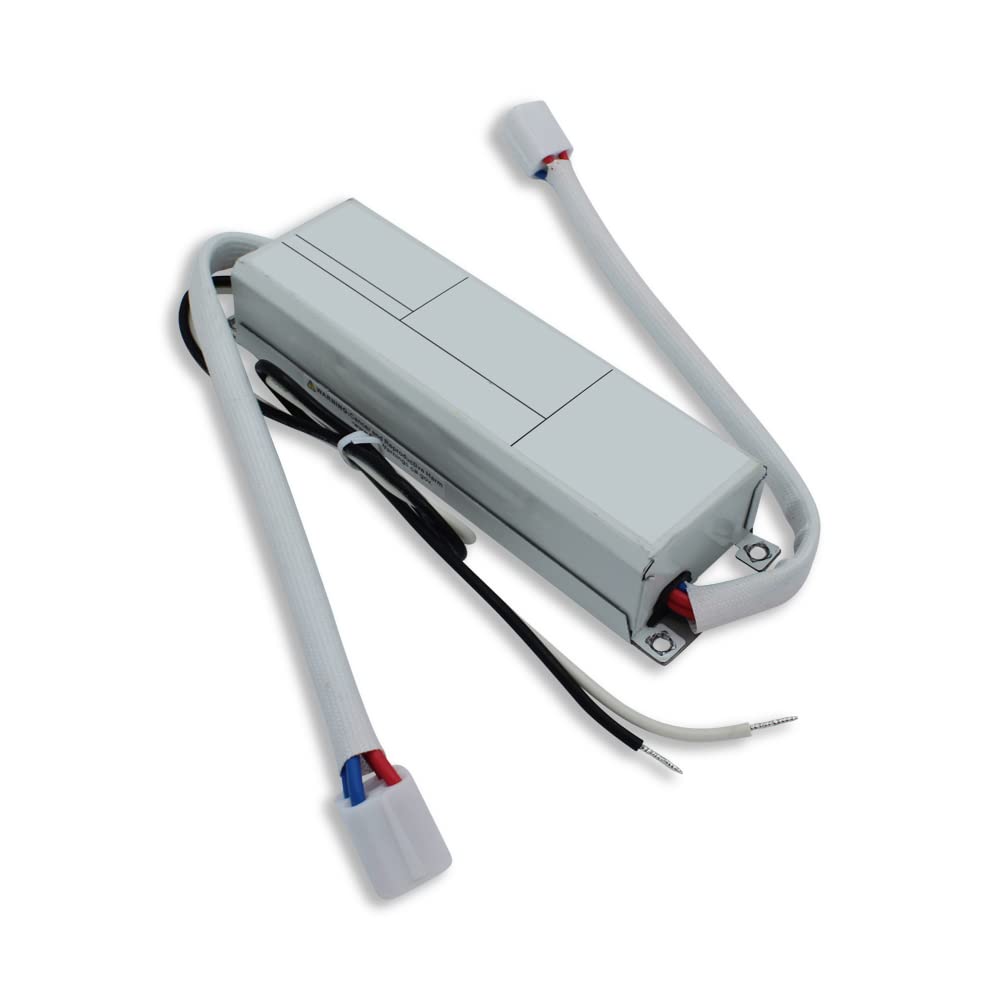
Image 1.1: Technical Precision Replacement Ballast TP120-2/32. This image shows the compact design of the ballast, typically used in lighting fixtures.
2. Safety Information
WARNING: Risk of Electric Shock. Installation should only be performed by a qualified electrician or service personnel.
- Always disconnect power at the circuit breaker or fuse box before installing, servicing, or removing the ballast.
- Ensure all wiring connections are secure and comply with local electrical codes.
- Do not operate the ballast if it appears damaged.
- This ballast is designed for specific applications. Do not use it for purposes other than its intended use.
- Keep away from water and moisture.
3. Package Contents
Verify that all components are present upon opening the package:
- 1 x Technical Precision Replacement Ballast (Model: TP120-2/32)
If any items are missing or damaged, please contact Technical Precision customer support.
4. Specifications
| Feature | Detail |
|---|---|
| Model Number | TP120-2/32 |
| Manufacturer | Technical Precision |
| Voltage | 120 Volts |
| Power Source | Battery-powered |
| Included Components | Replacement Part (Ballast) |
| Warranty | 1 Year Manufacturer |
5. Setup and Installation
This ballast is a replacement component. Installation typically involves replacing an existing ballast within a compatible lighting fixture. Due to the electrical nature of this product, professional installation is highly recommended.
- Power Disconnection: Before beginning any work, ensure the power supply to the fixture is completely disconnected at the circuit breaker or fuse box. Verify with a voltage tester.
- Access Existing Ballast: Open the lighting fixture to gain access to the old ballast. Note the wiring configuration carefully, or take a photograph for reference.
- Remove Old Ballast: Disconnect all wires from the old ballast and remove it from the fixture.
- Install New Ballast: Mount the Technical Precision TP120-2/32 replacement ballast in the same location as the old one.
- Wire Connections: Connect the wires to the new ballast according to the original wiring configuration. Ensure all connections are tight and secure. Refer to the wiring diagram provided with your specific lighting fixture if available.
- Secure Fixture: Close and secure the lighting fixture.
- Restore Power: Restore power at the circuit breaker or fuse box.
- Test Operation: Test the lighting fixture to ensure proper operation.
Note: No specific wiring diagrams are provided with this replacement part. Always follow the wiring instructions of the original fixture manufacturer or consult a qualified electrician.
6. Operation
The Technical Precision TP120-2/32 ballast operates automatically once properly installed and powered. It regulates the current to the connected lamps, ensuring stable and efficient light output. There are no user-adjustable controls on the ballast itself.
- Ensure the ballast is connected to a 120 Volt power source as specified.
- The ballast will initiate the lamps when power is supplied to the fixture.
Note: The product specifications indicate a 'battery-powered' source. If your application involves a battery-powered system, ensure the voltage and current requirements are compatible with this 120V ballast. This is an unusual configuration for a ballast, and clarification may be needed for specific battery-powered setups.
7. Maintenance
The Technical Precision TP120-2/32 ballast is designed for long-term, maintenance-free operation. However, periodic inspection of the lighting fixture and its components is recommended.
- Cleaning: Ensure the ballast and surrounding area within the fixture remain free of dust and debris to prevent overheating. Disconnect power before cleaning.
- Wiring Inspection: Periodically check wiring connections for any signs of loosening or damage. Address any issues promptly after disconnecting power.
- Environmental Conditions: Ensure the ballast operates within its intended environmental conditions (e.g., temperature, humidity) as specified by the original fixture manufacturer.
8. Troubleshooting
If the lighting fixture fails to operate correctly after ballast replacement, consider the following:
| Problem | Possible Cause | Solution |
|---|---|---|
| Lamps do not light up | No power to the fixture | Check circuit breaker/fuse. Ensure power is restored. |
| Incorrect wiring | Disconnect power and re-check all wiring connections against the fixture's diagram. | |
| Faulty lamps | Replace lamps with known good ones. | |
| Damaged ballast | If all other checks fail, the ballast may be faulty. Contact customer support. | |
| Lamps flicker or dim | Loose connections | Disconnect power and tighten all wiring connections. |
| Incompatible lamps | Ensure lamps are compatible with the ballast and fixture. |
If troubleshooting steps do not resolve the issue, contact Technical Precision customer support.
9. Warranty Information
This Technical Precision Replacement Ballast (Model: TP120-2/32) comes with a 1 Year Manufacturer Warranty from the date of purchase. This warranty covers defects in materials and workmanship under normal use.
The warranty does not cover:
- Damage caused by improper installation or misuse.
- Damage caused by unauthorized repairs or modifications.
- Damage due to accidents, natural disasters, or power surges.
To make a warranty claim, please retain your proof of purchase and contact Technical Precision customer support.
10. Customer Support
For technical assistance, warranty claims, or general inquiries regarding your Technical Precision Replacement Ballast, please contact us:
- Manufacturer: Technical Precision
- Website: Visit the Technical Precision Store on Amazon
- Contact: Refer to the contact information provided on your purchase receipt or the Technical Precision website for the most current support options.