Introduction
The Yamaha A-S2200SL Integrated Amplifier is engineered to deliver an authentic, powerful, and emotionally engaging Hi-Fi sound experience. Inheriting advanced features and design principles, this amplifier is built for discerning audio enthusiasts seeking exceptional performance and musicality.
Setup
Unpacking and Placement
Carefully remove the amplifier from its packaging. Ensure the unit is placed on a stable, level surface with adequate ventilation around all sides to prevent overheating. Avoid placing the amplifier near heat sources or in direct sunlight.
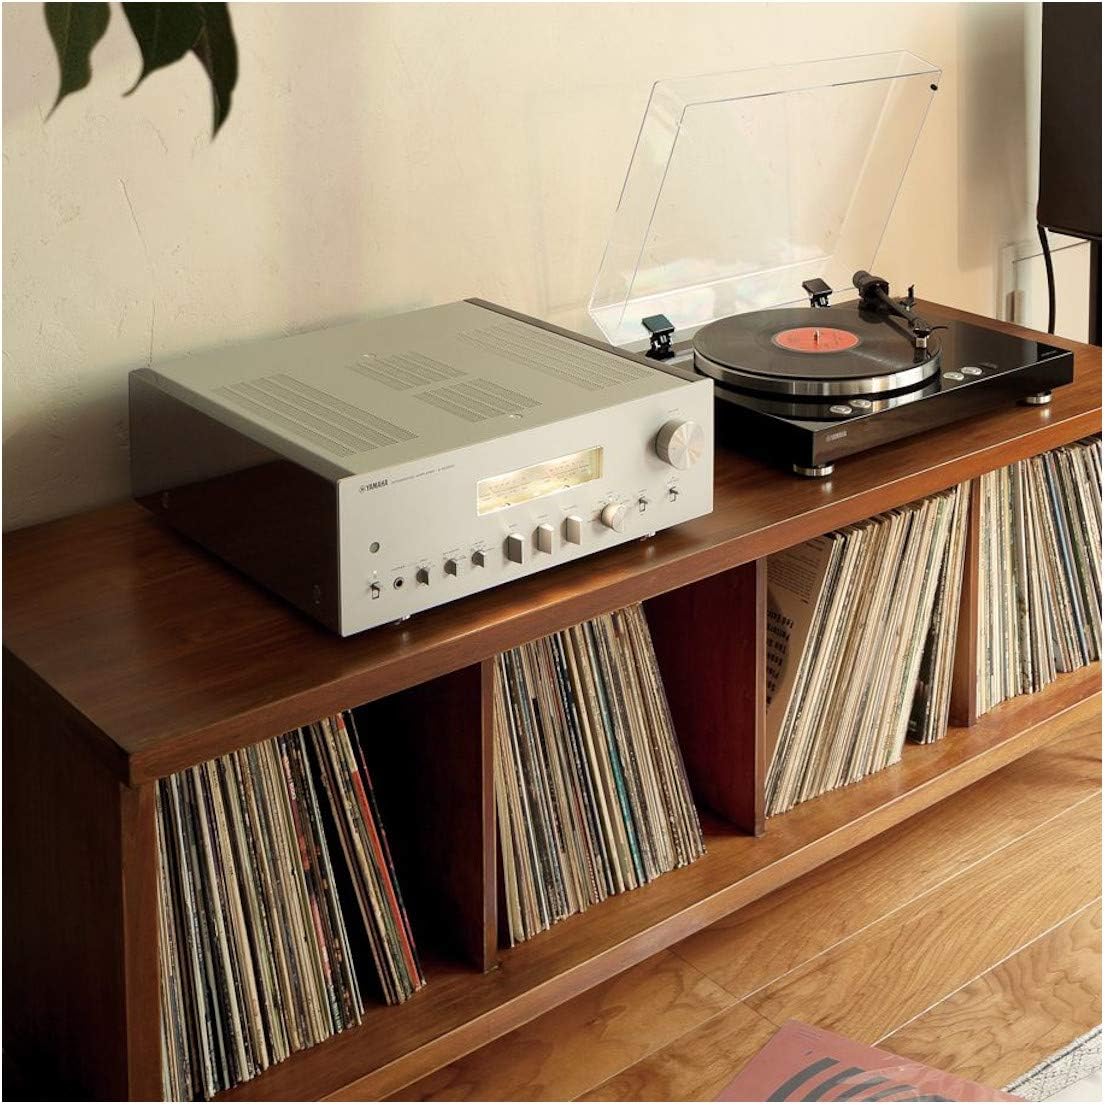
The Yamaha A-S2200SL Integrated Amplifier positioned on a media console, demonstrating a typical home audio setup with a turntable.
Connections
Before making any connections, ensure the amplifier is powered off and unplugged from the AC outlet.
- Speaker Connections: Connect your speakers to the speaker terminals on the rear panel. Ensure correct polarity (+ to + and - to -) for each channel. The A-S2200SL supports speakers with an impedance of 4 ohms or higher.
- Audio Input Connections: Connect your audio sources (CD player, turntable, tuner, etc.) to the appropriate input jacks (LINE 1, LINE 2, CD, TUNER, PHONO, BALANCED). For turntables, connect to the PHONO input and ensure the ground wire is connected to the GND terminal.
- Balanced XLR Inputs: For high-quality audio sources with balanced outputs, use the BALANCED XLR inputs. Note that there is a switch on the rear panel to adjust input impedance for XLR connections. If you experience static or noise, refer to the troubleshooting section or adjust this switch.
- Power Connection: Once all audio and speaker connections are made, connect the supplied power cord to the AC INlet on the rear panel and then to a wall outlet.

Detailed view of the rear panel connections, including speaker terminals, RCA inputs, XLR inputs, and power inlet.
Operating
Basic Operation
- Power On/Off: Press the POWER button on the front panel or the AMP button on the remote control to turn the unit on or off.
- Input Selection: Rotate the INPUT SELECTOR knob on the front panel or use the corresponding input buttons on the remote control (e.g., CD, PHONO) to choose your desired audio source.
- Volume Control: Adjust the VOLUME knob on the front panel or use the VOLUME + / - buttons on the remote control to set the listening level.
Tone Controls and Features
- Bass/Treble: Use the BASS and TREBLE knobs to adjust the low and high frequency response to your preference.
- Balance: The BALANCE knob allows you to adjust the sound output balance between the left and right speakers.
- Meter Display: The front panel features gorgeous level meters that visually convey the dynamics and pulse of the music, reminiscent of classic Hi-Fi equipment.
- Headphone Output: Connect headphones to the PHONES jack for private listening.

The front panel of the amplifier, showcasing the volume knob, input selector, tone controls, and illuminated level meters.
Remote Control
The included remote control provides convenient access to most amplifier functions from your listening position.

The remote control unit, featuring buttons for power, input selection, volume, and other functions.
Maintenance
To ensure long-lasting performance and appearance of your amplifier, follow these maintenance guidelines:
- Cleaning: Wipe the exterior surfaces with a soft, dry cloth. For stubborn dirt, use a slightly damp cloth and then dry thoroughly. Avoid using abrasive cleaners, solvents, or chemical sprays.
- Ventilation: Periodically check that the ventilation openings are not obstructed by dust or debris. Proper airflow is crucial for heat dissipation.
- Power Cord: Inspect the power cord regularly for any signs of damage. If damaged, contact authorized service personnel.
Troubleshooting
If you encounter issues with your amplifier, refer to the following common solutions:
- No Sound:
- Ensure the amplifier is powered on and the correct input source is selected.
- Check all speaker and audio input cable connections for secure fit and correct polarity.
- Verify that the volume is not set to minimum or muted.
- Distorted Sound or Noise:
- Check speaker connections for loose wires or short circuits.
- Ensure input cables are securely connected and not damaged.
- If using XLR inputs, locate the input attenuator switch on the rear panel (labeled 'ATTENUATOR') and try adjusting it (e.g., from 'NORMAL' to '-6dB' or '-12dB') to match the output level of your source component. Incorrect impedance matching can cause static or distortion.
- Reduce the volume level if the distortion occurs at high volumes.
- Unit Does Not Power On:
- Ensure the power cord is securely plugged into both the amplifier and a working wall outlet.
- Check the circuit breaker or fuse in your home.
If the issue persists after trying these steps, please contact Yamaha customer support.
Specifications
| Feature | Description |
|---|---|
| Model Number | A-S2200SL |
| Product Dimensions | 23.8 x 23 x 11 inches |
| Item Weight | 50 pounds |
| Manufacturer | Yamaha |
| Circuit Design | Fully balanced from input to speaker out |
| Transformer | Large toroidal transformer |
| Included Components | Remote Controller |

Internal view highlighting the large toroidal transformer and the meticulously designed circuit boards.
Warranty Information
Warranty details for the Yamaha A-S2200SL Integrated Amplifier are typically provided with your purchase documentation. Please refer to the warranty card or contact your retailer for specific terms and conditions. For the most up-to-date warranty information, visit the official Yamaha website.
Support
For further assistance, technical support, or service inquiries, please visit the official Yamaha website or contact their customer service department. You can often find FAQs, driver downloads, and service center locations on their support pages.
Yamaha Official Website: www.yamaha.com