1. Introduction
This manual provides instructions for the operation and maintenance of your Crosley CR612B-AB Corsair Tabletop AM/FM Bluetooth Radio with CD Player and Dual Alarm Clock. Please read this manual thoroughly before using the product to ensure proper function and to prevent damage.

Figure 1: Crosley CR612B-AB Corsair Tabletop AM/FM Bluetooth Radio with CD Player and Dual Alarm Clock.
2. What's in the Box
Verify that all items listed below are included in your package:
- Crosley CR612B Corsair Radio Unit
- AC Power Adapter
- Instruction Manual
3. Product Overview
Familiarize yourself with the various components and controls of your Corsair radio.

Figure 2: Front Panel Controls and Features. This image highlights the headphone jack, alarm clock buttons (Alarm 1, Alarm 2), and the analog tuning dial.
- Volume Knob: Adjusts the audio output level.
- Tuning Knob: Selects AM/FM radio frequencies.
- Mode Button: Switches between AM/FM radio, CD player, and Bluetooth modes.
- Sleep Button: Activates the sleep timer function.
- Alarm 1 / Alarm 2 Buttons: Set and activate dual alarms.
- Time Button: Used for setting the clock.
- AM/FM Button: Toggles between AM and FM radio bands.
- CD Player Controls: Play/Pause, Stop, Display, CD Mode, Skip/Search (Forward/Backward), Program.
- Headphone Jack: For private listening.
- Power Button: Turns the unit on or off.
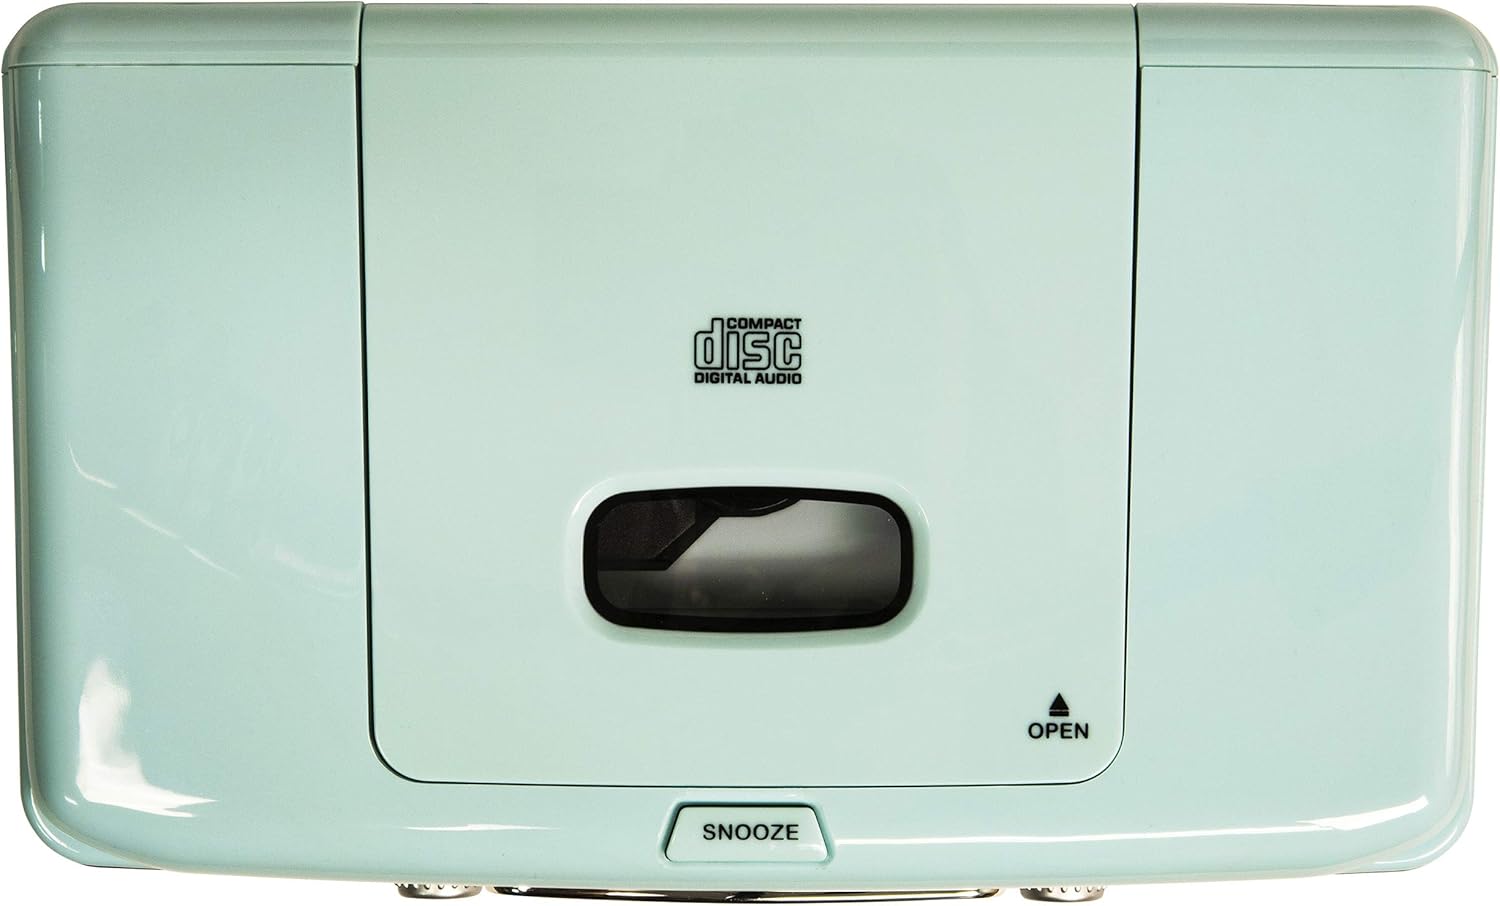
Figure 3: Top Panel. This image shows the top-loading CD player compartment and the Snooze button.

Figure 4: Rear Panel. This image displays the AC power input and the battery compartment for backup power.
4. Setup
4.1 Power Connection
- Ensure the unit is placed on a stable, flat surface.
- Connect the AC power adapter to the DC IN jack on the rear of the unit.
- Plug the AC power adapter into a standard wall outlet.
4.2 Battery Backup (Optional)
For alarm clock backup during power outages, install one 9V battery (not included) into the battery compartment on the rear of the unit. This will maintain time and alarm settings in case of a power interruption.
4.3 Antenna Setup
The unit has a built-in AM antenna. For FM reception, extend the wire FM antenna located on the rear of the unit for optimal signal reception.
5. Operating Instructions
5.1 Power On/Off
Press the POWER button located on the front panel to turn the unit on or off.
5.2 AM/FM Radio Operation
- Press the MODE button until 'RADIO' is displayed.
- Press the AM/FM button to select either AM or FM band.
- Rotate the TUNING knob to select your desired radio station.
- Adjust the VOLUME knob to your preferred listening level.
Video 1: Crosley CR612B-AB Corsair AM/FM Bluetooth Radio. This video demonstrates the radio's AM/FM tuning functionality.
5.3 CD Player Operation
- Press the MODE button until 'CD' is displayed.
- Press the OPEN button on the top of the unit to open the CD compartment.
- Place a CD with the label side facing up into the compartment.
- Close the CD compartment lid.
- Press the PLAY/PAUSE button to start playback.
- Use the SKIP/SEARCH buttons to navigate between tracks.
- Press the STOP button to end playback.
- The PROGRAM button allows you to create a custom playback order for tracks.

Figure 5: CD Player Open. This image shows the top-loading CD player ready for disc insertion.
5.4 Bluetooth Operation
- Press the MODE button until 'BT' (Bluetooth) is displayed. The unit will enter pairing mode, indicated by a flashing 'BT'.
- Enable Bluetooth on your external device (e.g., smartphone, tablet).
- Search for 'Crosley Corsair' in your device's Bluetooth settings and select it to pair.
- Once paired, the 'BT' indicator will stop flashing, and you can stream audio from your device to the radio.
- Adjust the volume on both your external device and the radio for optimal sound.

Figure 6: Bluetooth Streaming. This image illustrates connecting an external device via Bluetooth to the radio.
Video 2: CR612B Corsair Tabletop AM/FM Bluetooth Radio with CD Player. This video provides an overview of the radio's features, including Bluetooth connectivity.
5.5 Alarm Clock Functions
- Setting Time: Press and hold the TIME button. Use the SKIP/SEARCH buttons to adjust hours and minutes, then press TIME again to confirm.
- Setting Alarm 1/2: Press and hold either ALARM 1 or ALARM 2 button. Use the SKIP/SEARCH buttons to set the alarm time. Press the respective ALARM button again to select the alarm source (Buzzer, Radio, or CD) and confirm.
- Activating/Deactivating Alarm: Briefly press ALARM 1 or ALARM 2 to toggle the alarm on or off. An alarm icon will appear on the display when active.
- Snooze: When an alarm sounds, press the SNOOZE button on top of the unit to temporarily silence it. The alarm will sound again after a few minutes.
- Sleep Timer: Press the SLEEP button repeatedly to set a sleep timer (e.g., 15, 30, 60, 90 minutes). The unit will automatically turn off after the set time.
5.6 Headphone Use
Plug 3.5mm headphones into the HEADPHONE JACK on the front panel for private listening. The main speakers will be muted automatically.
6. Maintenance
6.1 Cleaning
- Wipe the exterior of the unit with a soft, dry cloth.
- Do not use abrasive cleaners, waxes, or solvents as they may damage the finish.
- Keep the CD compartment clean and free of dust.
6.2 Storage
When not in use for extended periods, unplug the unit from the power outlet and store it in a cool, dry place.
7. Troubleshooting
| Problem | Possible Cause | Solution |
|---|---|---|
| No Power | Power cord not securely connected. | Ensure the AC power adapter is firmly plugged into the unit and a working wall outlet. |
| Poor Radio Reception | Weak signal. | Adjust the position of the FM wire antenna. For AM, try repositioning the unit. |
| CD Not Playing | CD inserted incorrectly or dirty/scratched. | Ensure the CD is inserted label-side up. Clean the CD with a soft cloth. Try a different CD. |
| Bluetooth Not Connecting | Device not in pairing mode or too far away. | Ensure the radio is in Bluetooth mode and 'BT' is flashing. Move your device closer to the radio. Check your device's Bluetooth settings. |
| Alarm Not Sounding | Alarm not set or deactivated. | Verify alarm time and source are set correctly and the alarm is activated (icon visible). |
8. Specifications
| Brand | Crosley |
| Model Number | CR612B-AB |
| Color | Aqua Blue |
| Product Dimensions (L x W x H) | 6.75"L x 11.5"W x 7.25"H |
| Connectivity Technology | Bluetooth |
| Radio Bands Supported | AM/FM |
| Audio Output Mode | Stereo |
| Power Source | AC Adapter |
| Battery Requirement | 1 x 9V battery (for backup, not included) |
| Display Type | LED |
| Material | Chrome (accents) |

Figure 7: Product Dimensions. This diagram provides the overall measurements of the unit.
9. Warranty & Support
9.1 Warranty Information
This product is covered by a One Year Limited Manufacturer's Warranty. Please refer to the warranty card included in your packaging for full details on coverage and terms.
9.2 Customer Support
For technical assistance, troubleshooting, or warranty claims, please contact Crosley customer support. Contact information can typically be found on the manufacturer's official website or on the product packaging.