1. Introduction
Thank you for choosing the Eviva Nets 44-inch Wall Mount Single Sink Bath Vanity. This manual provides essential information for the safe installation, operation, and maintenance of your new vanity. Please read these instructions thoroughly before beginning installation and retain them for future reference.
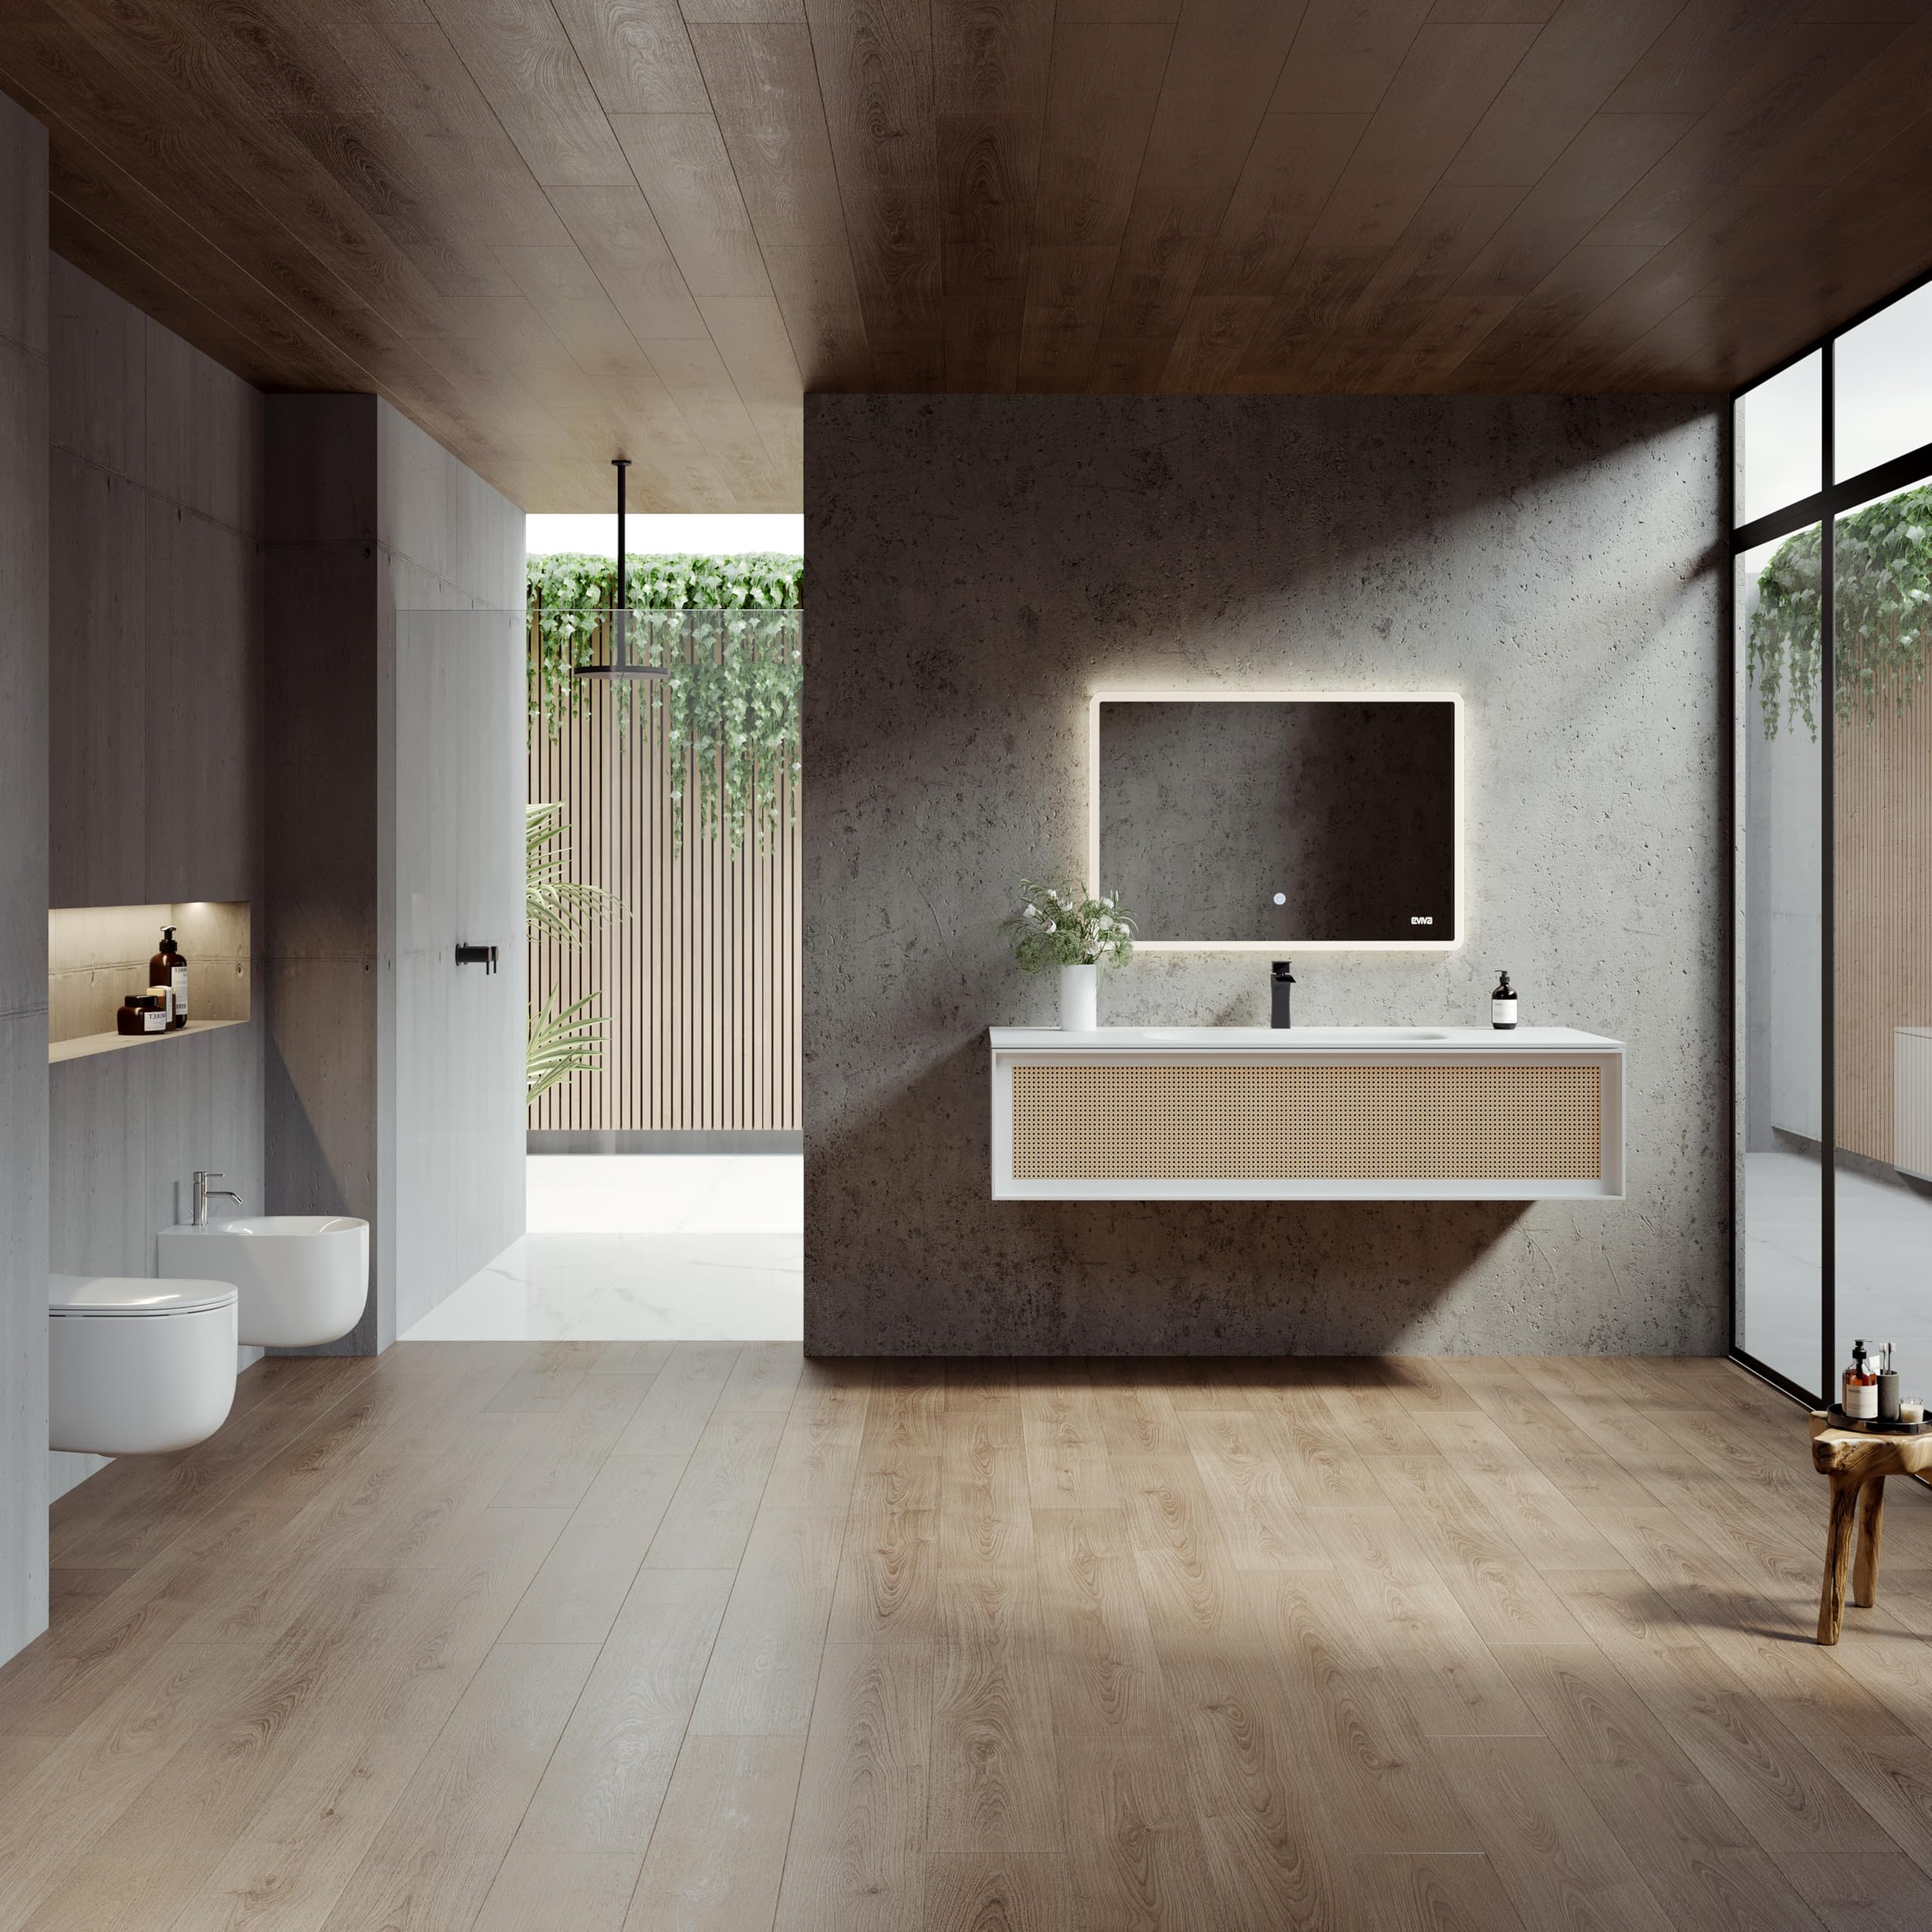
Image 1.1: Eviva Nets 44 Inch Wall Mount Single Sink Bath Vanity, Natural Oak/White.
2. Safety Information
Always follow basic safety precautions when installing or using this product to reduce the risk of fire, electric shock, or injury.
- Ensure all local plumbing and building codes are met during installation.
- Turn off the main water supply before connecting any plumbing.
- Use appropriate safety gear, including eye protection and gloves, during installation.
- This vanity is heavy. Always use proper lifting techniques and seek assistance when moving or installing.
- Do not overtighten plumbing connections to prevent damage.
- Keep small parts away from children to prevent choking hazards.
3. Package Contents
Verify that all components are present and undamaged before beginning installation. If any parts are missing or damaged, contact Eviva customer support.
- Wall-mount vanity cabinet (Natural Oak/White)
- Solid surface top with integrated sink (White)
- Mounting hardware
Note: Faucet, drain assembly, P-trap, and supply lines are not included and must be purchased separately.
4. Setup and Installation
Professional installation is recommended for this wall-mount vanity. Ensure the wall structure can support the weight of the vanity and its contents.
4.1 Tools Required (Not Included)
- Measuring tape
- Pencil
- Level
- Stud finder
- Drill with appropriate bits
- Screwdriver (Phillips and flathead)
- Adjustable wrench
- Caulk gun and silicone sealant
4.2 Pre-Installation Steps
- Unpack all components and inspect for damage.
- Ensure the installation area is clean, dry, and free of obstructions.
- Locate and mark wall studs for secure mounting.
- Turn off the main water supply to the bathroom.
4.3 Mounting the Vanity Cabinet
- Determine the desired height for the vanity. Mark the top edge of the vanity on the wall, ensuring it is level.
- Using the vanity as a template, mark the locations for the mounting brackets or screws on the wall, aligning with wall studs where possible.
- Drill pilot holes at the marked locations. If not drilling into studs, use appropriate wall anchors (not always included).
- Attach the mounting hardware securely to the wall.
- Carefully lift the vanity cabinet and hang it onto the installed mounting hardware. Ensure it is level and securely fastened.

Image 4.1: Eviva Nets Wall Mount Vanity securely installed.
4.4 Faucet and Plumbing Installation
- Install the faucet onto the integrated sink top according to the faucet manufacturer's instructions. The sink top is pre-drilled for a single-hole faucet.
- Apply a bead of silicone sealant along the top edges of the vanity cabinet where the sink top will rest.
- Carefully place the integrated sink top onto the vanity cabinet, aligning it properly. Press down firmly to ensure a good seal. Wipe away any excess sealant.
- Connect the hot and cold water supply lines to the faucet.
- Install the drain assembly and P-trap, connecting them to the wall drain pipe. Ensure all connections are hand-tightened, then use a wrench for a final quarter-turn to prevent leaks.
- Once all plumbing is connected, slowly turn on the main water supply and check for leaks. Tighten any leaking connections as needed.
5. Operating Instructions
The Eviva Nets vanity is designed for daily use in a bathroom environment. The integrated sink provides a seamless and easy-to-clean surface, while the spacious drawer offers convenient storage.
5.1 Drawer Operation
The vanity features a large drawer with an integrated 45-degree handle for smooth opening and closing. To open, gently pull the top edge of the drawer. To close, push until it is fully seated.

Image 5.1: Top-down view of the vanity with the drawer open, showcasing storage.
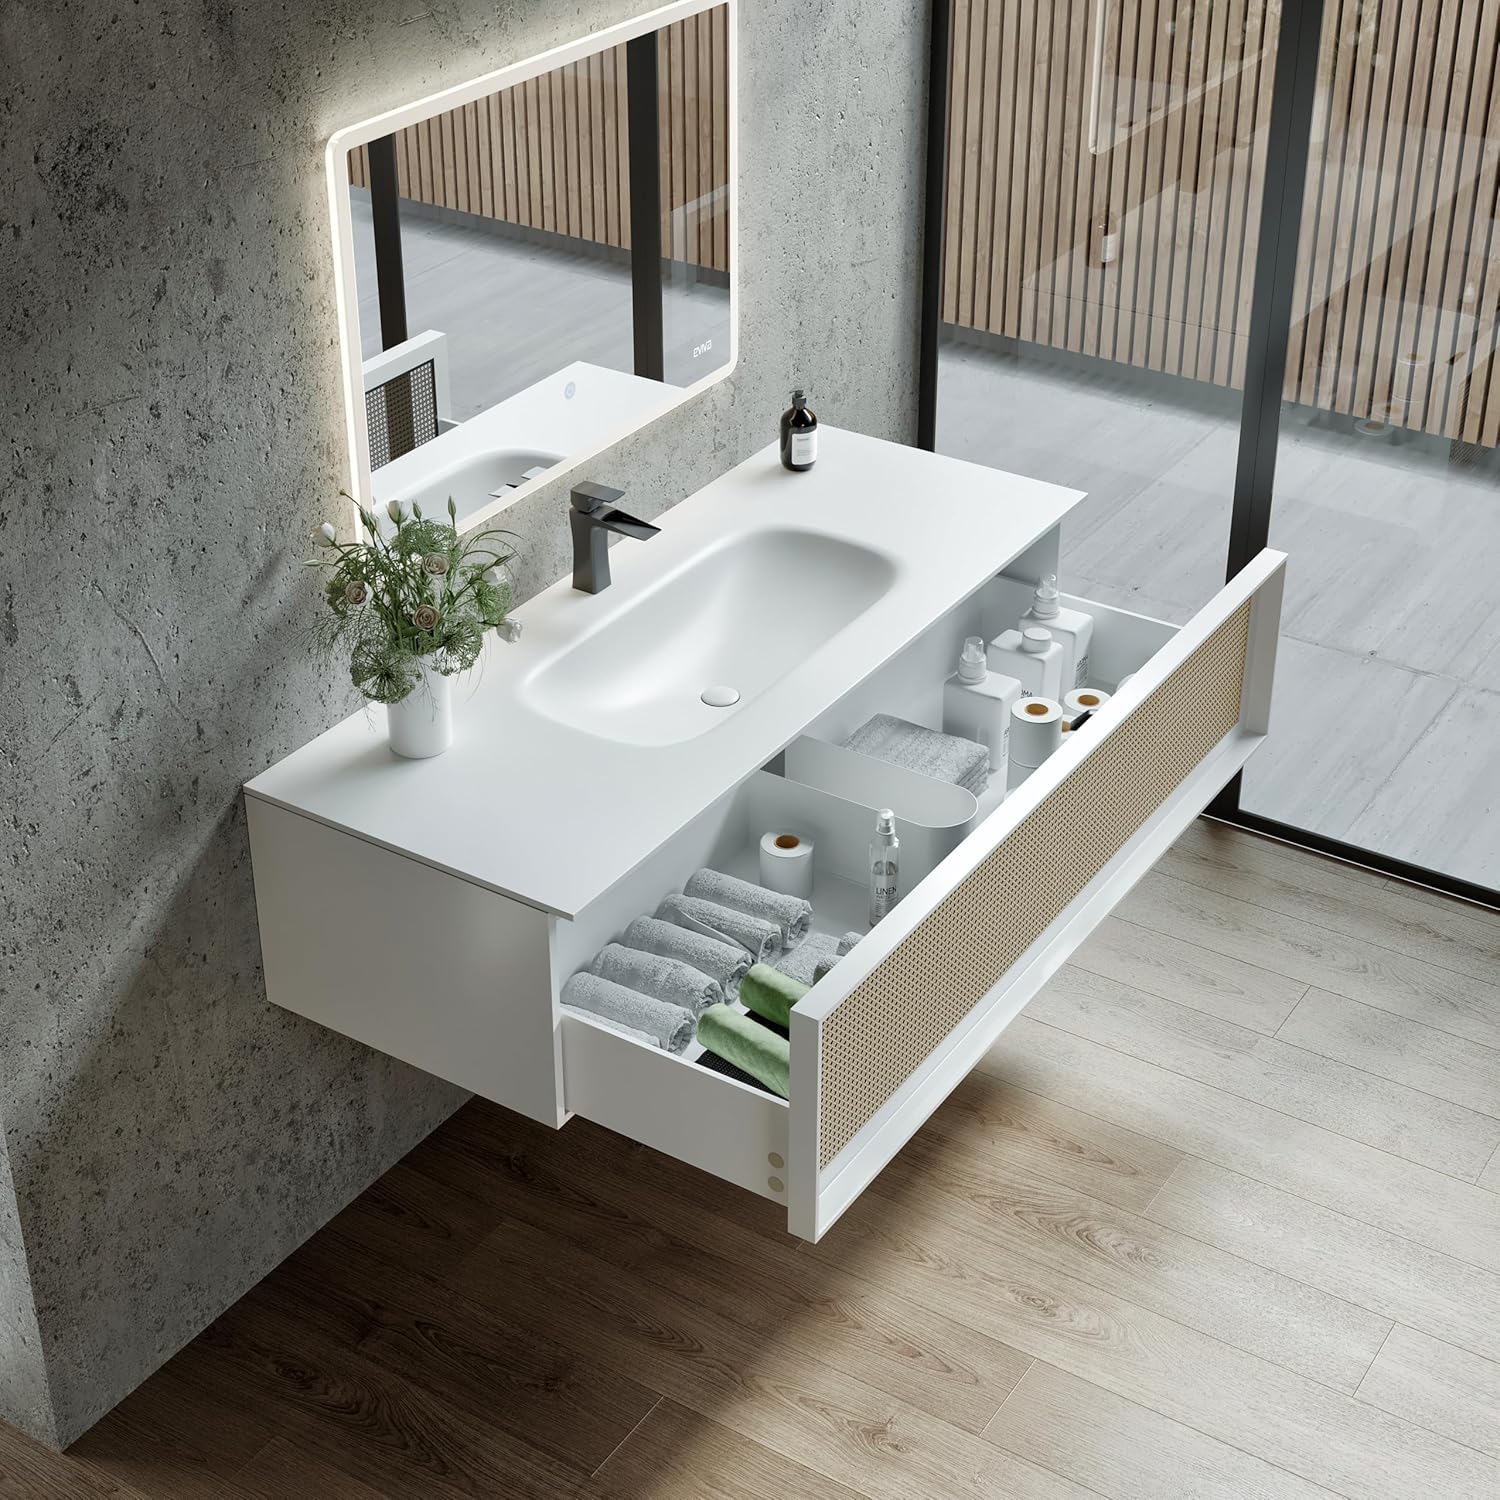
Image 5.2: Angled view of the vanity with the drawer partially open.
6. Maintenance
Proper care and maintenance will ensure the longevity and appearance of your Eviva Nets vanity.
6.1 Cleaning the Vanity Cabinet
- Wipe the wood surfaces with a soft, damp cloth. Avoid abrasive cleaners or harsh chemicals that can damage the finish.
- Immediately wipe up any water spills to prevent moisture damage to the wood.
- For the natural rattan weave, use a soft brush or vacuum with a brush attachment to remove dust.
6.2 Cleaning the Integrated Sink Top
- The solid surface top is stain-resistant and easy to clean. Use mild soap and water with a soft cloth or sponge.
- Avoid using abrasive pads, harsh chemicals, or strong acids/alkalis, as these can dull the surface.
- For stubborn stains, a non-abrasive household cleaner can be used, followed by a thorough rinse.
7. Troubleshooting
This section addresses common issues you might encounter with your vanity.
7.1 Leaks from Plumbing Connections
- Issue: Water dripping from faucet or drain connections.
Solution: Ensure all connections are tight. Check for worn washers or seals and replace if necessary. Apply plumber's tape to threaded connections.
7.2 Drawer Not Closing Smoothly
- Issue: Drawer sticks or does not close completely.
Solution: Check for obstructions inside the drawer or along the slides. Ensure the vanity is level and securely mounted. Verify drawer slides are clean and free of debris.
7.3 Water Stains on Wood Cabinet
- Issue: Water marks or discoloration on the wood.
Solution: Immediately wipe up any water spills. For existing stains, consult a professional furniture restorer or use a wood-specific cleaner designed for water stains, following product instructions carefully.
8. Specifications
| Feature | Detail |
|---|---|
| Brand | Eviva |
| Model Number | EVVN116-44NOK/WH |
| Color | Natural Oak/White |
| Size | 44 Inch |
| Product Dimensions (D x W x H) | 20.3"D x 44"W x 14.8"H |
| Material | Wood (High-grade Spanish engineered wood) |
| Sink Type | Integrated Solid Surface Sink |
| Installation Type | Wall-Mount |
| Faucet Mount | Pre-drilled single-hole |
| Included Components | Sink, hardware |
| UPC | 739992390720 |
9. Warranty and Support
9.1 Manufacturer's Warranty
This Eviva Nets vanity comes with a 1 Year Manufacturer Warranty from the date of purchase. This warranty covers defects in materials and workmanship under normal use. It does not cover damage resulting from improper installation, misuse, abuse, accident, or normal wear and tear.
9.2 Customer Support
For technical assistance, missing parts, or warranty claims, please contact Eviva customer support directly. Have your model number (EVVN116-44NOK/WH) and proof of purchase ready when contacting support.
You can visit the official Eviva store on Amazon for more information or to contact their support team: Visit the Eviva Store