Introduction
This manual provides comprehensive instructions for the safe and effective use of your iProtec RM230LSG Rail Mount Firearm Combo. The RM230LSG integrates a 230-lumen white light and a green laser sight into a single rail-mounted unit. Please read this manual thoroughly before installation and operation to ensure proper function and safety.
Safety Information
WARNING: Always follow firearm safety rules. Ensure the firearm is unloaded and pointed in a safe direction before handling or installing any accessories. Never look directly into the laser beam or allow others to do so. Laser radiation can cause eye damage. Keep out of reach of children.
- Always verify the firearm is unloaded before installing or removing the RM230LSG.
- Do not aim the laser at aircraft or personnel.
- Use appropriate eye protection when operating the laser in training environments.
- Ensure the device is securely mounted to prevent detachment during use.
Package Contents
Verify that all items are present in your package:
- iProtec RM230LSG Rail Mount Firearm Combo
- Mounting hardware (if applicable, typically pre-installed)
- Batteries (if included)
Setup and Installation
The RM230LSG is designed for rail-equipped pistols and long guns. It is not compatible with subcompact firearms. The unit features an anti-recoil locking mechanism for secure attachment.
- Ensure Firearm is Safe: Confirm the firearm is unloaded and the safety is engaged.
- Identify Mounting Rail: Locate the accessory rail on your firearm. The RM230LSG is designed for standard Picatinny or Weaver-style rails.
- Attach the Unit: Loosen the mounting screw or lever on the RM230LSG. Slide the unit onto the rail until it is in the desired position. Ensure the cross-bolt aligns with a rail slot.
- Secure the Mount: Tighten the mounting screw or engage the lever firmly. Do not overtighten, but ensure the unit is snug and does not wobble. A secure mount is critical for maintaining zero and preventing detachment during recoil.
- Battery Installation: If not pre-installed, open the battery compartment (refer to markings on the device) and insert the specified batteries, observing polarity.

Image 1: Side view of the iProtec RM230LSG showing the rail mounting mechanism. This image illustrates how the unit attaches to a firearm's accessory rail.
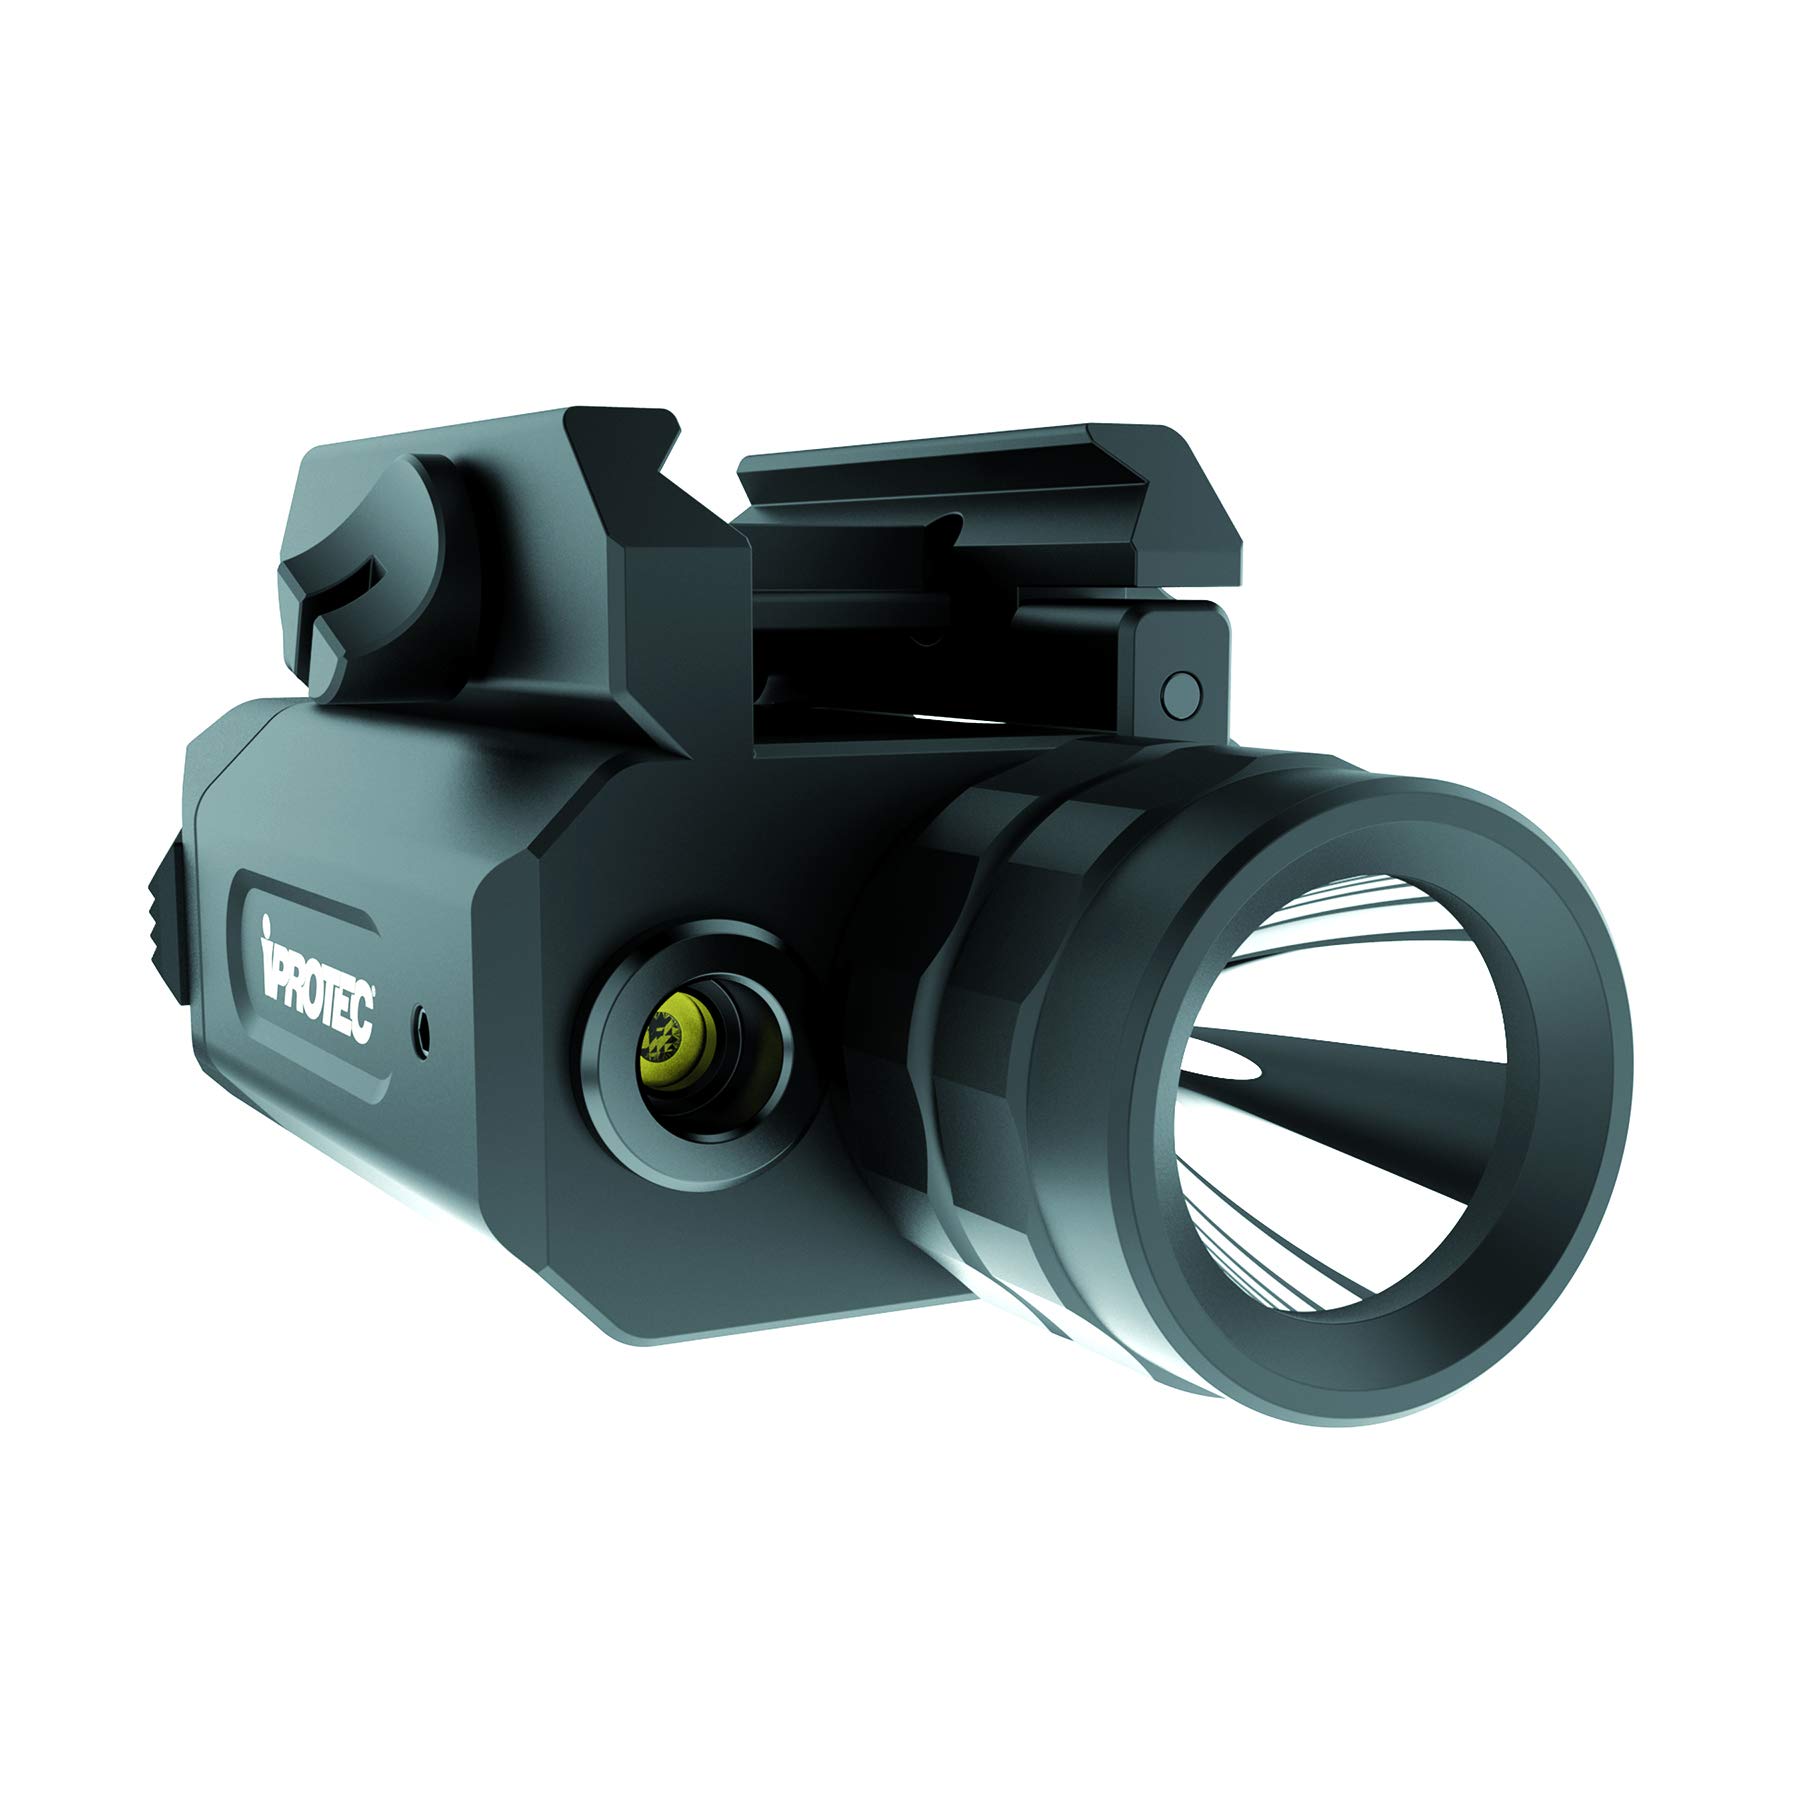
Image 2: Front-side view of the iProtec RM230LSG, highlighting the light and laser components. This image provides a general overview of the product's design.
Operating Instructions
The RM230LSG features dual-side power buttons for the light and a separate button for the laser, allowing independent or combined operation.
- Power On/Off (Light): Press either of the dual-side buttons to activate the light. Press again to cycle through light modes (High, Low, Strobe) or to turn off.
- Power On/Off (Laser): Press the dedicated laser button to activate the green laser. Press again to turn off.
- Combined Operation: The light and laser can be operated simultaneously or independently.
- Zeroing the Laser: The laser can be adjusted for windage and elevation using small adjustment screws, typically located on the side and bottom of the laser housing. Use a small hex key (often included) to make fine adjustments until the laser dot aligns with your point of impact.

Image 3: Bottom view of the iProtec RM230LSG, illustrating the placement of the control buttons for light and laser activation. This image helps identify the operational controls.
Maintenance
Regular maintenance ensures the longevity and reliable performance of your RM230LSG.
- Cleaning: Use a soft, dry cloth to wipe down the exterior of the unit. For the lens and laser aperture, use a lens cleaning cloth and solution to avoid scratching. Do not use abrasive cleaners.
- Battery Replacement: When the light dims or the laser weakens, replace the batteries. Refer to the battery compartment for the correct battery type and orientation. Always dispose of old batteries responsibly.
- Mounting Check: Periodically check the mounting screw for tightness, especially after periods of use, to ensure the unit remains securely attached.
Troubleshooting
| Problem | Possible Cause | Solution |
|---|---|---|
| Light or Laser does not turn on | Dead or incorrectly installed batteries | Replace batteries, ensuring correct polarity. |
| Light is dim or Laser is weak | Low battery power | Replace batteries. |
| Unit detaches from rail during use | Mounting screw not sufficiently tightened | Ensure the mounting screw is firmly tightened. Verify compatibility with your firearm's rail system. |
| Laser zero retention issues | Improper mounting or recoil impact | Re-zero the laser. Ensure the unit is securely mounted and the mounting screw is tight. |
Specifications
- Model: RM230LSG
- Light Output: 230 Lumens
- Laser Color: Green
- Material: Anodized Aircraft-Grade Aluminum
- Mounting Type: Rail (Picatinny/Weaver compatible)
- Compatible Devices: Handguns and long guns with accessory rails (does not fit subcompacts)
- Modes: 4 (High Light, Low Light, Strobe Light, Laser)
- Water Resistance: Yes
- Impact Resistance: Yes
Warranty and Support
For warranty information and customer support, please refer to the documentation provided at the point of purchase or contact iProtec directly through their official website. Keep your proof of purchase for any warranty claims.

