Introduction
This manual provides detailed instructions for the installation, operation, and maintenance of your Premium X Mini HD FTA 220S DVB-S2 Satellite Receiver. Please read this manual carefully before using the device to ensure proper functionality and to prevent damage.

Image: The Premium X Mini HD FTA 220S Satellite Receiver shown connected to a television, displaying a high-definition satellite broadcast of a football match.
Safety Information
Always follow basic safety precautions when using this product to reduce the risk of fire, electric shock, and injury.
- Do not expose the receiver to rain or moisture.
- Do not open the casing; refer all servicing to qualified personnel.
- Ensure proper ventilation around the device to prevent overheating.
- Use only the provided power adapter.
- Keep the device away from heat sources and direct sunlight.
Package Contents
Verify that all items listed below are included in your package. If any items are missing or damaged, please contact your retailer.
- Premium X Mini HD FTA 220S Satellite Receiver
- Remote Control with Batteries (2x AAA)
- HDMI Cable
- IR Extender Cable
- Power Adapter (DC 12V)
- User Manual (English version provided here)

Image: A complete view of all items included in the Premium X Mini HD FTA 220S package, including the receiver, remote control, various cables, and the power adapter.
Product Overview
Familiarize yourself with the various ports and indicators on your Premium X Mini HD FTA 220S receiver.
Front/Side View
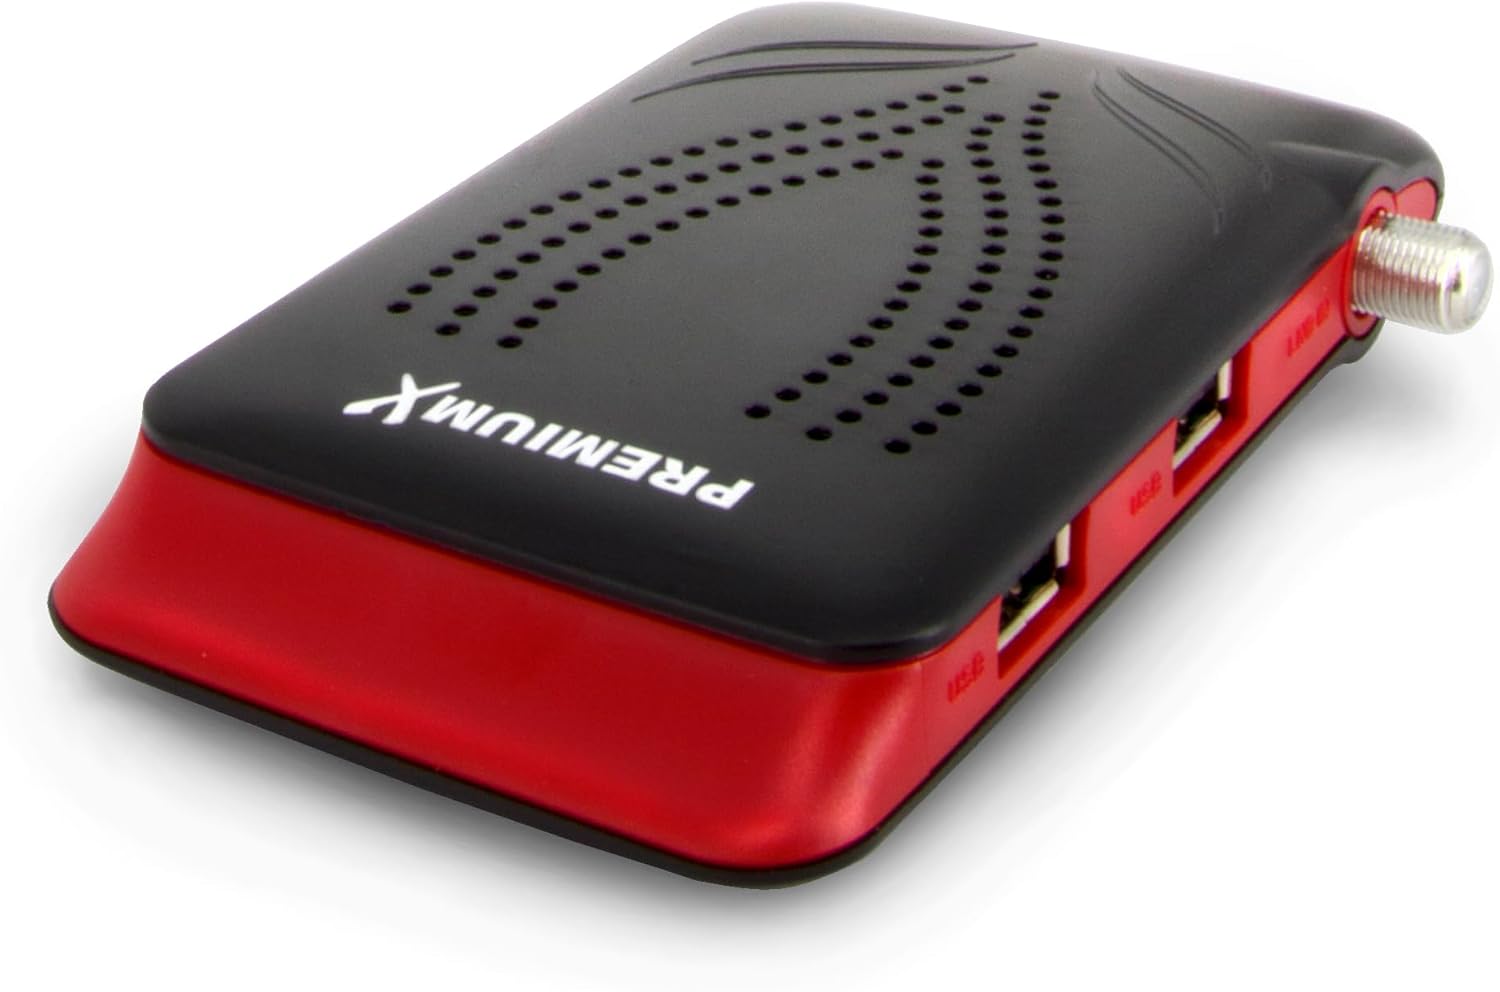
Image: A close-up, angled view of the Premium X Mini HD FTA 220S Satellite Receiver, highlighting its compact size and sleek design.
Rear Panel Connections

Image: The rear panel of the receiver, featuring two USB 2.0 ports for external storage and the LNB IN connector for satellite signal input.
- USB Ports (x2): For connecting USB storage devices (flash drives, external hard drives) for media playback and software updates.
- LNB IN: Connects to your satellite dish LNB for receiving satellite signals.
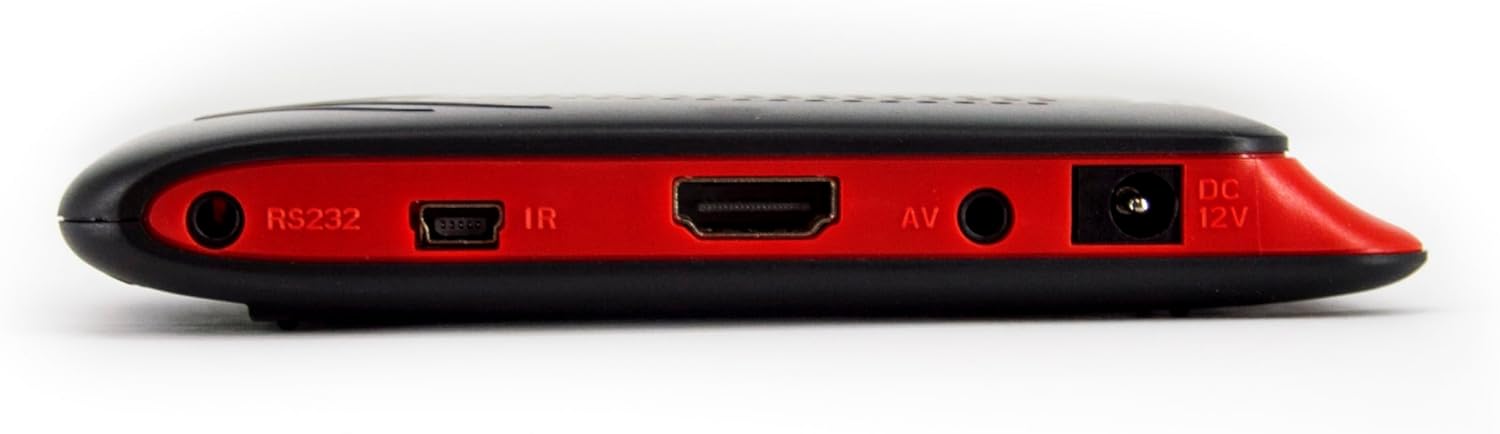
Image: The opposite side panel of the receiver, displaying the RS232 port, IR extender port, HDMI output, AV output, and DC 12V power input.
- RS232: Service port.
- IR: Connects the IR extender cable for remote control functionality when the receiver is hidden.
- HDMI: High-Definition Multimedia Interface output for connecting to your TV or display.
- AV: Analog video/audio output (via 3.5mm jack, cable not included).
- DC 12V: Power input for the included power adapter.
Setup
1. Connecting the Receiver
- Satellite Connection: Connect the satellite cable from your LNB (Low Noise Block) to the "LNB IN" port on the receiver.
- HDMI Connection: Connect one end of the provided HDMI cable to the "HDMI" port on the receiver and the other end to an available HDMI input on your television.
- IR Extender (Optional): If you plan to hide the receiver, connect the IR extender cable to the "IR" port on the receiver and position the IR sensor in a location where it can receive signals from your remote control.
- Power Connection: Connect the power adapter to the "DC 12V" port on the receiver, then plug the adapter into a power outlet.

Image: The included HDMI cable and IR extender cable, essential for connecting the receiver to your TV and for remote control functionality.

Image: The power adapter (DC 12V) used to supply power to the Premium X Mini HD FTA 220S Satellite Receiver.
2. Initial Setup Wizard
Upon first power-on, the receiver will guide you through an initial setup wizard.
- Language Selection: Choose your preferred menu language. The receiver supports multiple languages.
- Satellite Configuration: Select your satellite(s) (e.g., Astra 19.2°E). Configure DiSEqC settings (1.0, 1.1, 1.2, USALS) if applicable to your satellite dish setup.
- Channel Scan: Initiate an automatic channel scan to find all available free-to-air (FTA) TV and radio channels. This process may take several minutes.
- Time Zone: Set your local time zone.
Operating Instructions
Basic Functions
- Channel Selection: Use the CH+/CH- buttons or the numeric keypad on the remote control to change channels.
- Volume Control: Adjust the volume using the VOL+/VOL- buttons.
- Menu Navigation: Press the MENU button to access the main menu. Use the arrow keys (UP/DOWN/LEFT/RIGHT) to navigate and OK to confirm selections.
- EPG (Electronic Program Guide): Press the EPG button to view program information for current and upcoming broadcasts.
- Favorite Lists: Create and manage personalized lists of your favorite channels for quick access. Refer to the "Channel Management" section in the on-screen menu for details.
Media Playback via USB
The receiver supports playback of various image (JPEG), audio, and video formats from a connected USB storage device.
- Insert a USB flash drive or external hard drive into one of the USB ports on the receiver.
- Access the "Media Center" or "USB" option from the main menu.
- Navigate through your files and select the desired media to play.
Advanced Features
- Parental Control: Set up a password to restrict access to certain channels or menu functions. This feature is found in the "System Settings" menu.
- Teletext: Access teletext services on supported channels by pressing the TEXT button on the remote.
- Subtitles (OSD): Enable or disable on-screen display (OSD) subtitles for programs that support them.
Maintenance
Software Update via USB
To ensure optimal performance and access to the latest features, it is recommended to keep your receiver's software updated.
- Download the latest software update file from the official Premium X website to a USB flash drive.
- Insert the USB flash drive into one of the receiver's USB ports.
- Navigate to "System Settings" > "Software Update" (or similar) in the receiver's menu.
- Select the update file from your USB drive and follow the on-screen instructions. Do not power off the receiver during the update process.
Cleaning
Wipe the exterior of the receiver with a soft, dry cloth. Do not use liquid cleaners or abrasive materials.
Troubleshooting
| Problem | Possible Cause | Solution |
|---|---|---|
| No picture or sound |
|
|
| Remote control not working |
|
|
| Cannot find channels |
|
|
Specifications
| Feature | Detail |
|---|---|
| Model Number | 220S |
| Brand | Premium X |
| Connectivity Technology | HDMI, USB |
| Total USB Ports | 2 |
| Total HDMI Ports | 1 |
| Audio Output Mode | Stereo |
| Compatible Devices | Television |
| Supported Audio Format | MP3 |
| Satellite Service Description | Reception of unencrypted FTA satellite broadcasters |
| Supported Standards | DVB-S, DVB-S2 |
| Video Output Resolution | 1080p |
| Aspect Ratio | 16:9 |
| Program Memory Slots | 6000 (TV and radio) |
| Switching Time | Less than 1 second |
| Display | 4-digit display |
| DiSEqC Support | 1.0, 1.1, 1.2, USALS |
| Dimensions (L x W x H) | 127 x 70 x 21 mm |
| Batteries | 2 AAA (included for remote) |
Warranty and Support
For warranty information and technical support, please refer to the documentation provided with your purchase or visit the official Premium X website.
If you encounter issues not covered in this manual, please contact Premium X customer service for assistance.