TORCHSTAR R2-SB3STPK-36WWF-WW
TORCHSTAR 16.4 ft Smart LED Strip Light User Manual
Model: R2-SB3STPK-36WWF-WW
1. Introduction
This manual provides instructions for the installation, operation, and maintenance of your TORCHSTAR 16.4 ft Smart LED Strip Light. This product features smart control via a smartphone application and voice commands through Alexa, offering warm white illumination for various indoor and outdoor applications.
Please read this manual thoroughly before installation and use to ensure proper function and safety.
2. Safety Instructions
- Ensure the power supply is disconnected before installation or maintenance.
- Do not connect the strip light directly to 120V AC power. Use only the provided UL-listed 12V DC power adapter.
- Avoid bending the LED strip at sharp angles (less than 90 degrees) to prevent damage to the circuit board.
- Do not submerge the strip light or power adapter in water, despite its IP65 rating, to prevent electrical hazards. The IP65 rating protects against dust and low-pressure water jets, not submersion.
- Keep the product away from flammable materials.
- Do not cover the power adapter during operation to ensure proper ventilation.
- This product is designed for indoor and protected outdoor use. While waterproof, avoid direct exposure to heavy rain or extreme weather conditions for prolonged periods.
3. Package Contents
Verify that all components are present in the package:
- 16.4 ft (5m) LED Strip Light
- UL Listed Power Adapter (12V DC)
- Smart WiFi Controller with Manual Control Button
- Mounting Clips and Screws (for alternative installation)

Image: Overview of included components, showing the LED strip, power adapter, and smart controller.
4. Setup and Installation
4.1 Physical Installation
The LED strip light offers flexible installation options. Ensure the surface is clean, dry, and smooth before applying the strip.
- Prepare the Surface: Clean the desired installation area thoroughly to remove dust, oil, or moisture.
- Measure and Cut (Optional): The strip can be cut to your desired length at designated cutting marks (usually indicated by a scissor icon or copper pads). Ensure to cut only at these marks to avoid damaging the circuit.
- Choose Installation Method:
- 3M Tape Attachment: Peel off the protective backing from the 3M adhesive tape on the back of the LED strip and firmly press the strip onto the prepared surface.
- Screw Mounting: For a more secure installation, use the provided mounting clips and screws. Position the clips evenly along the strip and secure them with screws.
- Connect Components:
- Connect the LED strip to the smart WiFi controller.
- Connect the UL-listed power adapter to the smart WiFi controller.
- Plug the power adapter into a standard electrical outlet.

Image: Illustration of 3M tape and screw mounting options for the LED strip.

Image: Example of the LED strip used for TV backlighting, highlighting its customizable length.
4.2 Smart Control Setup (App & Alexa)
To utilize the smart features, you will need to download the compatible smartphone application and connect the device to your home Wi-Fi network.
- Download App: Search for the TORCHSTAR smart lighting app (or a compatible smart home app like Smart Life, Tuya Smart, if specified by TORCHSTAR) on your smartphone's app store (iOS or Android).
- Register/Login: Create an account or log in to the app.
- Add Device: Follow the in-app instructions to add a new device. This typically involves putting the controller into pairing mode (often by pressing and holding the manual control button until the light blinks).
- Connect to Wi-Fi: Ensure your smartphone is connected to a 2.4GHz Wi-Fi network. The TORCHSTAR LED Strip Light only supports 2.4GHz Wi-Fi networks, not 5GHz.
- Pair with Alexa (Optional): Once connected to the app, enable the corresponding skill in your Alexa app and link your account to enable voice control.

Image: Outdoor lighting setup, emphasizing that the device supports 2.4GHz Wi-Fi networks only.
5. Operating Instructions
5.1 App Control
Once connected to the app, you can control various aspects of your LED strip light:
- Power On/Off: Toggle the light on or off.
- Brightness Adjustment: Adjust the brightness from 10% to 100%.
- Scheduling: Set timers or schedules for the light to turn on/off automatically.
- Scene Modes: Select from pre-set lighting scenes or create custom ones.

Image: Smartphone app interface demonstrating brightness control for the LED strip.
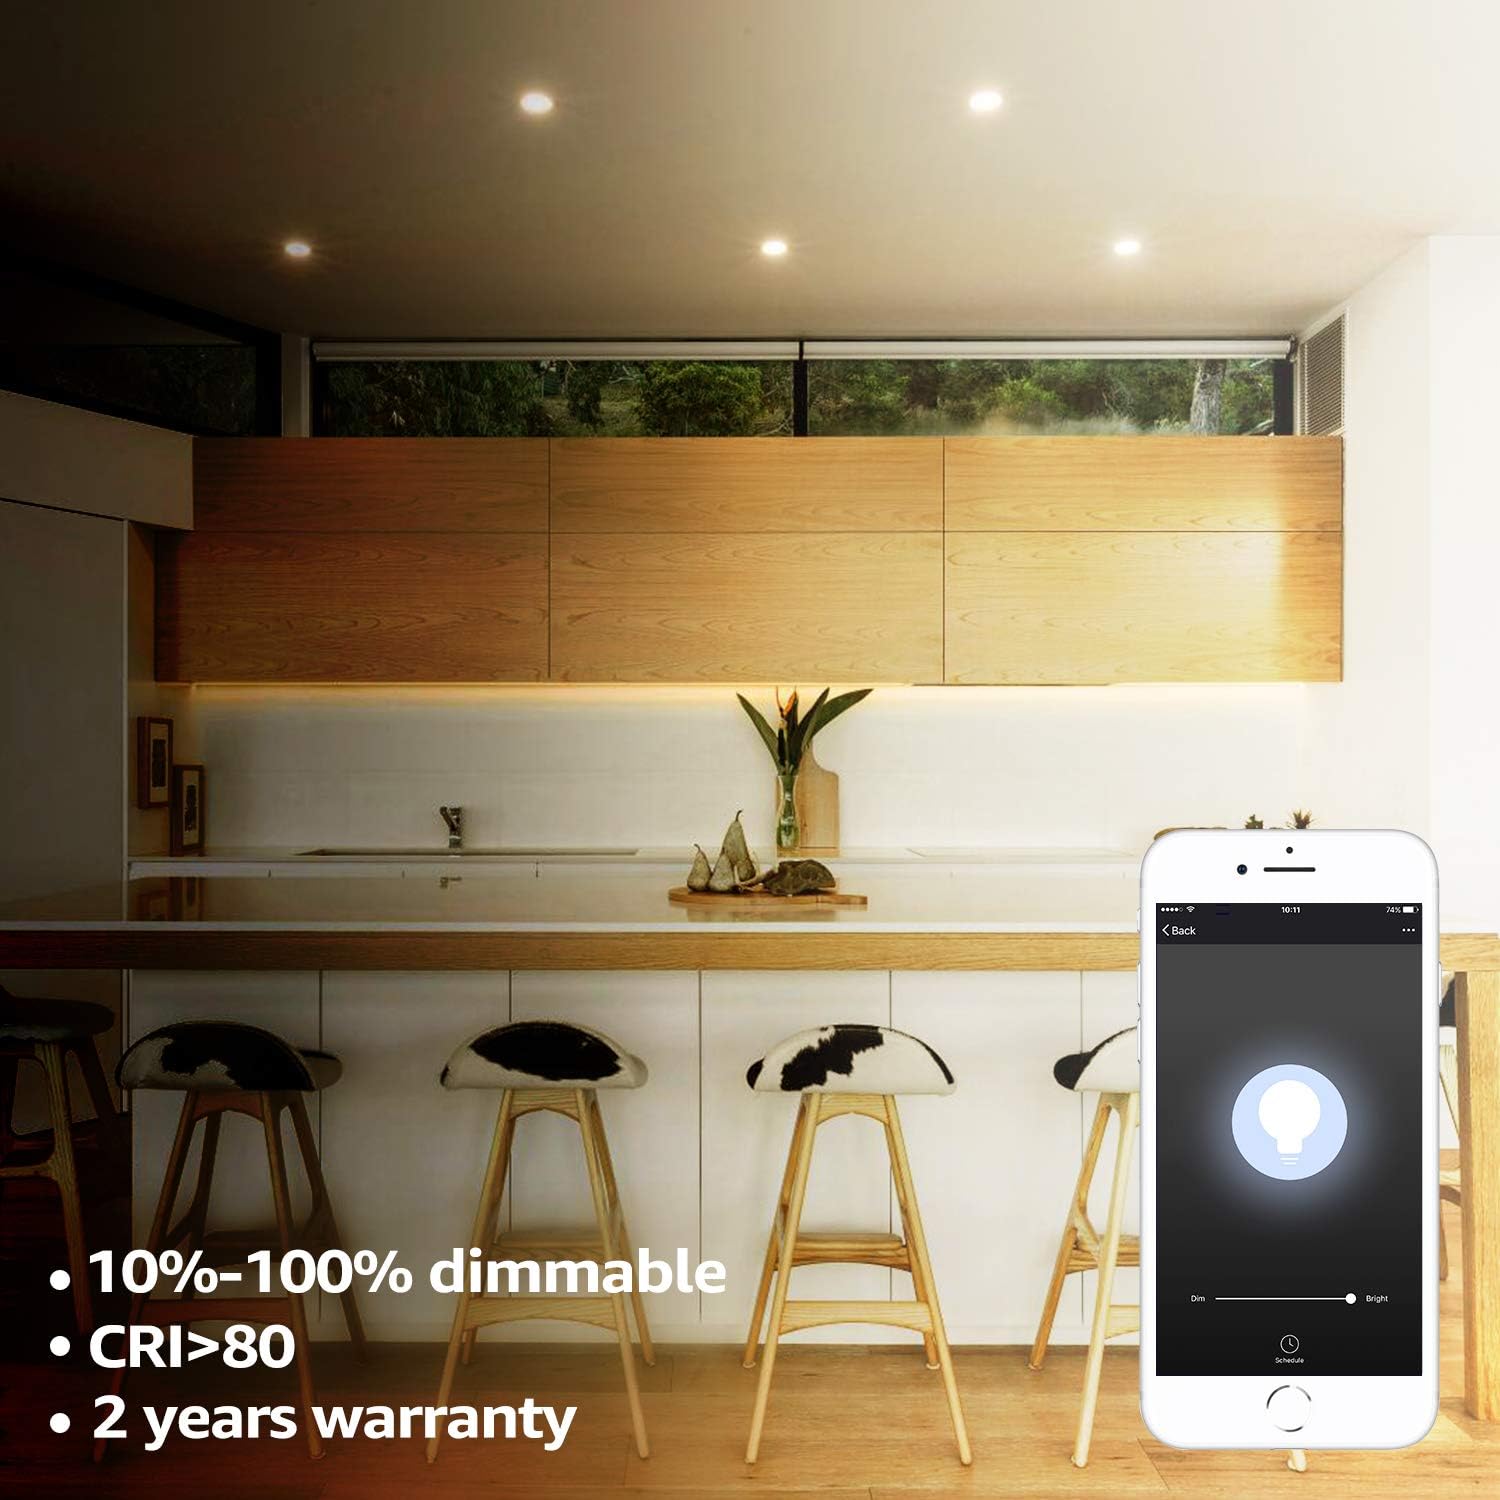
Image: Kitchen lighting with the app showing 10%-100% dimmable functionality.
5.2 Voice Control (Alexa)
After linking your device with Alexa, you can use voice commands:
- "Alexa, turn on [Light Name]."
- "Alexa, turn off [Light Name]."
- "Alexa, set [Light Name] to 50% brightness."
- "Alexa, dim [Light Name]."
- "Alexa, brighten [Light Name]."

Image: Control methods including manual, smartphone app, and Alexa voice control.
5.3 Manual Control
The smart WiFi controller also features a physical button for basic control:
- Single Press: Toggles the light On/Off.
- Press and Hold: May initiate pairing mode or cycle through brightness levels (refer to app instructions for specific manual control functions).
6. Maintenance
- Cleaning: Gently wipe the LED strip with a dry, soft cloth. Do not use abrasive cleaners or solvents. Ensure the power is off before cleaning.
- Inspection: Periodically check the strip and connections for any signs of damage or wear.
- Storage: If storing the strip, ensure it is clean, dry, and coiled loosely to prevent damage.
7. Troubleshooting
| Problem | Possible Cause | Solution |
|---|---|---|
| Light does not turn on. | No power, loose connection, faulty adapter/strip. | Check power outlet. Ensure all connections are secure. Test with another compatible 12V DC adapter if available. |
| Cannot connect to Wi-Fi/App. | Incorrect Wi-Fi band, incorrect password, device not in pairing mode, poor signal. | Ensure your router is broadcasting a 2.4GHz signal and your phone is connected to it. Verify Wi-Fi password. Put the controller into pairing mode (refer to app instructions). Move closer to the router. |
| Alexa voice control not working. | Skill not enabled, account not linked, incorrect device name. | Ensure the TORCHSTAR skill is enabled in the Alexa app and your accounts are linked. Use the exact device name configured in the app. |
| Light flickers or changes color unexpectedly. | Loose connection, power supply issue, damaged strip. | Check all connections. Ensure the power adapter is providing stable 12V DC. If the issue persists, the strip may be damaged. |
8. Specifications
- Model Number: R2-SB3STPK-36WWF-WW
- Length: 16.4 ft (5 meters)
- Light Color: Warm White
- Color Temperature: 3000 Kelvin
- Dimmable: 10% - 100%
- Wattage: 36W
- Input Voltage: 12V DC (via UL Listed Power Adapter)
- Control Method: App Control, Voice Control (Alexa), Manual Control
- Wi-Fi Compatibility: 2.4GHz only
- Water Resistance: IP65 (Waterproof, suitable for protected outdoor use)
- Lifespan: Up to 35,000 hours
- Certification: UL Listed Power Supply
- UPC: 697067802953
9. Warranty and Support
This TORCHSTAR LED Strip Light comes with a 2-year warranty from the date of purchase, covering manufacturing defects. The UL-listed power supply ensures reliable and safe operation.
For technical support, warranty claims, or further assistance, please contact TORCHSTAR customer service through their official website or the contact information provided with your purchase.