
Introduction
Thank you for choosing the Globo Rondell Retro Ceiling Spot Lamp. This manual provides essential information for the safe installation, operation, and maintenance of your new lighting fixture. Please read these instructions carefully before installation and retain them for future reference.
Safety Instructions
- Electrical Safety: Installation must be performed by a qualified electrician in accordance with local wiring regulations. Always disconnect power at the main circuit breaker before installation, maintenance, or bulb replacement.
- Voltage: Ensure the supply voltage matches the requirements of the fixture.
- Bulb Type: Use only compatible LED bulbs. Do not exceed the maximum wattage of 40W per bulb.
- Environment: This fixture is designed for indoor use only. Do not expose to moisture or extreme temperatures.
- Handling: Handle the fixture with care to avoid damage. Do not bend or twist wires excessively.
- Cleaning: Do not use abrasive cleaners or solvents. Refer to the Maintenance section for cleaning instructions.
Package Contents
Verify that all components are present and undamaged before proceeding with installation.
- 1x Globo Rondell Retro Ceiling Spot Lamp (Model 3302)
- Mounting hardware (screws, wall plugs)
- Instruction Manual
Note: Light bulbs are not included and must be purchased separately.
Specifications
| Brand | Globo |
| Model Number | 3302 |
| Style | Retro |
| Color | Black / Gold (Metal Cage Design) |
| Material | Metal, Plastic |
| Dimensions (L x W x H) | Approximately 13.11 x 16.89 x 11.61 cm |
| Number of Bulbs | 3 (Bulbs not included) |
| Compatible Bulb Type | LED |
| Max Wattage per Bulb | 40 Watts |
| Installation Type | Ceiling Mount / Semi-flush Mount |
| Usage | Indoor |
| Energy Label | A |
Setup and Installation
Important: Ensure power is disconnected at the main circuit breaker before beginning installation.
- Prepare the Installation Area: Choose a suitable location on the ceiling. Ensure the ceiling structure can support the weight of the fixture.
- Mark Drilling Points: Hold the mounting bracket (part of the fixture's base) against the ceiling at the desired installation point. Mark the positions for drilling holes.
- Drill Holes: Drill holes at the marked positions. Insert appropriate wall plugs if necessary.
- Secure Mounting Bracket: Attach the mounting bracket to the ceiling using the provided screws. Ensure it is firmly secured.
- Electrical Connection: Connect the household electrical wires to the fixture's wires according to local wiring codes (typically Live, Neutral, Earth). Ensure all connections are secure and properly insulated.
- Attach Fixture to Bracket: Carefully lift the lamp fixture and align it with the mounting bracket. Secure the fixture to the bracket using the screws or fasteners provided.
- Install Bulbs: Screw three compatible LED bulbs (max 40W each) into the lamp sockets.

Image: Angled view of the Globo Rondell Retro Ceiling Spot Lamp, highlighting its three adjustable light cages and central mounting point. This image shows the overall design and structure of the lamp.

Image: Top-down view of the Globo Rondell Retro Ceiling Spot Lamp, illustrating the wiring paths and the positions for installing the three light bulbs within their metal cages.
Operating Instructions
- Restore Power: Once installation is complete and all connections are secure, restore power at the main circuit breaker.
- Turn On/Off: Operate the lamp using your standard wall switch connected to the fixture's circuit.
- Adjust Spotlights: The individual spotlights can be manually adjusted to direct light to desired areas.
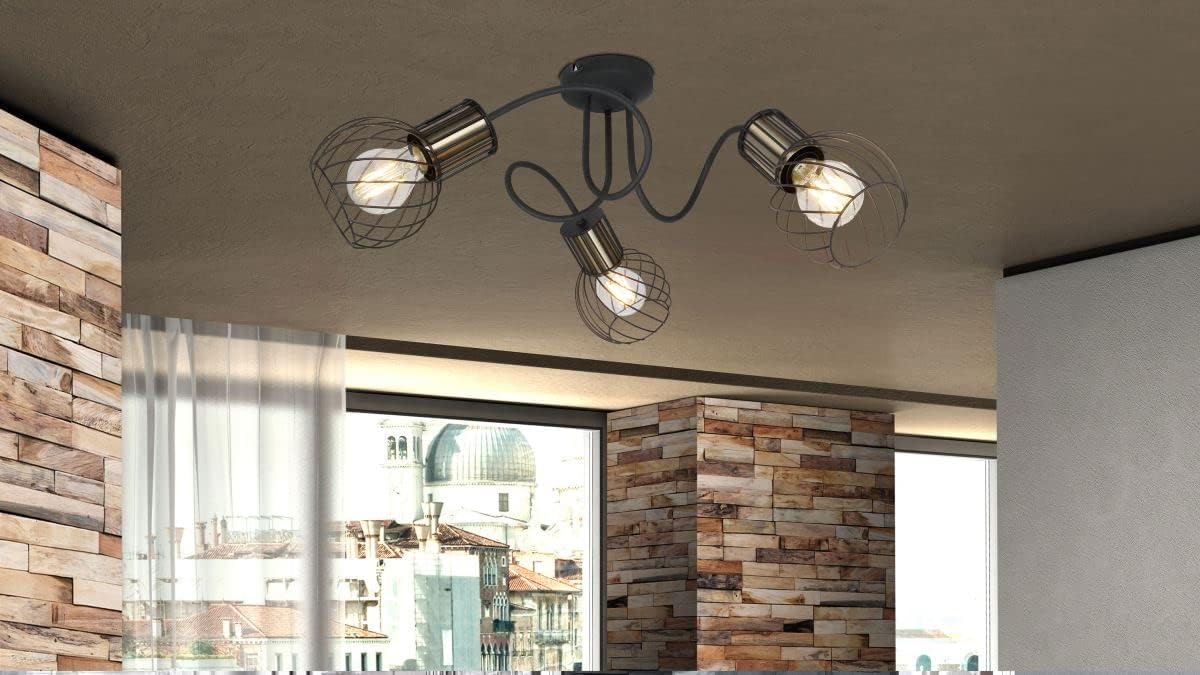
Image: The Globo Rondell Retro Ceiling Spot Lamp installed on a ceiling in a room, demonstrating its aesthetic appeal and how it illuminates the surrounding area.
Maintenance
- Cleaning: Before cleaning, ensure the power is disconnected. Wipe the fixture with a soft, dry cloth. Do not use harsh chemicals, abrasive cleaners, or polishes as they may damage the finish.
- Bulb Replacement: Disconnect power before replacing bulbs. Allow bulbs to cool completely before handling. Replace with compatible LED bulbs (max 40W each).
- Inspection: Periodically check for any loose connections or signs of wear. If any damage is observed, consult a qualified electrician.
Troubleshooting
| Problem | Possible Cause | Solution |
|---|---|---|
| Lamp does not light up. |
|
|
| Light flickers. |
|
|
| Fixture is hot to touch. |
|
|
If you encounter issues not listed here or if troubleshooting steps do not resolve the problem, please contact a qualified electrician or Globo customer support.
Warranty and Support
Information regarding specific warranty terms and conditions for this product is not available in the provided data. Please refer to your purchase documentation or contact Globo customer service for warranty details and support inquiries.
For further assistance, please visit the official Globo website or contact your retailer.
