1. Introduction
This manual provides detailed instructions for the assembly, operation, and maintenance of your SpyX DIY Voice Disguiser. Please read all instructions carefully before beginning assembly or use to ensure proper function and safety. This kit allows you to build your own voice disguiser, offering an engaging and educational experience in electronics and sound manipulation.
2. Package Contents
Before starting, verify that all components listed below are present in your package. If any parts are missing or damaged, please contact customer support.

Image 2.1: All individual components of the SpyX DIY Voice Disguiser kit, including the base, modules, and small parts, clearly labeled for identification.
- 1x Base Plate
- 1x Battery Module
- 1x Record/Play Module
- 1x Disguise Knob Module
- 1x Speaker Module
- 1x Microphone Module
- 1x Disguiser Module
- Assorted Wires
- Assorted Springs

Image 2.2: A detailed view of the wires and springs, essential for connecting the various modules of the voice disguiser.
3. Setup and Assembly
The SpyX DIY Voice Disguiser requires assembly. Follow these steps carefully.
3.1 Battery Installation
- Locate the Battery Module.
- Open the battery compartment cover.
- Insert the required batteries (not included) according to the polarity indicators (+/-).
- Close the battery compartment cover securely.
3.2 Module Assembly
The modules are designed to snap onto the base plate. Refer to Image 3.1 for a visual guide to the assembled unit.
- Place the Base Plate on a flat, stable surface.
- Carefully attach each module (Battery, Record/Play, Disguise Knob, Speaker, Microphone, Disguiser) to the studs on the Base Plate in your desired configuration. Ensure they are firmly seated.
- Using the provided wires, connect the modules as indicated in the wiring diagram (refer to the diagram included in the physical packaging, if available, or follow the logical flow for power and signal). Ensure all connections are secure.
- The springs can be used to enhance connections or for decorative purposes as desired.

Image 3.1: The fully assembled SpyX DIY Voice Disguiser, showcasing the arrangement of its various modules on the base plate.

Image 3.2: The SpyX DIY Voice Disguiser kit, showing both the product packaging and the assembled device, providing a complete overview.
4. Operating Instructions
Once assembled and powered, your SpyX DIY Voice Disguiser is ready for use.
4.1 Basic Voice Disguise
- Ensure the device is powered on (if applicable, check the Battery Module for an on/off switch).
- Speak clearly into the Microphone Module.
- Adjust the Disguise Knob Module to change the pitch and tone of your voice. Experiment with different settings to achieve various voice effects.
- Listen to your disguised voice through the Speaker Module.
4.2 Recording and Playback
The Record/Play Module allows you to capture and replay disguised messages.
- To record, press and hold the 'Record' button on the Record/Play Module. Speak into the Microphone Module. Release the button when finished.
- To play back your recorded message, press the 'Play' button on the Record/Play Module. The message will play through the Speaker Module.
- You can adjust the Disguise Knob during playback to hear the recorded message with different voice effects.
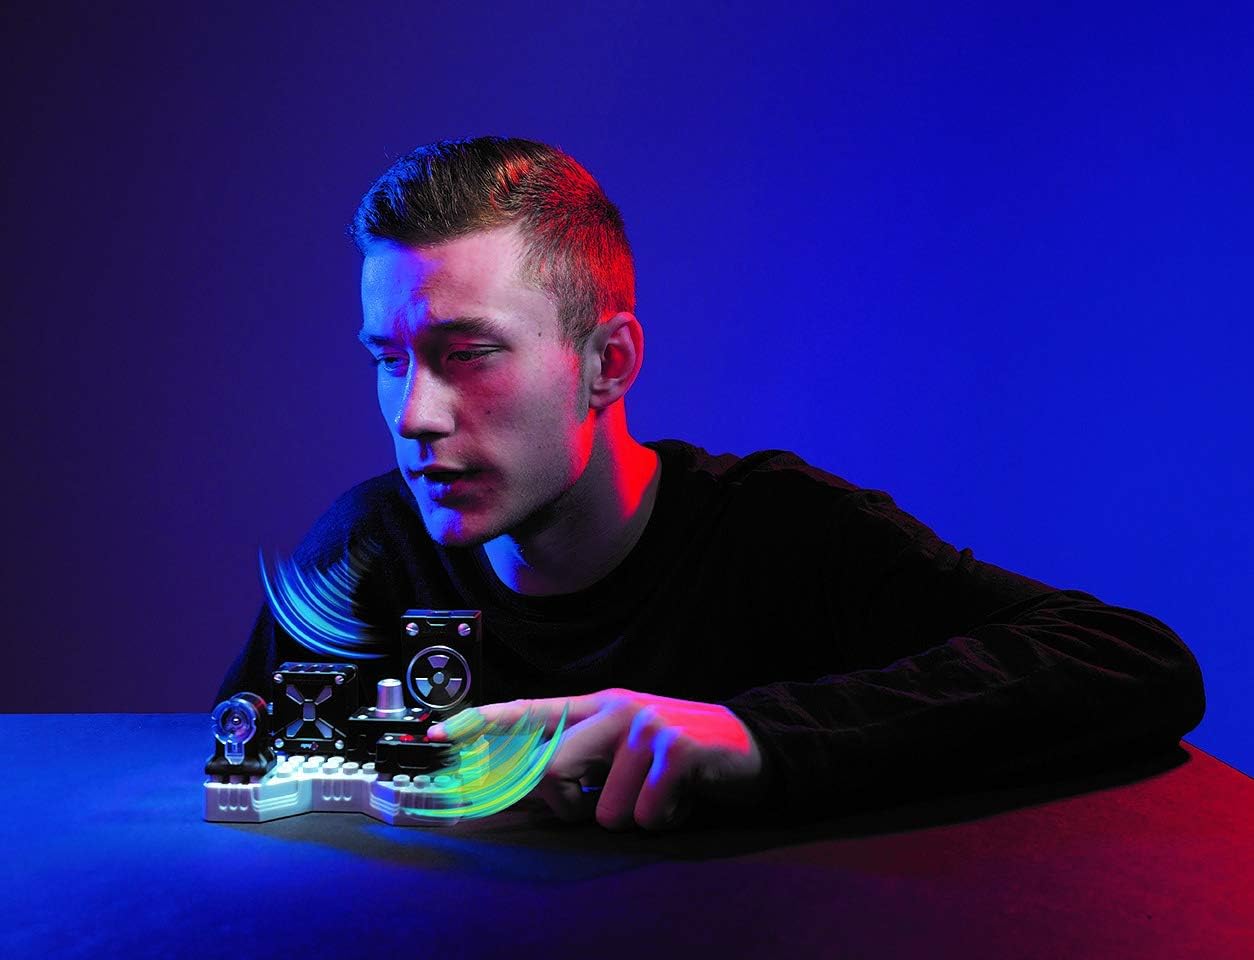
Image 4.1: A user demonstrating interaction with the SpyX DIY Voice Disguiser, adjusting the disguise knob to modify voice effects.
5. Maintenance
Proper care will extend the life of your SpyX DIY Voice Disguiser.
- Cleaning: Wipe the device with a soft, dry cloth. Do not use harsh chemicals or abrasive cleaners.
- Storage: Store the device in a cool, dry place away from direct sunlight and extreme temperatures.
- Battery Care: Remove batteries if the device will not be used for an extended period to prevent leakage.
- Connections: Periodically check all wire connections to ensure they are secure.
6. Troubleshooting
If you encounter issues with your SpyX DIY Voice Disguiser, refer to the following common problems and solutions.
- No Sound/Power:
- Ensure batteries are correctly installed and not depleted. Replace if necessary.
- Check all wire connections between the Battery Module and other components.
- Verify the device is switched on (if applicable).
- Distorted or Weak Sound:
- Ensure the Microphone Module is clean and unobstructed.
- Check connections to the Speaker and Disguiser Modules.
- Adjust the Disguise Knob to a different setting.
- Recording Not Working:
- Confirm you are pressing and holding the 'Record' button during recording.
- Ensure the Microphone Module is properly connected.
7. Specifications
| Product Dimensions | 12.7 x 10.16 x 8.64 cm |
| Item Weight | 172.37 grams |
| Model Number | 10755 |
| Number of Pieces | 1 (kit) |
| Assembly Required | Yes |
| Batteries Required | Yes |
| Batteries Included | No |
| Main Material | Plastic |
8. Safety Information
Please observe the following safety guidelines:
- This product contains small parts and is not suitable for children under 3 years due to choking hazards.
- Do not expose the device to water or excessive moisture.
- Do not attempt to modify or disassemble components beyond the intended assembly process.
- Use only the specified type of batteries. Do not mix old and new batteries or different types of batteries.
- Dispose of batteries responsibly according to local regulations.
9. Warranty and Support
For warranty information or technical support, please refer to the contact details provided in the original product packaging or visit the official SpyX website. Keep your proof of purchase for any warranty claims.