
LoraTap RR500W
LoraTap WiFi Smart Switch Module User Manual
Model: RR500W
Thank you for choosing LoraTap. This manual provides detailed instructions for the installation, operation, and maintenance of your WiFi Smart Switch Module.
1. Product Overview
The LoraTap WiFi Smart Switch Module (Model RR500W) is a compact device designed to convert traditional switches into smart, app-controlled, and voice-activated switches. It supports two-way control and can be integrated into your smart home system.

Figure 1: LoraTap WiFi Smart Switch Module (Model RR500W). This image shows the compact white module with terminal blocks for wiring and a pairing button.
Key Features:
- Compatibility: Works with traditional switches for two-way control.
- Remote Control: Control devices from anywhere via the Smart Life app (Android/iOS).
- Voice Control: Compatible with Amazon Alexa and Google Assistant.
- Scheduling: Set timers and schedules for automatic on/off operations.
- Group Control: Manage multiple switches simultaneously or control one switch from multiple devices.
- Compact Size: Designed for surface or flush mounting.
2. Safety Information
Please read all safety warnings and instructions carefully before installation and operation. Failure to follow these instructions may result in electric shock, fire, or serious injury.
- Ensure power is OFF at the circuit breaker before installation.
- Installation should be performed by a qualified electrician.
- Do not exceed the maximum load capacity of 2500W / 10A.
- For indoor and dry environment use only.
- Operating temperature: 0-40 °C. Working humidity: <80%.
3. Setup and Installation
3.1 Wiring Diagram
The module supports various wiring configurations, including retaining the original wall switch function and 3-way switch setups. Always ensure power is disconnected before wiring.

Figure 2: Wiring Diagrams. This image illustrates three wiring scenarios: retaining the original wall switch function, no original wall switch, and a 3-way switch setup. Follow the diagrams carefully for correct installation.
- Input: Connect the Live (L) and Neutral (N) wires from your power supply to the module's Input L and Input N terminals.
- Output: Connect the Live (L) and Neutral (N) wires to your load (e.g., lamp) from the module's Output L and Output N terminals.
- Switch Connection (Optional): For traditional switch compatibility, connect your wall switch to the S1 and S2 terminals on the module.
3.2 App Installation and Pairing
To control your LoraTap Smart Switch Module, you need to install the "Smart Life" application on your smartphone.
- Download the "Smart Life" app from the App Store (iOS 8.0 or higher) or Google Play Store (Android 4.4 or higher).
- Register or log in to your Smart Life account.
- Ensure your phone is connected to a 2.4 GHz Wi-Fi network. The module does not support 5 GHz Wi-Fi.
- Power on the LoraTap module. The indicator light should blink rapidly, indicating it's in pairing mode. If not, press and hold the pairing button on the module for 5 seconds until it blinks rapidly.
- In the Smart Life app, tap "+" in the top right corner to add a device.
- Select "Electrical" > "Switch (Wi-Fi)" or "Curtain Switch" (depending on app version).
- Confirm the indicator light is blinking rapidly and follow the on-screen instructions to connect to your Wi-Fi network.
- Once successfully added, you can rename the device for easier identification.

Figure 3: Integration with a traditional wall switch. This image shows the compact module installed behind a wall switch, allowing both smart control and manual operation.

Figure 4: Module size comparison. This image compares the compact dimensions of the LoraTap module (46x46x18mm) to a larger, older model, highlighting its mini size for easy installation.
4. Operating Instructions
4.1 Remote Control via Smart Life App
Once the module is paired, you can control your connected device from anywhere using the Smart Life app.
- Open the Smart Life app and select your LoraTap switch.
- Tap the power icon to turn the connected device ON or OFF.
- You can also control multiple switches in a group or control one switch from multiple smartphones.

Figure 5: Remote control via Smart Life app. This image shows a smartphone displaying the Smart Life app interface, demonstrating how to remotely control lights and other devices connected to the LoraTap module.
4.2 Voice Control (Alexa & Google Assistant)
Integrate your LoraTap module with Amazon Alexa or Google Assistant for hands-free voice control.
- Ensure your Alexa or Google Home device is set up and connected to the internet.
- In the Alexa or Google Home app, enable the "Smart Life" skill.
- Link your Smart Life account to the Alexa/Google Home app.
- Discover devices. Your LoraTap switch should appear.
- You can now use voice commands, e.g., "Alexa, turn off the baby room light" or "Hey Google, turn on the living room lamp."

Figure 6: Voice control setup. This image illustrates how the LoraTap module can be controlled using voice commands through Amazon Alexa and Google Assistant devices, showing a user interacting with a smart speaker.
4.3 Scheduling and Timer Functions
Automate your lights and appliances by setting schedules and countdown timers within the Smart Life app.
- In the Smart Life app, select your LoraTap switch.
- Tap on "Schedule" to set specific times for the switch to turn ON or OFF daily or on selected days.
- Tap on "Countdown" to set a timer for the switch to turn OFF after a specified duration.
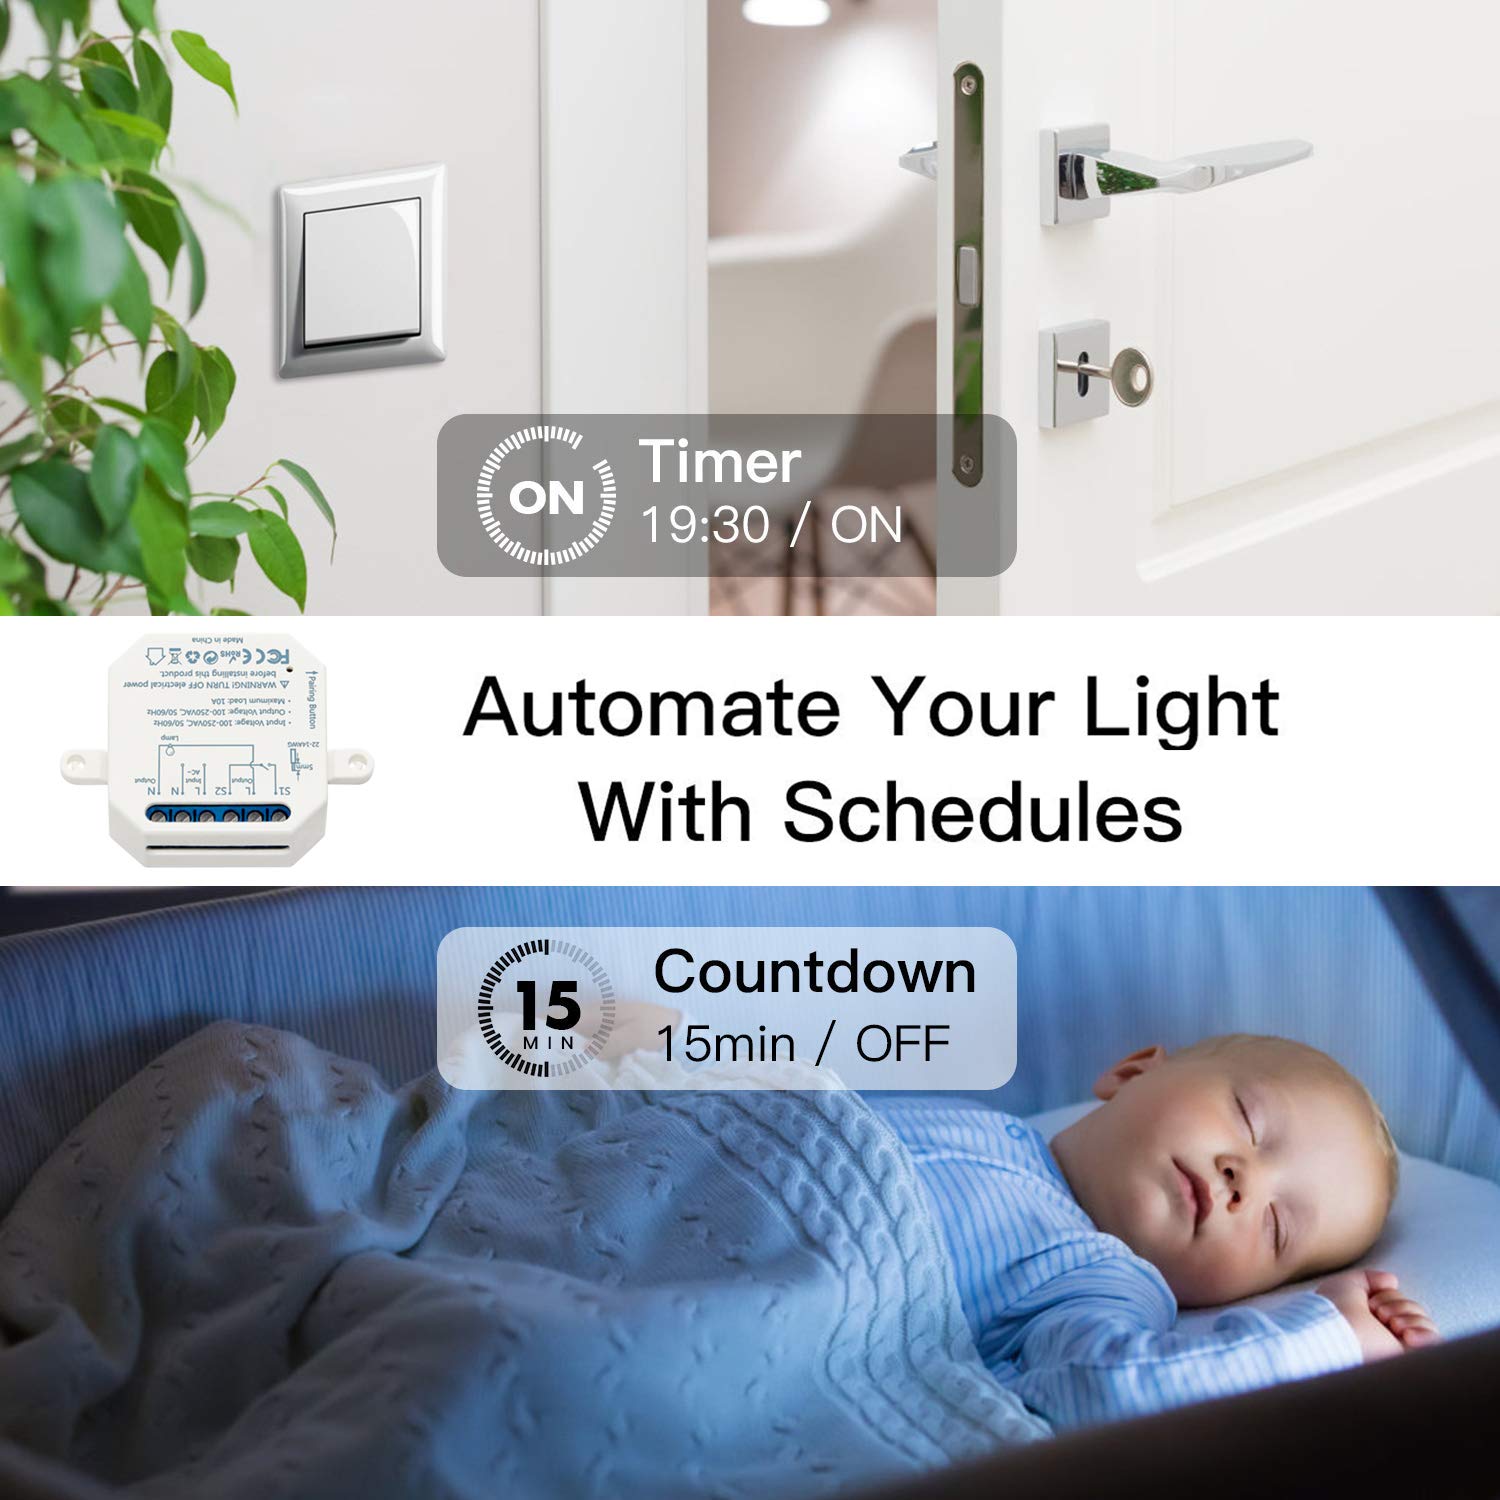
Figure 7: Scheduling and timer functions. This image demonstrates the ability to automate lighting with scheduled ON/OFF times and countdown timers, useful for daily routines or simulating presence.
5. Maintenance
The LoraTap WiFi Smart Switch Module requires minimal maintenance. Follow these guidelines to ensure optimal performance and longevity:
- Keep the module in a dry environment. Avoid exposure to moisture or extreme temperatures.
- Clean the exterior with a soft, dry cloth. Do not use harsh chemicals or abrasive cleaners.
- Periodically check wiring connections to ensure they are secure.
- Ensure your Wi-Fi network is stable and within range of the module.
6. Troubleshooting
| Problem | Possible Cause | Solution |
|---|---|---|
| Module not pairing / offline in app | Incorrect Wi-Fi network (5GHz), weak Wi-Fi signal, incorrect pairing mode. | Ensure you are on a 2.4 GHz Wi-Fi network. Move the module closer to the router. Reset the module by holding the pairing button for 5 seconds until it blinks rapidly, then try pairing again. |
| Device not responding to commands | Module offline, power issue, app glitch. | Check if the module is online in the Smart Life app. Verify power supply to the module. Restart the Smart Life app or your phone. |
| Voice control not working | Smart Life skill not enabled/linked, incorrect device name. | Ensure the "Smart Life" skill is enabled and linked in your Alexa/Google Home app. Check the device name in the Smart Life app and use that name in voice commands. Try rediscovering devices. |
| Traditional switch not working after installation | Incorrect wiring of S1/S2 terminals. | Double-check the wiring diagram (Figure 2) for the traditional switch connection. Ensure S1 and S2 are correctly wired. |
7. Specifications
| Specification | Value |
|---|---|
| Model Number | RR500W |
| Dimensions (L x W x H) | 4.6 x 4.6 x 1.8 cm |
| Weight | 110 grams |
| Input Voltage | 100-250VAC |
| Max Current | 10A |
| Max Power | 2500W |
| Wi-Fi Network | 2.4 GHz only |
| Operating Temperature | 0-40 °C |
| Working Humidity | <80% |
| Housing Material | High-quality ABS plastic |
| App Compatibility | Smart Life (Android 4.4+, iOS 8.0+) |
| Certifications | CE, RoHS |
| Contact Material | RoHS Compliant Material |
| Contact Type | Normally Open |
| Mounting Type | Surface Mount |
| Operating Mode | Automatic |
8. Warranty and Support
8.1 Warranty Information
The LoraTap WiFi Smart Switch Module comes with a 3-year warranty from the date of purchase. This warranty covers defects in materials and workmanship under normal use. It does not cover damage caused by misuse, accident, unauthorized modification, or improper installation.
8.2 Customer Support
If you encounter any issues or have questions regarding your LoraTap product, please contact our customer support team. For the fastest assistance, please have your model number (RR500W) and purchase details ready.
You can typically find support contact information on the LoraTap official website or through your purchase platform.
Ask a question about this manual
Ask about setup, troubleshooting, compatibility, parts, safety, or missing instructions. Manuals+ will review the question and use this page’s manual context to help answer it.