1. Introduction
This manual provides essential information for the safe and efficient operation of your Dansat DWT8 7kg Twin Tub Washing Machine. Please read these instructions carefully before using the appliance and retain them for future reference. Proper use and maintenance will ensure optimal performance and extend the lifespan of your washing machine.
2. Safety Information
WARNING: To reduce the risk of fire, electric shock, or injury, observe the following basic precautions:
- Ensure the power supply matches the voltage specified on the rating label (220-240V, 50/60Hz).
- Do not operate the washing machine with a damaged power cord or plug.
- Keep children and pets away from the appliance during operation.
- Never reach into the machine while it is operating. Wait until all movement has stopped.
- Do not wash items that have been soiled with flammable substances (e.g., gasoline, cleaning solvents).
- Unplug the appliance before cleaning, performing maintenance, or if it will not be used for an extended period.
- Ensure the machine is placed on a stable, level surface to prevent vibration and noise.
- Do not install the machine in areas exposed to direct sunlight or freezing temperatures.
3. Product Overview
The Dansat DWT8 is a twin tub washing machine designed for efficient washing and spinning of clothes. It features separate tubs for washing and spinning, controlled by simple knob operations.
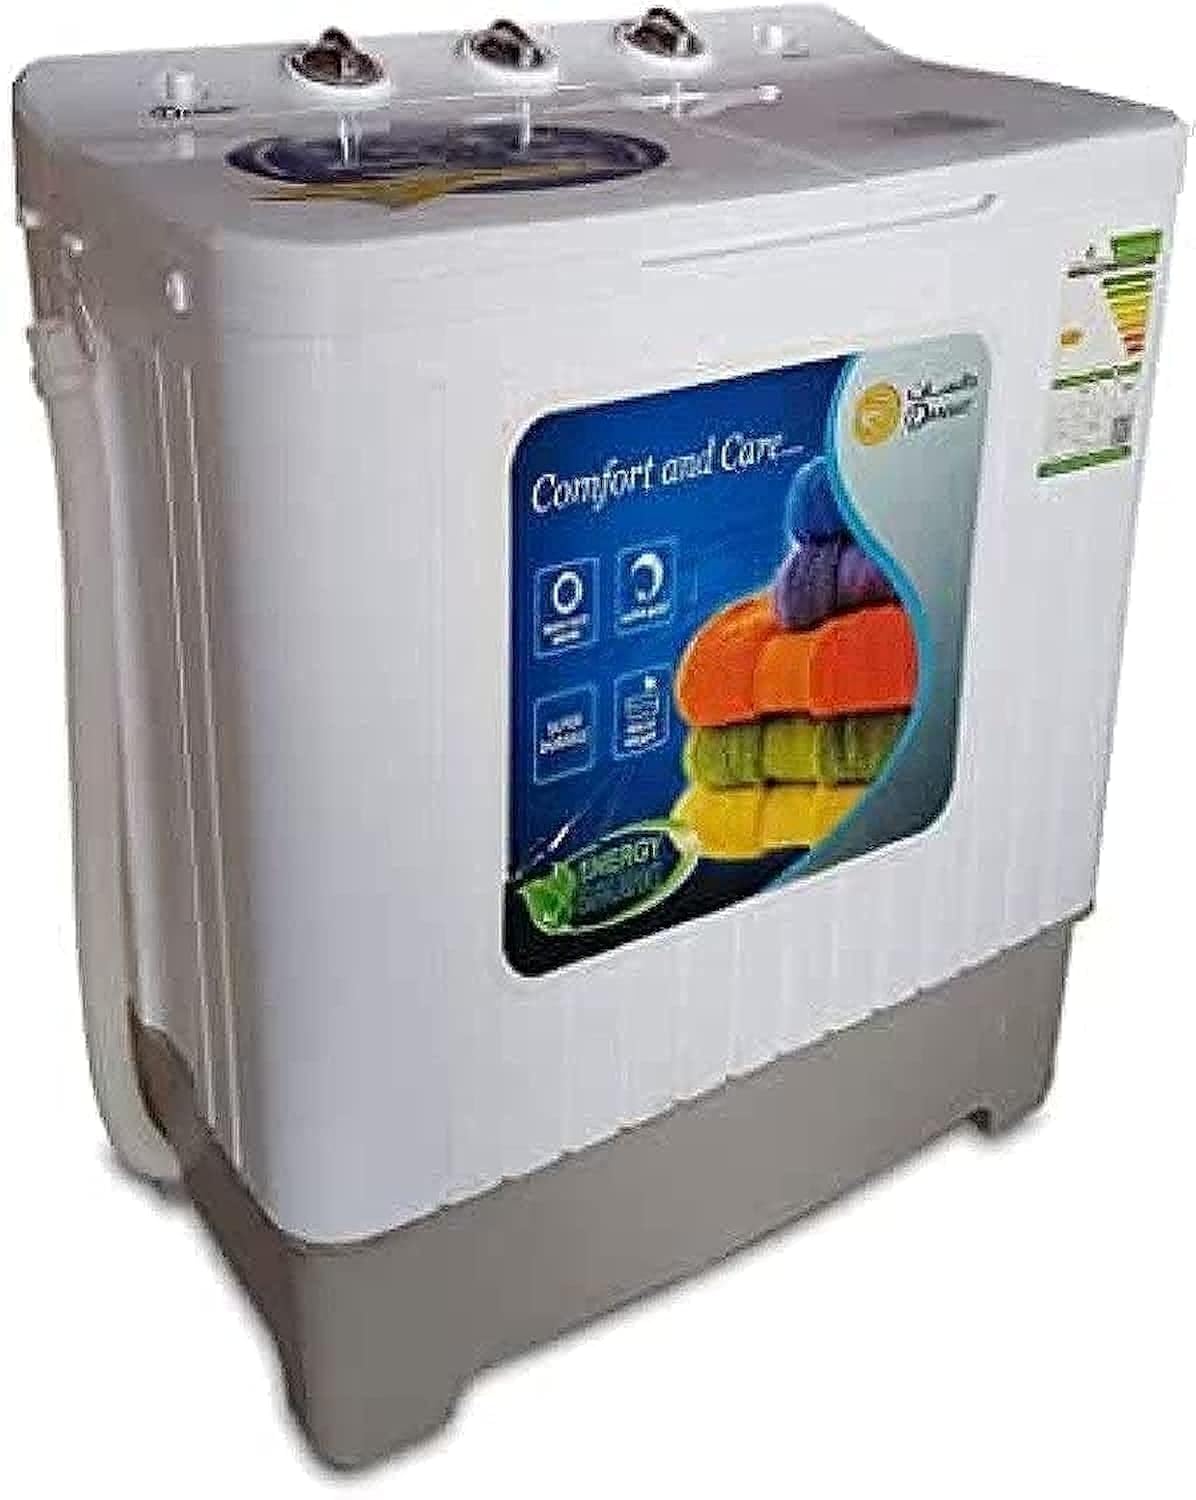
Image: Front view of the Dansat DWT8 Twin Tub Washing Machine, showing the two tubs and control panel.
Main Components:
- Wash Tub: For washing and rinsing clothes.
- Spin Tub: For spinning clothes to remove excess water.
- Control Panel: Contains knobs for wash timer, wash program, and spin timer.
- Water Inlet: For connecting the water supply hose.
- Drain Hose: For discharging wastewater.
- Lids: Covers for both wash and spin tubs.
Control Panel (Knobs):
- Wash Timer: Sets the duration of the wash cycle (e.g., 0-15 minutes).
- Wash Program Selector: Selects the wash intensity (e.g., Gentle, Normal, Strong).
- Spin Timer: Sets the duration of the spin cycle (e.g., 0-5 minutes).
4. Setup
4.1 Unpacking
Carefully remove the washing machine from its packaging. Inspect for any damage during transit. Retain packaging materials for potential future transport or service.
4.2 Placement
- Place the machine on a firm, level surface to minimize vibration and noise during operation.
- Ensure there is adequate space around the machine for ventilation and access.
- Avoid placing the machine in damp environments or near heat sources.
4.3 Water Connection
- Connect the water inlet hose to a cold water tap. Ensure the connection is secure to prevent leaks.
- Position the drain hose to allow for proper water discharge. It should be placed in a sink or a drain pipe, ensuring it is not kinked or blocked.
4.4 Power Connection
Plug the power cord into a grounded electrical outlet that meets the specified voltage and frequency requirements (220-240V, 50/60Hz).
5. Operating Instructions
5.1 Preparing Clothes
- Sort clothes by fabric type, color, and degree of soiling.
- Empty pockets and close zippers and hooks to prevent damage.
- For heavily soiled items, pre-soak if necessary.
5.2 Washing Cycle
- Open the wash tub lid and load clothes, ensuring not to exceed the 7kg capacity.
- Add appropriate amount of detergent directly into the wash tub.
- Fill the wash tub with water to the desired level.
- Select the desired wash program (e.g., Gentle, Normal, Strong) using the Wash Program Selector knob.
- Set the Wash Timer knob to the desired washing duration (e.g., 5-15 minutes). The machine will start automatically.
- Once the wash cycle is complete, drain the water by setting the drain option (if available, or manually drain).
5.3 Rinsing Cycle
- After draining the wash water, refill the wash tub with clean water.
- You may add fabric softener at this stage if desired.
- Set the Wash Timer for a short duration (e.g., 3-5 minutes) to rinse the clothes.
- Drain the rinse water. Repeat rinsing if necessary.
5.4 Spinning Cycle
- Carefully transfer the wet clothes from the wash tub to the spin tub. Distribute them evenly to maintain balance.
- Place the spin cap (if provided) on top of the clothes in the spin tub.
- Close the spin tub lid securely.
- Set the Spin Timer knob to the desired spinning duration (e.g., 1-5 minutes). The spin tub will start rotating.
- Once the spin cycle is complete, wait for the spin tub to come to a complete stop before opening the lid and removing clothes.
6. Maintenance
6.1 Cleaning the Exterior
Wipe the exterior of the washing machine with a soft, damp cloth. Do not use abrasive cleaners or solvents that could damage the plastic surface.
6.2 Cleaning the Lint Filter
Regularly check and clean the lint filter, usually located inside the wash tub. Remove accumulated lint to ensure efficient washing and prevent blockages.
6.3 Draining and Storage
After each use, ensure all water is drained from both tubs. If storing the machine for an extended period, ensure it is completely dry and unplugged. Store in a dry, well-ventilated area.
7. Troubleshooting
| Problem | Possible Cause | Solution |
|---|---|---|
| Machine does not start | No power supply; Lid not closed; Timer not set. | Check power plug and outlet; Ensure lids are closed; Set the timer. |
| Water does not drain | Drain hose kinked or blocked; Drain pump malfunction. | Straighten drain hose; Clear any blockages; Contact service if pump is faulty. |
| Excessive vibration/noise | Machine not level; Uneven load in spin tub. | Adjust machine to be level; Redistribute clothes evenly in the spin tub. |
| Water leaks | Loose hose connections; Damaged hose. | Tighten all hose connections; Replace damaged hoses. |
If the problem persists after attempting these solutions, please contact customer support.
8. Specifications
- Brand: Dansat
- Model: DWT8
- Capacity: 7 Kilograms
- Material: Plastic
- Loading Type: Top Load
- Color: White
- Voltage: 220-240 Volts
- Frequency: 50/60 Hertz
- Product Dimensions (D x W x H): 46 x 78 x 90 cm
- Item Weight: 22 Kilograms (approx. 48.5 Pounds)
- Control Type: Knob
- Special Feature: Temperature Control (via water inlet)
- Cycle Options: Drain, Spin, Rinse
9. Warranty and Support
For warranty information, please refer to the warranty card included with your purchase or contact your retailer. For technical support or service inquiries, please contact Dansat customer service. Keep your purchase receipt and model number (DWT8) handy when contacting support.
Contact information for customer support can typically be found on the manufacturer's website or on the product packaging.