1. Introduction
Thank you for choosing the Volteck Oslo Wallplate. This product integrates two single pole switches and one polarized grounding outlet into a single, convenient unit, designed for indoor use. This manual provides essential information for safe installation, operation, and maintenance of your new wallplate. Please read these instructions carefully before installation and retain them for future reference.
2. Safety Information
WARNING: RISK OF ELECTRIC SHOCK. IMPROPER INSTALLATION CAN RESULT IN SERIOUS INJURY OR DEATH.
- Always turn off power at the circuit breaker or fuse box before installing or servicing this product.
- Installation should be performed by a qualified electrician or a person with a thorough understanding of electrical wiring.
- Ensure all wiring connections are secure and comply with local electrical codes.
- Do not exceed the specified electrical ratings of the device.
- This product is designed for indoor use only. Do not install in wet or damp locations.
- If you are unsure about any part of these instructions, consult a qualified electrician.
3. Package Contents
Verify that all components are present before beginning installation:
- 1 x Volteck Oslo Wallplate with 2 Single Pole Switches and 1 Polarized Grounding Outlet
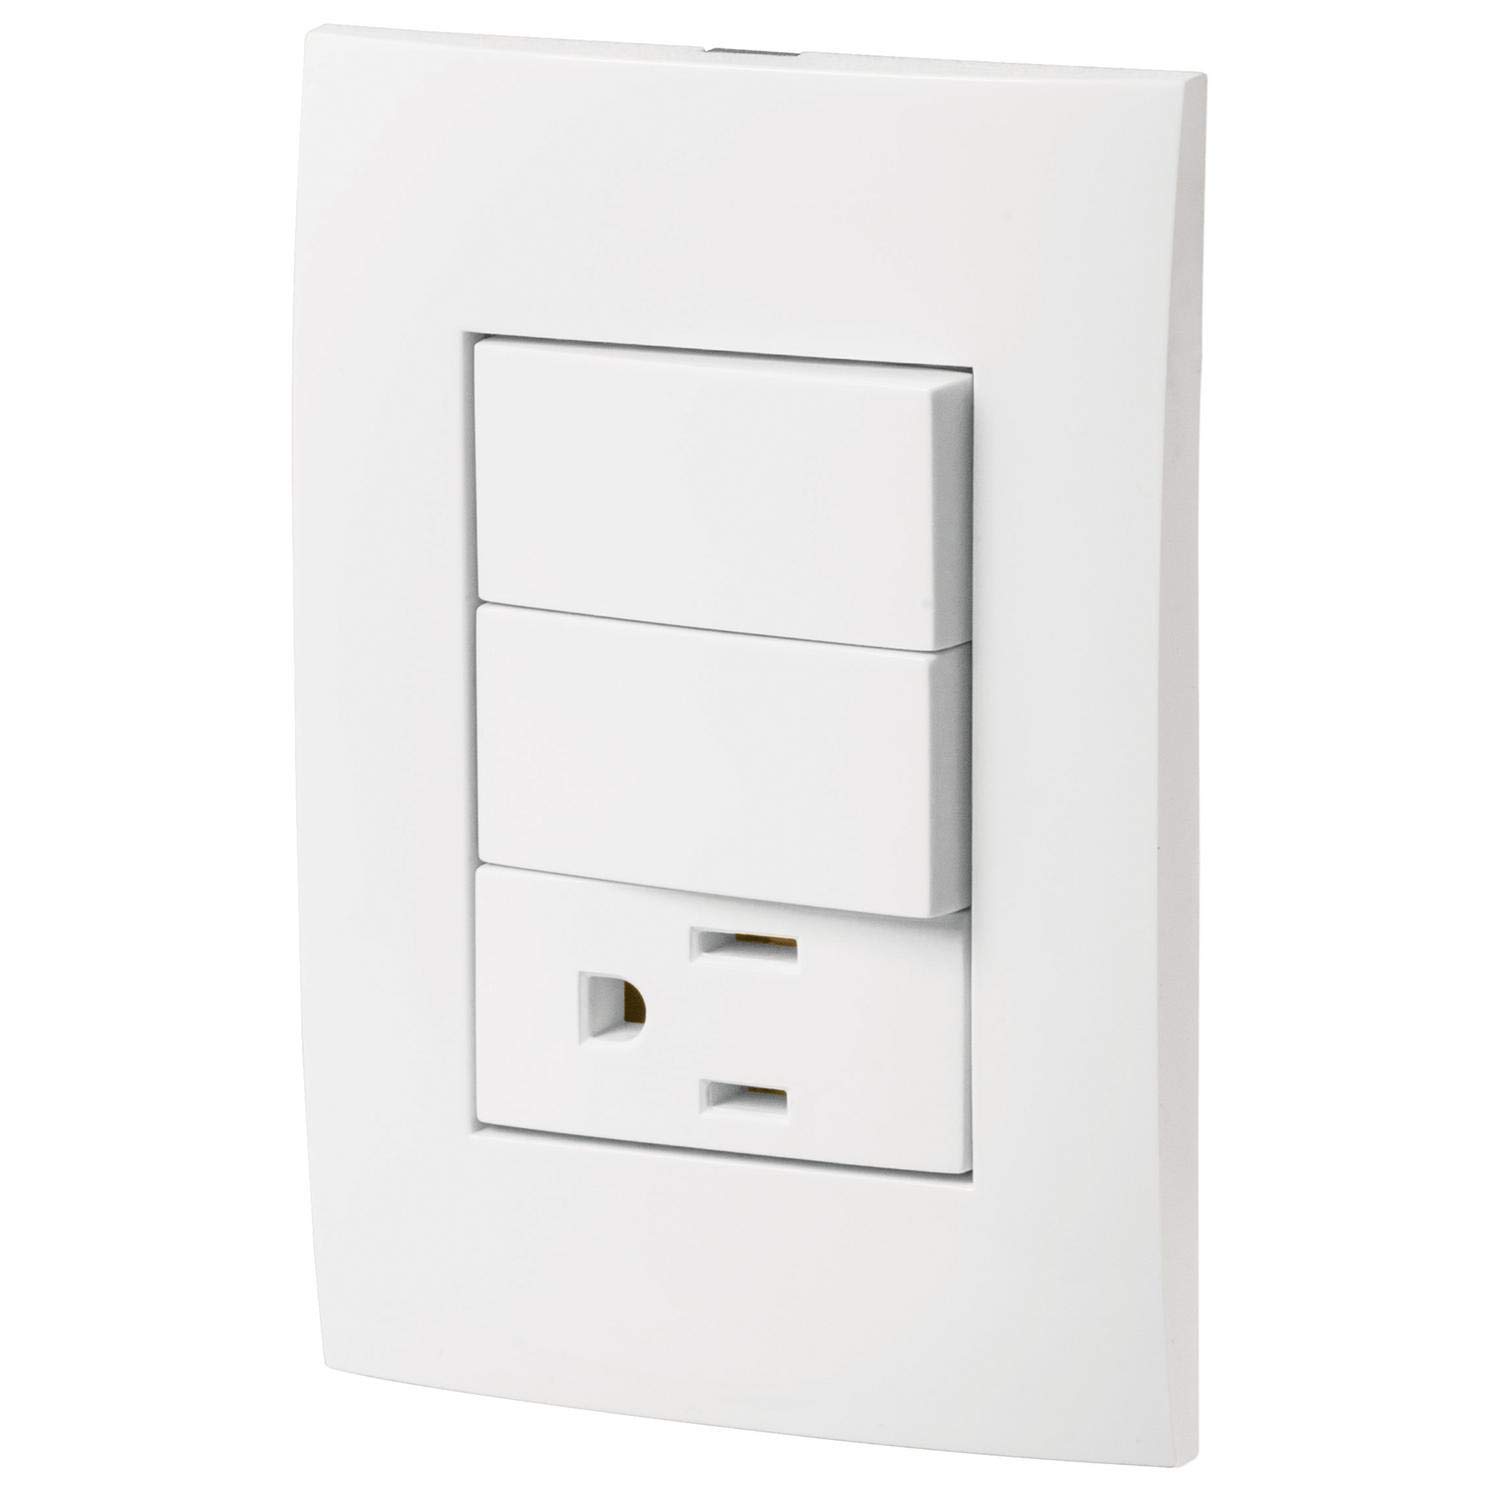
Image 1: Volteck Oslo Wallplate (Model PA-APCO-O2B) showing the two switches and the grounding outlet.
4. Installation / Setup
Follow these steps for safe and proper installation:
- Turn Off Power: Locate the circuit breaker or fuse that supplies power to the outlet box where you intend to install the wallplate. Turn off the power completely. Verify power is off using a voltage tester.
- Remove Old Wallplate (if applicable): Carefully remove the existing wallplate and device from the electrical box. Disconnect the wires, noting their connections.
- Prepare Wires: Strip approximately 1/2 inch (1.27 cm) of insulation from the ends of the electrical wires in the wall box, if necessary. Ensure wires are straight and free of nicks.
- Connect Wiring:
- Ground Wire (Green or Bare Copper): Connect to the green grounding screw on the wallplate.
- Hot/Live Wires (Black or Red): Connect to the brass-colored screws. For the switches, typically one hot wire feeds the switch, and another hot wire goes to the load (light fixture, etc.). For the outlet, connect the incoming hot wire to one of the brass screws.
- Neutral Wire (White): Connect to the silver-colored screw on the outlet. Switches typically do not require a neutral connection unless they have indicator lights or smart features (this model does not).
Note: Ensure all connections are tight. Do not overtighten screws.
- Mount the Wallplate: Carefully fold the wires into the electrical box, leaving enough space for the device. Insert the wallplate into the electrical box and secure it with the provided mounting screws. Do not overtighten.
- Install Cover Plate: Attach the decorative cover plate (if separate) over the installed device.
- Restore Power: Turn the power back on at the circuit breaker or fuse box.
- Test Functionality: Test both switches and the outlet to ensure they are working correctly.
5. Operation
The Volteck Oslo Wallplate is designed for straightforward operation:
- Switches: Each of the two single pole switches controls a separate lighting fixture or appliance. Press the top or bottom of the switch toggle to turn the connected device ON or OFF.
- Outlet: The polarized grounding outlet provides a standard 127V~ power connection for compatible electrical devices. Insert the plug of your device firmly into the outlet.
6. Maintenance
This Volteck wallplate requires minimal maintenance:
- Cleaning: To clean the surface, wipe with a soft, damp cloth. Do not use abrasive cleaners, solvents, or harsh chemicals, as these can damage the finish.
- Inspection: Periodically inspect the wallplate for any signs of damage, loose connections, or discoloration. If any issues are observed, turn off power at the circuit breaker and consult a qualified electrician.
- There are no user-serviceable parts inside this device. Do not attempt to disassemble.
7. Troubleshooting
If you encounter issues, refer to the following common problems and solutions:
| Problem | Possible Cause | Solution |
|---|---|---|
| No power to switches or outlet. | Power is off at the circuit breaker; loose wiring connection; faulty device. | Check circuit breaker and reset if tripped. Turn off power and check wiring connections. If problem persists, consult an electrician. |
| Switch does not control connected device. | Incorrect wiring; faulty switch. | Turn off power and verify wiring connections according to Section 4. If wiring is correct, the switch may be faulty and require replacement by a qualified electrician. |
| Outlet does not provide power. | Loose wiring connection; faulty outlet. | Turn off power and verify wiring connections. If wiring is correct, the outlet may be faulty and require replacement by a qualified electrician. |
If troubleshooting steps do not resolve the issue, contact a qualified electrician for assistance.
8. Specifications
- Model: PA-APCO-O2B
- Brand: Volteck
- Type: Wallplate with 2 Single Pole Switches + 1 Polarized Grounding Outlet
- Voltage: 127V~
- Material: Metal
- Color: White
- Finish Type: Polished
- Installation Type: Screw-In
- Switch Type: Decorator
- Item Weight: 0.1 Kilograms
- Indoor Use Only: Yes
9. Warranty and Support
This Volteck product comes with a 1-Year Limited Warranty from the date of purchase. This warranty covers defects in materials and workmanship under normal use.
The warranty does not cover damage caused by improper installation, misuse, abuse, accidents, unauthorized repairs, or modifications. For warranty claims or technical support, please contact your retailer or Volteck customer service.
Please retain your purchase receipt as proof of purchase for warranty purposes.