Singer HD6335M
SINGER Heavy Duty 6335M Sewing Machine User Manual
Model: HD6335M
1. Introduction
Thank you for choosing the SINGER Heavy Duty 6335M Sewing Machine. This machine is engineered for durability and performance, designed to handle a wide range of fabrics, including heavy materials like denim. With its robust construction and powerful motor, it provides reliable and efficient sewing for various projects. This manual provides essential information for the safe operation, setup, maintenance, and troubleshooting of your new sewing machine. Please read it thoroughly before use.
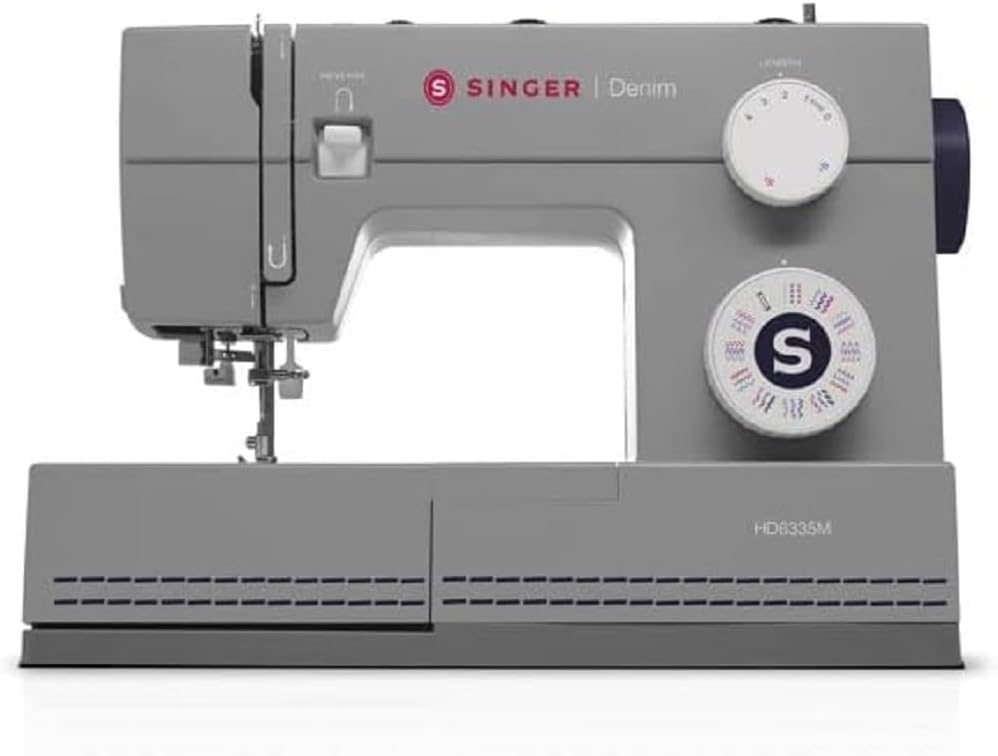
Figure 1: The SINGER Heavy Duty 6335M Sewing Machine. This image shows the overall design of the machine, highlighting its grey color and the prominent SINGER branding.
2. Safety Instructions
Always follow basic safety precautions when using electrical appliances to reduce the risk of fire, electric shock, or injury to persons.
- Read all instructions before using the machine.
- Keep fingers away from all moving parts. Special care is required around the sewing machine needle.
- Always unplug the sewing machine from the electrical outlet when removing covers, lubricating, or when making any other user servicing adjustments mentioned in the instruction manual.
- Never operate the sewing machine if it has a damaged cord or plug, if it is not working properly, if it has been dropped or damaged, or dropped into water.
- Never drop or insert any object into any opening.
- Do not use outdoors.
- Do not operate where aerosol (spray) products are being used or where oxygen is being administered.
- To disconnect, turn all controls to the off position, then remove plug from outlet.
- Do not unplug by pulling on cord. To unplug, grasp the plug, not the cord.
3. Package Contents
Upon unpacking your SINGER Heavy Duty 6335M, please verify that all components are present. The standard package typically includes:
- SINGER Heavy Duty 6335M Sewing Machine
- Foot Controller
- Power Cord
- Standard Accessories (e.g., various presser feet, needles, bobbins, seam ripper, lint brush, screwdriver)
- Soft Dust Cover
- Instruction Manual (this document)
Note: Specific accessories may vary by region or package. Refer to your product packaging list for exact contents.
4. Setup
4.1 Power Connection
- Place the machine on a stable, flat surface.
- Connect the foot controller plug to the machine's receptacle.
- Connect the power cord to the machine's power input and then to a suitable electrical outlet.
- Turn on the power switch, usually located on the side of the machine.
4.2 Winding the Bobbin
Proper bobbin winding ensures smooth stitching.
- Place a spool of thread on the spool pin.
- Guide the thread through the upper thread guide and around the bobbin winding tension disc.
- Place an empty bobbin onto the bobbin winder spindle.
- Wrap the thread around the bobbin a few times, then push the bobbin winder spindle to the right.
- Press the foot controller gently to start winding. Stop when the bobbin is full.
- Cut the thread and remove the bobbin.
4.3 Inserting the Bobbin
The SINGER Heavy Duty 6335M features a top drop-in bobbin system for easy access.
- Open the bobbin cover plate.
- Insert the full bobbin into the bobbin case, ensuring the thread unwinds in the correct direction (usually counter-clockwise).
- Guide the thread through the tension spring and into the thread guide channel.
- Pull out about 6 inches of thread and close the bobbin cover.
4.4 Threading the Upper Thread
Correct upper threading is crucial for balanced stitches.
- Raise the presser foot lifter.
- Place a spool of thread on the spool pin.
- Guide the thread through the upper thread guide.
- Bring the thread down the right channel, around the tension discs, and up the left channel.
- Hook the thread into the take-up lever from right to left.
- Bring the thread down through the guides to the needle.
- Use the built-in needle threader (if available) or manually thread the needle from front to back.

Figure 2: Threading the needle. This image illustrates the process of threading the needle, showing the thread being guided through the needle eye.
4.5 Drawing Up the Bobbin Thread
- Hold the upper thread lightly with your left hand.
- Turn the handwheel towards you to lower the needle into the needle plate and then raise it.
- The upper thread will catch the bobbin thread, forming a loop. Pull the loop up through the needle plate opening.
- Pull both threads (upper and bobbin) under the presser foot and towards the back of the machine.
5. Operating Instructions
5.1 Stitch Selection
Your SINGER Heavy Duty 6335M offers 32 built-in stitches. Use the stitch selector dial to choose the desired stitch pattern. Refer to the stitch chart on the machine for visual guidance.
5.2 Stitch Length and Width Adjustment
Adjust stitch length and width using the corresponding dials to suit your fabric and project needs. Longer stitches are generally for thicker fabrics, while shorter stitches are for finer details.
5.3 Sewing Speed Control
The sewing speed is controlled by the foot controller. Press gently for slower speeds and apply more pressure for higher speeds. The machine is capable of high-speed sewing for efficient work.
5.4 Sewing Heavy Fabrics
This machine is specifically designed for heavy-duty sewing, including multiple layers and denim fabrics.
- Use appropriate heavy-duty needles (e.g., denim needles) for thick materials.
- Adjust the presser foot pressure if your machine has this feature (refer to specific machine details).
- Ensure proper thread tension for heavy fabrics to prevent skipped stitches or thread breakage.
5.5 Free Arm Sewing
Remove the accessory storage compartment to reveal the free arm. This feature is ideal for sewing cylindrical items like cuffs, sleeves, and pant hems.
5.6 Buttonhole Sewing
The machine supports easy buttonhole creation.
- Attach the one-step buttonhole foot.
- Insert the button into the back of the buttonhole foot.
- Select the buttonhole stitch on the stitch selector dial.
- Lower the buttonhole lever.
- Begin sewing; the machine will automatically create the buttonhole to the size of your button.

Figure 3: Buttonhole foot in position. This image shows the buttonhole presser foot attached to the machine, positioned over fabric, ready for automatic buttonhole stitching.
6. Maintenance
Regular maintenance ensures the longevity and optimal performance of your sewing machine.
6.1 Cleaning
- Always unplug the machine before cleaning.
- Remove the needle plate and bobbin case.
- Use the lint brush (included with accessories) to remove lint and dust from the feed dogs and bobbin area.
- Wipe the exterior of the machine with a soft, dry cloth. Do not use harsh chemicals or abrasive cleaners.
6.2 Lubrication
Your SINGER Heavy Duty 6335M is designed to require minimal lubrication. Refer to the full instruction manual for specific oiling points if necessary. Over-oiling can attract lint and cause issues.
6.3 Needle Replacement
Replace needles frequently (after every 8-10 hours of sewing or when bent/dull) to prevent skipped stitches and fabric damage.
- Turn off and unplug the machine.
- Loosen the needle clamp screw.
- Remove the old needle.
- Insert a new needle with the flat side facing the back of the machine, pushing it up as far as it will go.
- Tighten the needle clamp screw securely.
7. Troubleshooting
This section addresses common issues you might encounter.
| Problem | Possible Cause | Solution |
|---|---|---|
| Machine not sewing | Machine not plugged in; power switch off; bobbin winder engaged. | Check power connection; turn power switch on; disengage bobbin winder. |
| Skipped stitches | Incorrect needle size/type; bent or dull needle; improper threading; incorrect tension. | Change needle to correct type/size; replace needle; re-thread machine correctly; adjust tension. |
| Thread breaking (upper) | Improper threading; tension too tight; poor quality thread; burr on needle plate or bobbin case. | Re-thread machine; loosen upper tension; use good quality thread; check for burrs and smooth them. |
| Thread breaking (bobbin) | Improperly wound bobbin; bobbin inserted incorrectly; lint in bobbin case. | Re-wind bobbin evenly; re-insert bobbin correctly; clean bobbin case area. |
| Fabric not feeding | Feed dogs lowered; lint in feed dogs; presser foot pressure too low. | Raise feed dogs; clean feed dogs; increase presser foot pressure. |
For more detailed troubleshooting, please refer to the comprehensive manual available on the SINGER website or contact customer support.
8. Specifications
| Feature | Detail |
|---|---|
| Model Number | HD6335M |
| Brand | Singer |
| Stitches | 32 Built-in Stitches |
| Speed | High Speed Capability |
| Arm Type | Free Arm |
| Product Dimensions | 22T x 45B x 34H cm |
| Package Dimensions | 44.8 x 34 x 21.8 cm |
| Package Weight | 7.9 Kilograms |
| Color | Grey |
9. Warranty and Support
9.1 Product Warranty
The SINGER Heavy Duty 6335M Sewing Machine comes with a 2-year manufacturer's warranty. This warranty covers defects in materials and workmanship under normal use. Please retain your proof of purchase for warranty claims.
9.2 Customer Support
For technical assistance, service, or to inquire about replacement parts, please contact SINGER customer support. You can find contact information and additional resources, including a digital version of this manual and FAQs, on the official SINGER website: www.singer.com.
EU replacement parts availability is guaranteed for 2 years.
Ask a question about this manual
Ask about setup, troubleshooting, compatibility, parts, safety, or missing instructions. Manuals+ will review the question and use this page’s manual context to help answer it.