Introduction
This manual provides essential information for the safe and efficient operation of your FTVOGUE 5A MPPT Solar Charge Controller. Please read these instructions carefully before installation and use. This device is designed to optimize solar energy utilization for battery charging.
- MPPT Technology: Features Maximum Power Point Tracking for optimal solar energy conversion.
- Input Voltage: Compatible with DC 8-28V, with low voltage protection starting from 1V.
- Output Voltage: Continuously variable DC 5-26V, suitable for various lithium battery types.
- Output Capacity: Maximum output current of 5A, with LED indicators for operational status.
- Battery Compatibility: Supports 6V-16.8V lithium batteries and 7.2V-14.4V lithium-iron batteries (2-4 series).
Product Overview
The FTVOGUE 5A MPPT Solar Charge Controller is a compact and efficient module designed for solar power systems. It features a robust circuit board with clearly marked terminals for easy connection.

Image: Top view of the FTVOGUE 5A MPPT Solar Charge Controller, showing the large black heatsink covering most of the components. Input and output terminals are visible on the left side.
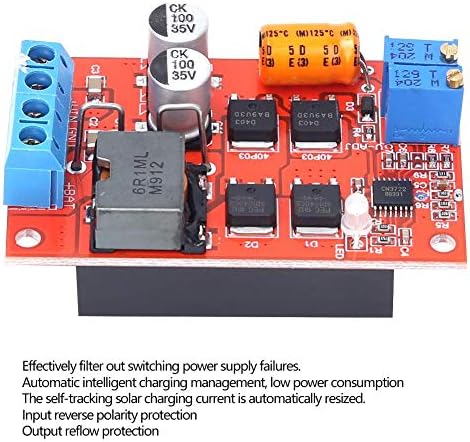
Image: Angled view of the FTVOGUE 5A MPPT Solar Charge Controller circuit board, revealing various electronic components such as capacitors, inductors, and integrated circuits. Text overlay highlights key features: "Effectively filter out switching power supply failures. Automatic intelligent charging management, low power consumption. The self-tracking solar charging current is automatically resized. Input reverse polarity protection. Output reflow protection."
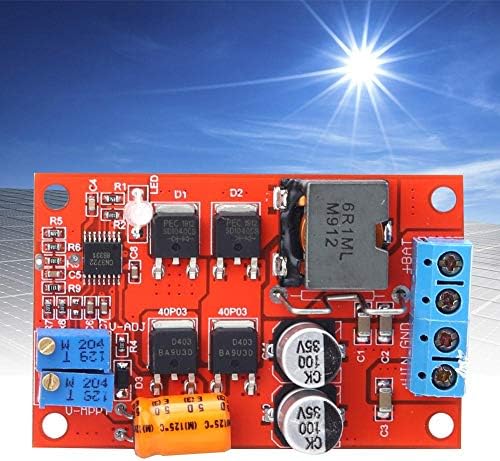
Image: Top-down view of the FTVOGUE 5A MPPT Solar Charge Controller, with a bright sun and solar panel array in the background, illustrating its intended use.
Specifications
| Feature | Detail |
|---|---|
| Model Number | FTVOGUEugkrt8v2ea |
| Input Voltage | DC 8-28V |
| Output Voltage | DC 5-26V (continuously variable) |
| Maximum Output Current | 5A |
| Low Voltage Protection | Starts from 1V |
| Battery Compatibility | 6V-16.8V Lithium, 7.2V-14.4V Lithium-Iron (2-4 series) |
| Technology | MPPT (Maximum Power Point Tracking) |
| Country of Origin | China |
Setup Instructions
Follow these steps for proper installation and connection of the solar charge controller:
- Safety First: Ensure all power sources are disconnected before making any connections. Wear appropriate safety gear.
- Identify Terminals: Locate the input terminals for the solar panel (+VIN, -VIN) and output terminals for the battery (+BAT, -BAT, GND). Refer to the product images for visual guidance.

Image: Detailed top-down view of the controller board, clearly showing the screw terminals labeled '+BAT', '-BAT', 'GND', and '+VIN', '-VIN' for battery and input connections respectively.
- Connect Battery: Connect the battery to the +BAT and -BAT terminals. Ensure correct polarity. The controller should be connected to the battery first.
- Connect Solar Panel: Connect the solar panel to the +VIN and -VIN terminals. Ensure correct polarity. The solar panel should be connected after the battery.
- Optional Load Connection: If your system includes a direct load from the controller, connect it to the appropriate load terminals (if available and specified in your system design). For this specific model, the output is primarily for battery charging.
- Verify Connections: Double-check all connections for tightness and correct polarity before applying power.
Operating Instructions
Once properly installed, the FTVOGUE 5A MPPT Solar Charge Controller operates automatically:
- Automatic MPPT: The controller will automatically track the maximum power point of your solar panel to ensure efficient charging of the connected battery.
- LED Indicators: Observe the LED indicators on the board for operational status. (Specific LED functions are not detailed in the provided data, refer to product packaging if available). Generally, an LED might indicate charging status or power presence.
- Charging Cycle: The controller manages the charging process, including overcharge protection and maintaining optimal battery health.
- Output Voltage Adjustment: The output voltage is continuously variable (DC 5-26V). This adjustment is typically done via a potentiometer on the board. Exercise caution when adjusting to match your battery's voltage requirements.
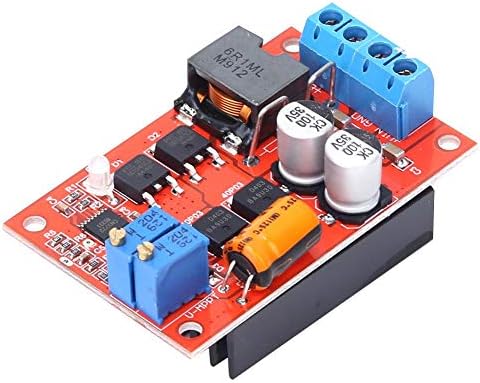
Image: Angled view of the controller board, showing two blue potentiometers (variable resistors) labeled "W 204" and "U-MPPT" which are likely used for adjusting output voltage and MPPT settings.
Maintenance
The FTVOGUE 5A MPPT Solar Charge Controller requires minimal maintenance. Adhere to the following guidelines:
- Keep Clean: Periodically inspect the controller for dust or debris accumulation. Clean with a soft, dry cloth.
- Check Connections: Ensure all wire connections remain secure and free from corrosion.
- Ventilation: Ensure adequate airflow around the heatsink to prevent overheating, especially during high current operation.
- Environmental Conditions: Operate the controller within its specified temperature and humidity ranges. Avoid exposure to direct moisture or extreme temperatures.
Troubleshooting
If you encounter issues with your solar charge controller, consider the following common troubleshooting steps:
| Problem | Possible Cause | Solution |
|---|---|---|
| No charging activity / No output |
|
|
| Low charging current |
|
|
| Controller overheating |
|
|
Note: Some users have reported concerns regarding the MPPT functionality of similar modules. While this controller is designed with MPPT technology, if you suspect it is not performing as expected, ensure all connections are correct and environmental conditions are optimal. If problems persist, contact customer support.
Warranty and Support
For warranty information or technical support, please contact FTVOGUE customer service through your purchase platform or the official FTVOGUE website. Please have your model number (FTVOGUEugkrt8v2ea) and purchase details ready when contacting support.