1. Introduction and Product Overview
Thank you for choosing the cooler depot VRX1500 Commercial Refrigerated Countertop Preparation Table. This unit is designed for commercial use, providing efficient and reliable refrigeration for various food preparation needs, such as sandwich making, salad bars, and condiment stations.
Key features of your unit include:
- European Standard refrigerated topping unit.
- Interior and exterior construction from AISI304 stainless steel for durability and hygiene.
- Equipped with a digital thermostat and high-quality compressor for precise temperature control.
- Designed to accept GN 1/4 pans for the 330 range and GN 1/3 pans for the 380 range.
- Features CFC-free foaming and uses R134a/R600a refrigerants.
- Includes adjustable feet for stable placement.
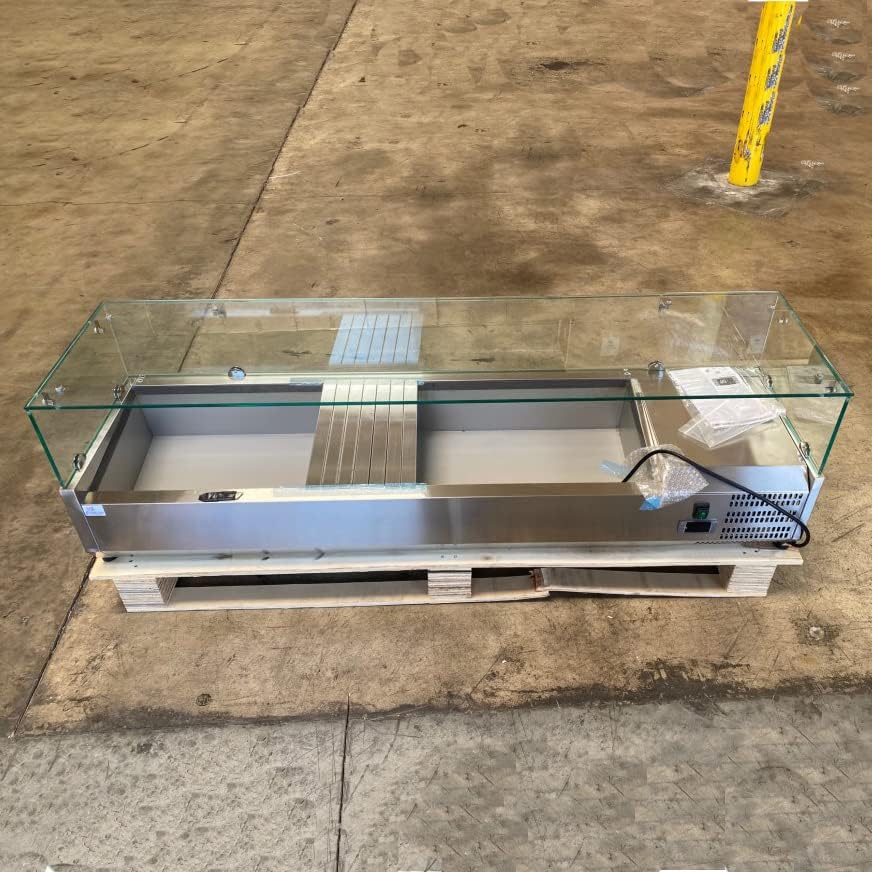
Figure 1: Front view of the VRX1500 unit, showcasing its stainless steel construction and glass sneeze guard.
2. Safety Information
Please read all safety instructions carefully before operating the unit to prevent injury or damage.
- Electrical Safety: Ensure the unit is connected to a properly grounded 110V, 60Hz electrical outlet. Do not use extension cords or adapters.
- Ventilation: Maintain adequate clearance around the unit for proper air circulation to prevent overheating of the compressor.
- Placement: Place the unit on a stable, level surface capable of supporting its weight.
- Cleaning: Disconnect power before cleaning. Use mild, non-abrasive cleaners.
- Maintenance: Only qualified personnel should perform maintenance or repairs.
- Refrigerant: This unit uses R600a refrigerant. Handle with care and ensure proper ventilation if a leak is suspected.
3. Unpacking and Installation
3.1 Unpacking
- Carefully remove the unit from its packaging. Inspect for any shipping damage. Report any damage to your carrier immediately.
- Remove all protective films, tapes, and packing materials from the interior and exterior surfaces.
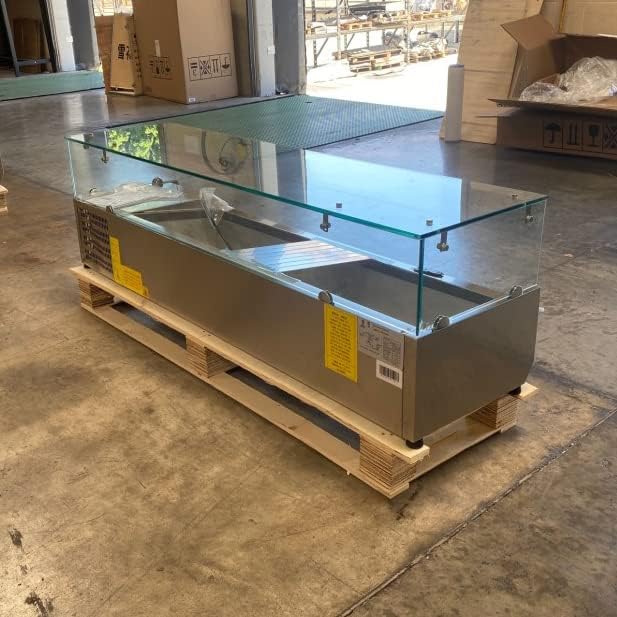
Figure 2: VRX1500 unit as received on a pallet, ready for unpacking.
3.2 Placement
- Place the unit on a strong, level countertop or stand.
- Ensure there is at least 4 inches (10 cm) of clearance on all sides, especially the rear, for proper ventilation. Avoid placing the unit near heat sources or in direct sunlight.
- Use the adjustable feet to level the unit. Proper leveling is crucial for efficient operation and drainage.
3.3 Electrical Connection
- Before plugging in, ensure the power supply matches the unit's requirements: 110V AC, 60Hz.
- Connect the unit to a dedicated, grounded electrical outlet. Do not use multi-outlet adapters or extension cords.
- Allow the unit to stand upright for at least 2 hours after moving before plugging it in to allow compressor oils to settle.
4. Operation
4.1 Initial Startup
- After connecting to power, turn on the unit using the power switch, typically located near the compressor compartment.
- Allow the unit to run empty for several hours (e.g., 2-4 hours) to reach its operating temperature before loading with food products.
4.2 Temperature Control
- The unit is equipped with a digital thermostat for precise temperature adjustment.
- The recommended operating temperature range is 34°F to 46°F (1°C to 8°C).
- Refer to the digital thermostat's specific instructions for setting and adjusting the temperature.
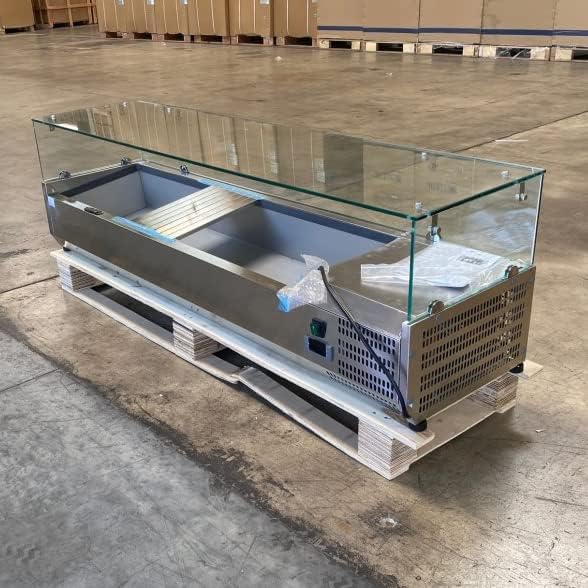
Figure 3: Side view showing the control panel and compressor ventilation.
4.3 Pan Configuration
- The unit is designed to accommodate standard Gastronorm (GN) pans.
- For the 330 range, use GN 1/4 pans.
- For the 380 range, use GN 1/3 pans.
- Ensure pans are properly seated to maintain optimal cooling efficiency.

Figure 4: Interior pan layout for Gastronorm pans.
5. Maintenance and Cleaning
5.1 Daily Cleaning
- Disconnect the unit from power before cleaning.
- Remove all food pans and clean them separately.
- Wipe down all interior and exterior stainless steel surfaces with a soft cloth and a mild, food-safe detergent. Rinse with clean water and dry thoroughly.
- Do not use abrasive cleaners, steel wool, or harsh chemicals, as these can damage the stainless steel finish.
5.2 Condenser Coil Cleaning
- The condenser coil should be cleaned regularly (monthly or quarterly, depending on usage and environment) to ensure optimal performance.
- Disconnect power. Locate the condenser coil (typically near the compressor).
- Use a brush or vacuum cleaner to remove dust and debris from the coil fins.
- Caution: Bent fins can reduce efficiency. Handle with care.
5.3 Automatic Defrost
- This unit features an automatic defrost system, minimizing manual defrosting.
- Ensure the drain pan and drain line are clear and unobstructed to allow proper water removal during defrost cycles.
6. Troubleshooting
Before contacting service, please check the following common issues:
| Problem | Possible Cause | Solution |
|---|---|---|
| Unit not cooling |
|
|
| Unit runs constantly |
|
|
| Excessive noise |
|
|
If problems persist after attempting these solutions, please contact customer support.
7. Specifications
| Feature | Detail |
|---|---|
| Model | VRX1500 (also known as Omcan VRX1500/380) |
| Brand | cooler depot |
| Product Dimensions (D x W x H) | 15"D x 60"W x 17"H |
| Net Weight | 97 lbs |
| Temperature Range | 34°F ~ 46°F (1°C ~ 8°C) |
| Voltage | 110V |
| Frequency | 60Hz |
| Rated Current | 1.6A |
| Refrigerant | R600a |
| Defrost System | Automatic |
| Material | AISI304 Stainless Steel (Interior/Exterior) |
| Installation Type | Countertop |
| UPC | 795787889992 |
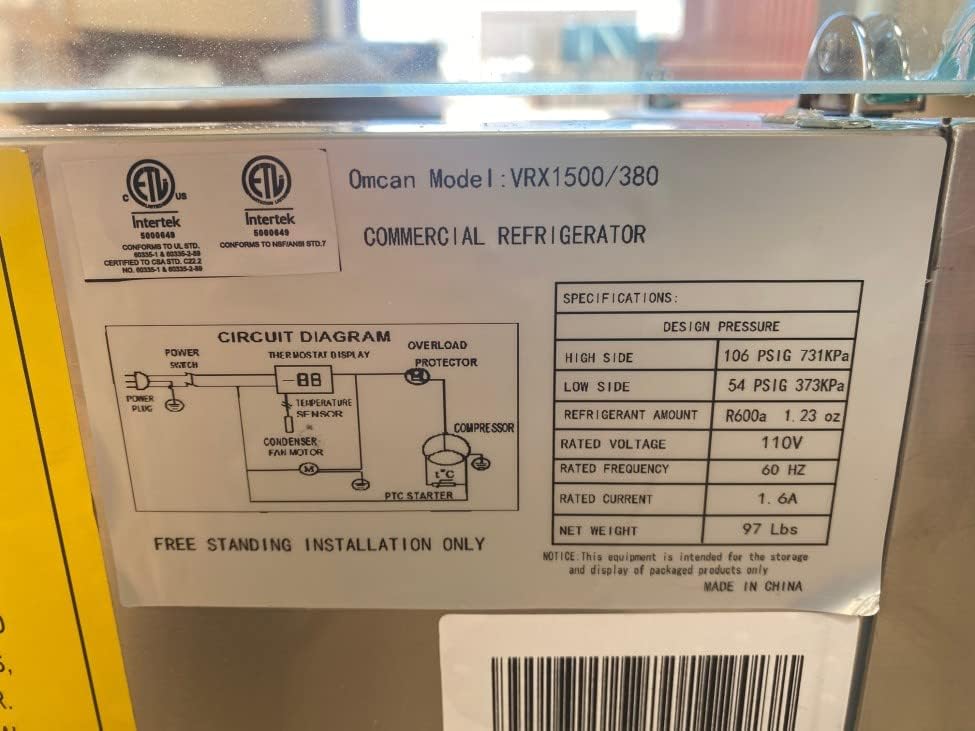
Figure 5: Product specification label, showing model and electrical details.
8. Warranty and Support
Your cooler depot VRX1500 unit comes with the following warranty:
- Parts Warranty: 3 years
- Compressor Warranty: 6 years
- Labor Warranty: 1 month
For functional issues requiring a return, the product must be bound onto a pallet and covered on all four sides by cardboard. Please contact cooler depot customer support for assistance with warranty claims or technical support.
For further information or support, please visit the cooler depot Store on Amazon.


