1. Introduction
This manual provides detailed instructions for the installation, operation, and maintenance of your Bitspower Monoblock designed specifically for the ASUS ROG Crosshair VIII Hero motherboard. This high-performance water cooling component is engineered to cool both the CPU and the motherboard's VRM (Voltage Regulator Module) simultaneously, ensuring optimal thermal management for your system.
Please read this manual thoroughly before installation to ensure proper setup and to prevent damage to your components.
2. Safety Information
- Always disconnect power from your computer before installing or performing maintenance on any components.
- Liquid cooling systems involve fluids. Exercise extreme caution to prevent leaks, which can damage electronic components.
- Ensure all fittings are securely tightened, but do not overtighten, as this can strip threads or crack components.
- Use only compatible coolants. Mixing incompatible coolants can lead to corrosion or blockages.
- Keep out of reach of children.
3. Package Contents
Verify that all items are present in your package:
- Bitspower Monoblock for ASUS ROG Crosshair VIII Hero
- Mounting Screws and Backplate (if applicable)
- Thermal Paste
- Thermal Pads
- Installation Guide (this document)
4. Setup and Installation
Follow these steps carefully to install the monoblock onto your ASUS ROG Crosshair VIII Hero motherboard.
4.1. Preparation
- Remove Existing Coolers: Carefully remove your existing CPU cooler and any VRM heatsinks from the motherboard.
- Clean Surfaces: Thoroughly clean the CPU IHS (Integrated Heat Spreader) and the motherboard's VRM components using isopropyl alcohol to remove any old thermal paste or residue.
- Apply Thermal Pads: Apply the provided thermal pads to the designated VRM components on the motherboard as indicated in the monoblock's specific diagram (refer to product packaging or Bitspower website for detailed layout). Ensure good contact and coverage.
4.2. Monoblock Installation
- Apply Thermal Paste: Apply a small amount of thermal paste (pea-sized dot or thin line) to the center of the CPU IHS.
- Position Monoblock: Carefully align the monoblock over the CPU and VRM areas. Ensure the mounting holes on the monoblock align with those on the motherboard.
- Secure Monoblock: Gently lower the monoblock onto the motherboard. Using the provided mounting screws, secure the monoblock. Tighten screws in a diagonal pattern, applying even pressure until snug. Do not overtighten.
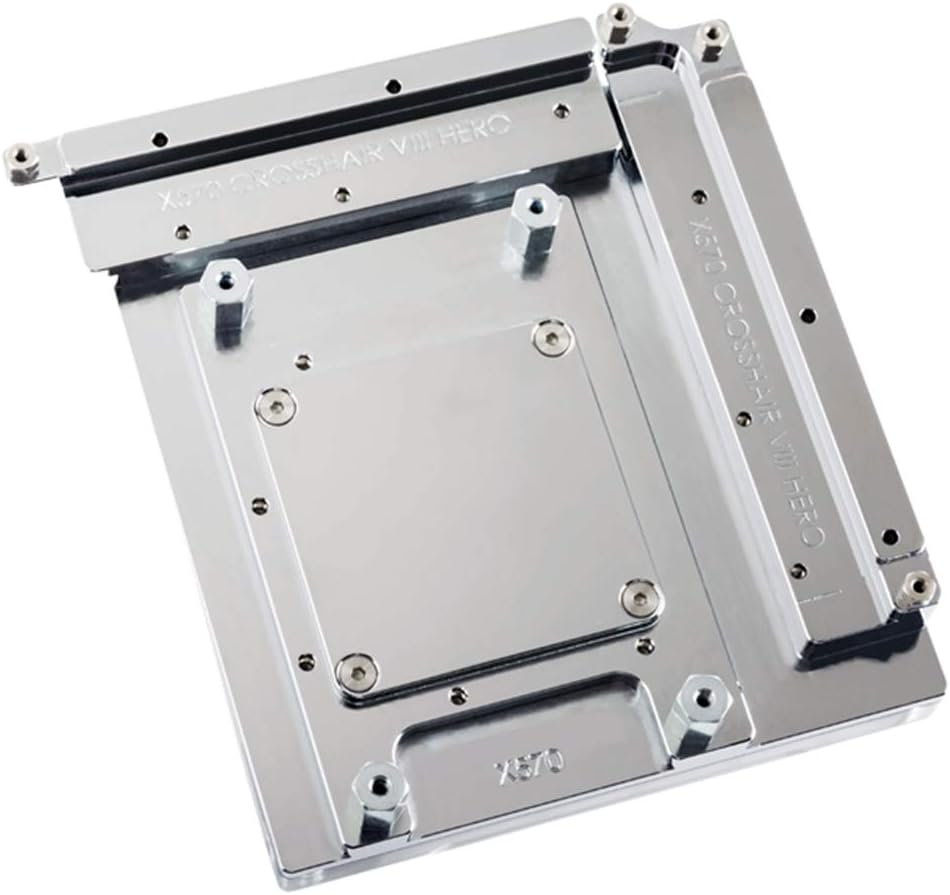
Image 1: Top view of the Bitspower Monoblock, showing its polished surface and mounting points. This image illustrates the component before installation.
4.3. Liquid Loop Integration
- Install Fittings: Screw your chosen G1/4" fittings into the inlet and outlet ports of the monoblock. Ensure O-rings are properly seated and fittings are hand-tightened.
- Connect Tubing: Connect your liquid cooling tubing to the installed fittings, routing them to your pump, radiator, and reservoir.
- Connect RGB (Optional): If your monoblock features RGB lighting, connect the RGB cable to the appropriate header on your motherboard (e.g., 5V Addressable RGB header).
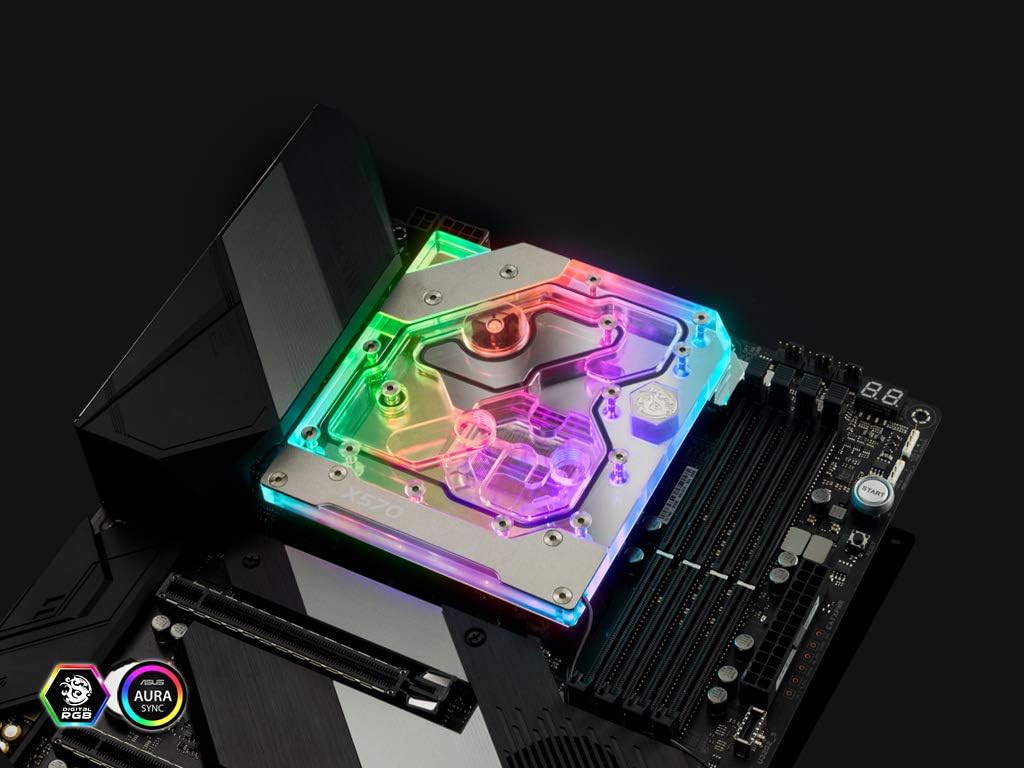
Image 2: The Bitspower Monoblock installed on an ASUS ROG Crosshair VIII Hero motherboard, showcasing its integration and illuminated RGB lighting.
4.4. Leak Testing
Before powering on your computer, perform a thorough leak test:
- Fill your liquid cooling loop with coolant.
- Power the pump independently (e.g., using a PSU jumper) without powering the rest of the system.
- Run the pump for at least 24 hours, carefully inspecting all fittings, tubing, and the monoblock for any signs of leaks. Place paper towels under components for easier leak detection.
- Only proceed to power on your full system once you are absolutely certain there are no leaks.
5. Operating Instructions
Once installed and leak-tested, the Bitspower Monoblock operates as an integral part of your custom liquid cooling loop. Ensure your pump is always running when the computer is powered on to maintain coolant flow.
- Monitoring: Use motherboard monitoring software (e.g., ASUS AI Suite, HWMonitor) to keep an eye on CPU and VRM temperatures to ensure optimal cooling performance.
- Coolant Flow: Ensure there are no obstructions in your loop that could impede coolant flow.
6. Maintenance
Regular maintenance is crucial for the longevity and performance of your liquid cooling system:
- Coolant Replacement: It is recommended to drain and replace the coolant in your loop every 6-12 months, depending on the coolant type and usage. Refer to your coolant manufacturer's guidelines.
- Cleaning: Periodically inspect the monoblock's fins and channels for any buildup or debris. If necessary, disassemble the monoblock (following manufacturer guidelines) and clean with distilled water and a soft brush.
- Fittings Check: Occasionally check all fittings for tightness to prevent potential leaks.
7. Troubleshooting
| Problem | Possible Cause | Solution |
|---|---|---|
| High CPU/VRM Temperatures |
|
|
| Coolant Leak |
|
|
| RGB Lighting Not Working |
|
|
8. Specifications
| Model Number | BP-MBASX570CVIIIH |
| Compatible Motherboard | ASUS ROG Crosshair VIII Hero (X570 chipset) |
| Cooling Method | Water Cooling |
| Material | High Quality Copper |
| Voltage (RGB) | 5 Volts (for Addressable RGB) |
| Noise Level | 1 Decibel (Monoblock itself is passive, noise refers to overall system impact) |
| Item Weight | 907 Grams |
9. Warranty and Support
Bitspower products are manufactured to high standards and come with a limited warranty. For specific warranty terms and conditions, please refer to the official Bitspower website or contact your retailer.
For technical support, product inquiries, or warranty claims, please visit the official Bitspower website or contact their customer service department. Ensure you have your product model number (BP-MBASX570CVIIIH) and proof of purchase available.
Official Website: www.bitspower.com