HAWK EYE SURVEILLANCE DS-2DE7232IW-AE / HNC112-IR
HAWK EYE SURVEILLANCE 2MP 32X Optical Zoom PTZ Dome Network IR Camera User Manual
Models: DS-2DE7232IW-AE, HNC112-IR
1. Introduction
This manual provides detailed instructions for the installation, operation, and maintenance of your HAWK EYE SURVEILLANCE 2MP 32X Optical Zoom PTZ Dome Network IR Camera. This high-performance surveillance camera is designed for both indoor and outdoor use, offering advanced features for comprehensive security monitoring.
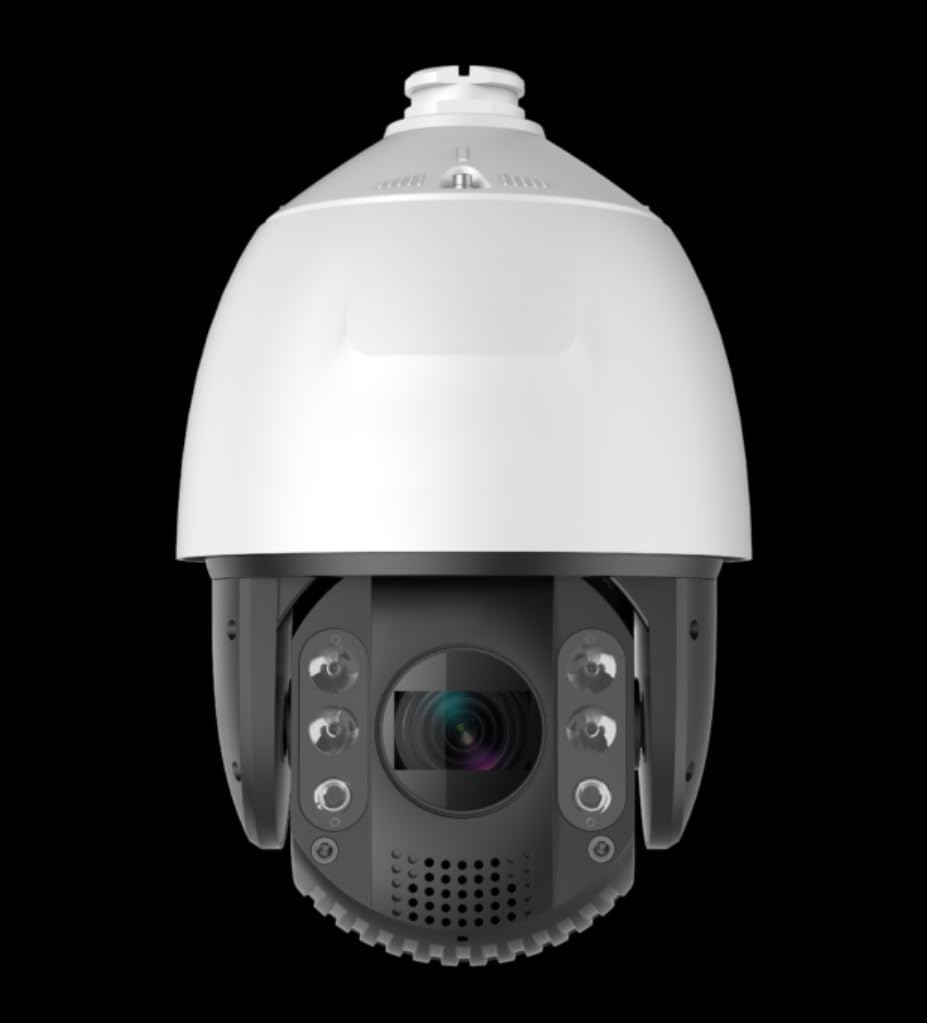
Image: Front view of the HAWK EYE SURVEILLANCE 2MP 32X Optical Zoom PTZ Dome Network IR Camera.
Key Features:
- Up to 1080P (1920 × 1080) @60fps Full HD Resolution
- 32X Optical Zoom, 16X Digital Zoom
- Up to 450 ft IR distance for clear night vision
- True Day/Night functionality, 3D DNR (Digital Noise Reduction), Digital WDR (Wide Dynamic Range)
- Support for H.265+/H.265 Video Compression for efficient storage and bandwidth usage
- IP66 standard for weather resistance
2. Setup and Installation
Proper installation is crucial for optimal performance and longevity of your camera. Ensure all power is disconnected before beginning installation.
2.1 Package Contents
Verify that all components are present:
- PTZ Dome Network IR Camera
- Mounting hardware
- Quick Start Guide (refer to this manual for full details)
2.2 Mounting Considerations
The camera is designed for wall mount installation and is suitable for both indoor and outdoor environments due to its IP66 protection rating. Choose a location that provides the desired field of view and is within reach of power and network connections.
- Ensure the mounting surface can support the camera's weight (approx. 9.92 Lbs).
- Avoid direct sunlight or strong light sources that may cause glare.
- Consider the working temperature range: -30°C to 65°C (-22 °F to 149 °F).
2.3 Power and Network Connection
The camera supports 24VAC power input or High-PoE. It connects to the network via a 10Base-T / 100Base-TX RJ45 Ethernet connector.
- Connect the power cable to the camera's power input.
- Connect an Ethernet cable from your network switch or router to the camera's RJ45 port.
- Ensure your network is configured to provide an IP address to the camera (DHCP recommended for initial setup, then assign static IP if needed).
3. Operating Instructions
Once the camera is physically installed and connected to the network, you can access and control it using compatible software or a web browser.
3.1 Initial Access and Configuration
Refer to the camera's specific software or web interface guide for detailed steps on initial login. Default credentials are often provided in a separate quick start guide or on the device itself. It is highly recommended to change default passwords immediately after initial setup for security.
3.2 Pan, Tilt, and Zoom (PTZ) Control
The camera features full PTZ capabilities:
- Pan: 360° endless rotation. Manual speed: 0.1° ~ 160°/s; Preset speed: 240°/s.
- Tilt: 5° ~ 90° range with auto-flip. Manual speed: 0.1° ~ 120°/s; Preset speed: 200°/s.
- Zoom: 32X optical zoom (4.8mm ~ 153mm focal length) and 16X digital zoom. Zoom speed is approximately 3 seconds (Optical Wide-Tele).
Control these functions via the camera's web interface or compatible NVR/VMS software.
3.3 Recording and Storage
The camera supports a Micro SD card slot for local storage, up to 128GB. Configure recording schedules and motion detection settings through the camera's interface.
3.4 Network and Security
- Image Compression: Supports H.265+, H.265, H.264+, H.264, and MPEG4.
- Audio Compression: Supports G.711u, G.711a, and G.726.
- Simultaneous Live View: Up to 6 users can view the live feed concurrently.
- User Levels: Three levels of access are available: Administrator, Camera control, and Live view only.
- Security Measures: Includes user authentication (ID and password), host authentication (MAC address), and IP address filtering.
- API Support: Open-ended API with support for ONVIF and PSIA protocols for integration with third-party systems.
4. Maintenance
Regular maintenance ensures the camera's optimal performance and extends its lifespan.
4.1 Cleaning
- Gently wipe the camera lens and dome cover with a soft, clean cloth.
- For stubborn dirt, use a mild, non-abrasive cleaning solution applied to the cloth, not directly to the camera.
- Do not use strong chemicals or solvents.
4.2 Environmental Protection
The camera has IP66 protection, TVS 4000V lightning protection, surge protection, and voltage transient protection. While robust, avoid exposing the camera to extreme conditions beyond its specified operating range.
5. Troubleshooting
This section addresses common issues you might encounter. For more complex problems, contact technical support.
5.1 No Image/Video Feed
- Check Power: Ensure the camera is receiving power (24VAC or PoE).
- Check Network Connection: Verify the Ethernet cable is securely connected and network indicators are active. Confirm network settings (IP address, gateway, DNS).
- Software/Browser Compatibility: Ensure your viewing software or web browser is compatible and up-to-date.
5.2 PTZ Control Not Responding
- Network Latency: High network latency can affect control responsiveness.
- Firmware: Ensure the camera's firmware is up-to-date.
- User Permissions: Verify your user account has the necessary permissions for PTZ control.
5.3 Recording Issues
- SD Card: Check if the Micro SD card is properly inserted and not full. Format if necessary (this will erase data).
- Recording Schedule: Verify that recording schedules are correctly configured.
- Motion Detection: If using motion-triggered recording, ensure motion detection settings are properly calibrated. The camera's alert type is Motion Only.
6. Specifications
| Category | Specification |
|---|---|
| Model Numbers | DS-2DE7232IW-AE, HNC112-IR |
| Image Sensor | 1/2.8″ Progressive Scan CMOS |
| Max. Resolution | 1080P (1920 × 1080) @60fps |
| Min. Illumination | Color: 0.005Lux @ (F1.4, AGC ON); B/W: 0.001 Lux (F1.6, AGC ON); 0 Lux with IR |
| Lens Focal Length | 4.8mm ~ 153mm, 32X Optical Zoom |
| Digital Zoom | 16X |
| IR Distance | Up to 450 ft |
| Pan Range | 360° endless |
| Pan Speed | Manual: 0.1° ~ 160°/s; Preset: 240°/s |
| Tilt Range | 5° ~ 90° (Auto Flip) |
| Tilt Speed | Manual: 0.1° ~ 120°/s; Preset: 200°/s |
| Number of Presets | 300 |
| Patrols | 8 patrols, up to 32 presets per patrol |
| Alarm I/O | 2/1 |
| Network Interface | 10Base-T / 100Base-TX, RJ45 connector |
| Image Compression | H.265+ / H.265 / H.264+ / H.264 / MPEG4 |
| Audio Compression | G.711u / G.711a / G.726 |
| Simultaneous Live View | Up to 6 users |
| Local Storage | Micro SD Slot, up to 128GB |
| Power Supply | 24VAC / High-PoE |
| Power Consumption | Max. 40W/21W (IR On / Off) |
| Working Temperature | -30°C ~ 65°C (-22 °F ~ 149 °F) |
| Protection Level | IP66, TVS 4000V lightning protection, surge protection, voltage transient protection |
| Dimensions | Ø8.66″ x 13.91″ |
| Weight | Approx. 9.92 Lbs |
| Connectivity Protocol | ONVIF |
| Mounting Type | Wall Mount |
| Low Light Technology | Day/Night |
| Alert Type | Motion Only |
7. Warranty and Support
For warranty information and technical support, please contact HAWK EYE SURVEILLANCE directly. Keep your purchase receipt as proof of purchase.
For further assistance, visit the official HAWK EYE SURVEILLANCE store on Amazon: HAWK EYE SURVEILLANCE Store
Ask a question about this manual
Ask about setup, troubleshooting, compatibility, parts, safety, or missing instructions. Manuals+ will review the question and use this page’s manual context to help answer it.