1. Introduction
This manual provides detailed instructions for the setup, operation, and maintenance of your Akai ACR-3888 Radio Alarm Clock with Projector. Please read this manual thoroughly before using the device to ensure proper function and safety.
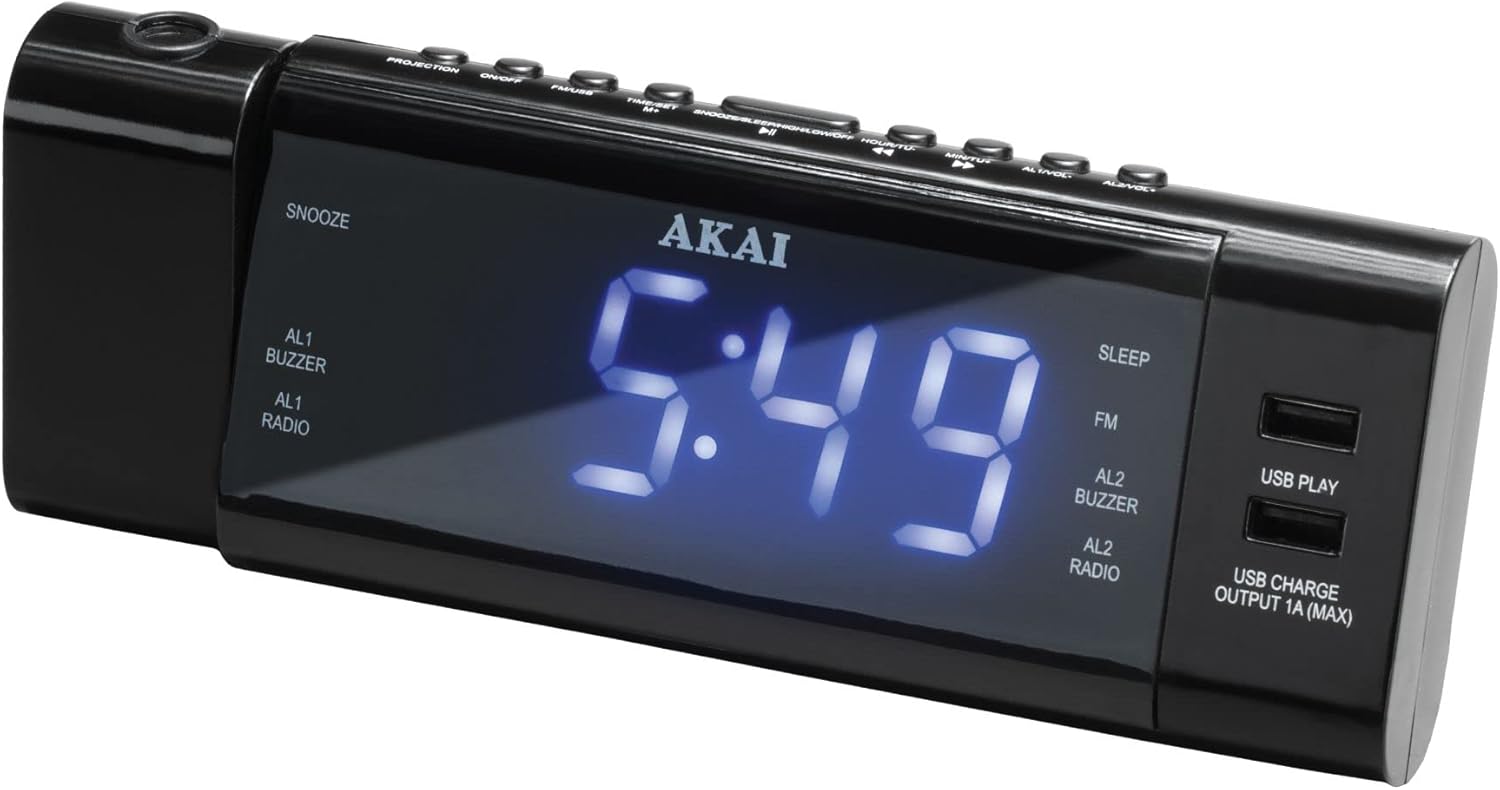
Figure 1: Akai ACR-3888 Radio Alarm Clock with Projector
2. Safety Information
- Do not expose the unit to rain or moisture to prevent fire or electric shock.
- Do not expose the unit to direct sunlight, heat sources, or excessive dust.
- Ensure proper ventilation around the unit. Do not block ventilation openings.
- Use only the power adapter supplied with the unit.
- Do not attempt to disassemble or modify the unit. Refer all servicing to qualified personnel.
- Keep the unit away from strong magnetic fields.
3. Package Contents
Please check that the following items are included in your package:
- Akai ACR-3888 Radio Alarm Clock with Projector
- Power Adapter
- User Manual
4. Product Overview and Controls
4.1 Front Panel Display
- Time Display: Large digital display for current time.
- AL1/AL2 Indicators: Lights up when Alarm 1 or Alarm 2 is active.
- Buzzer/Radio Indicators: Shows if the alarm sound is set to buzzer or radio.
- FM Indicator: Lights up when FM radio is active.
- SLEEP Indicator: Lights up when sleep timer is active.
- USB PLAY Indicator: Lights up when playing audio from USB.
- USB CHARGE Indicator: Lights up when a device is charging via USB.
4.2 Top Panel Controls

Figure 2: Top Panel Controls and Features
- PROJECTION Button: Activates/deactivates the time projection.
- ON/OFF Button: Powers the unit on or off.
- TIME/SET Button: Used to enter time setting mode.
- SNOOZE/SLEEP/DIMMER Button: Activates snooze, sets sleep timer, or adjusts display brightness.
- HOUR/TUNE+ Button: Adjusts hour in setting mode, tunes radio frequency up.
- MINUTE/TUNE- Button: Adjusts minute in setting mode, tunes radio frequency down.
- AL1/VOL+ Button: Sets Alarm 1, increases volume.
- AL2/VOL- Button: Sets Alarm 2, decreases volume.
4.3 Side Panel Features

Figure 3: Projector Lens and Focus Wheel
- Projector Lens: Projects the time onto a surface.
- Focus Wheel: Adjusts the clarity of the projected time.
- USB Play Port: For connecting a USB drive to play audio files.
- USB Charge Port (Output 1A MAX): For charging external devices.
5. Setup
5.1 Power Connection
- Plug the power adapter into the DC IN jack on the back of the unit.
- Plug the other end of the power adapter into a standard wall outlet.
5.2 Battery Backup Installation (Optional)
For retaining time and alarm settings during a power outage, install 2 x AAA batteries (not included) into the battery compartment on the bottom of the unit. Ensure correct polarity.
5.3 Initial Time Setting
- With the unit powered on, press and hold the TIME/SET button. The hour digits will flash.
- Press the HOUR/TUNE+ or MINUTE/TUNE- buttons to adjust the hour.
- Press the TIME/SET button again. The minute digits will flash.
- Press the HOUR/TUNE+ or MINUTE/TUNE- buttons to adjust the minute.
- Press the TIME/SET button once more to confirm and exit time setting mode.
6. Operating Instructions
6.1 Setting Alarms (AL1 and AL2)
- Press and hold the AL1/VOL+ button (for Alarm 1) or AL2/VOL- button (for Alarm 2). The alarm hour digits will flash.
- Use the HOUR/TUNE+ or MINUTE/TUNE- buttons to set the desired alarm hour.
- Press the respective alarm button again. The alarm minute digits will flash.
- Use the HOUR/TUNE+ or MINUTE/TUNE- buttons to set the desired alarm minute.
- Press the alarm button again to select the alarm source (Buzzer or Radio). The corresponding indicator will light up.
- Press the alarm button one last time to confirm and activate the alarm. The AL1 or AL2 indicator will appear on the display.
6.2 Radio Operation (FM)
- Press the ON/OFF button to turn on the unit.
- Press the ON/OFF button repeatedly to cycle through modes until FM radio is selected. The FM indicator will light up.
- Press the HOUR/TUNE+ or MINUTE/TUNE- buttons to manually tune the frequency.
- Press and hold the HOUR/TUNE+ or MINUTE/TUNE- buttons to automatically scan for the next available station.
- Adjust the volume using the AL1/VOL+ or AL2/VOL- buttons.
6.3 Sleep Timer
- While the radio is playing, press the SNOOZE/SLEEP/DIMMER button repeatedly to cycle through sleep timer options (e.g., 90, 60, 30, 15 minutes, OFF).
- The SLEEP indicator will light up when the sleep timer is active. The radio will automatically turn off after the selected duration.
6.4 Projection Feature

Figure 4: Time Projection in a Dark Environment
- Press the PROJECTION button to turn the time projection on or off.
- Rotate the projector lens to adjust the projection angle.
- Rotate the Focus Wheel (located next to the projector lens) to sharpen the projected image on the wall or ceiling.
6.5 USB Playback

Figure 5: USB Playback and Charging Functionality
- Insert a USB flash drive containing MP3 audio files into the USB Play port.
- Press the ON/OFF button repeatedly to select USB Play mode. The USB PLAY indicator will light up.
- The unit will automatically begin playing audio files from the USB drive.
- Use the HOUR/TUNE+ or MINUTE/TUNE- buttons to skip tracks.
6.6 USB Charging
Connect your smartphone or other USB-powered device to the USB Charge Output 1A (MAX) port using a compatible USB cable. The unit will begin charging your device. The USB CHARGE indicator will light up.
6.7 Display Dimmer
Press the SNOOZE/SLEEP/DIMMER button (when not in snooze or sleep timer mode) to adjust the brightness of the main display.
6.8 Snooze Function
When an alarm sounds, press the SNOOZE/SLEEP/DIMMER button to temporarily silence the alarm for approximately 9 minutes. The alarm will sound again after the snooze period.
7. Maintenance
7.1 Cleaning
Wipe the unit with a soft, dry cloth. Do not use abrasive cleaners or solvents, as they may damage the surface.
7.2 Battery Replacement
If the battery backup function is not working, replace the 2 x AAA batteries in the battery compartment. Ensure correct polarity when inserting new batteries.
8. Troubleshooting
- No Power: Ensure the power adapter is securely connected to both the unit and a working wall outlet. Check if the outlet has power.
- No Sound from Radio: Check the volume level. Ensure the unit is in FM radio mode. Extend the FM antenna (if applicable) for better reception.
- Alarm Not Sounding: Ensure the alarm is activated (AL1 or AL2 indicator is lit). Verify the alarm time is set correctly. Check the alarm volume.
- Projected Time is Blurry: Adjust the Focus Wheel next to the projector lens. Ensure the projection surface is within the optimal distance.
- USB Playback Not Working: Ensure the USB drive is formatted correctly (FAT32) and contains compatible audio files (MP3). Try a different USB drive.
9. Specifications

Figure 6: Product Dimensions
| Brand | Akai |
| Model Number | ACR-3888 |
| Color | Black |
| Display Type | Digital |
| Features | Alarm, Radio, Time Projection, USB Playback, USB Charging |
| Power Source | AC Power (with optional AAA battery backup) |
| Product Dimensions (L x H) | 20.5 cm x 7.5 cm (approximate, based on image) |
| Item Weight | 200 g |
10. Warranty and Support
For warranty information or technical support, please refer to the warranty card included with your product or visit the official Akai website. You may also contact Akai customer service for assistance.