1. Introduction
Thank you for choosing the Senseo HD6553/50 Coffee Maker. This manual provides essential information for the safe and efficient use, maintenance, and troubleshooting of your new appliance. Please read these instructions carefully before first use and keep them for future reference.

Image 1.1: The Senseo HD6553/50 Coffee Maker in operation, brewing two cups of coffee simultaneously.
2. Safety Instructions
Always observe the following safety precautions to prevent personal injury or damage to your appliance:
- Read all instructions before using the appliance.
- Do not immerse the appliance, plug, or cord in water or other liquids.
- Keep the appliance out of reach of children.
- Ensure the voltage indicated on the appliance corresponds to your local mains voltage.
- Unplug the appliance from the outlet when not in use and before cleaning.
- Do not operate any appliance with a damaged cord or plug, or after the appliance malfunctions or has been damaged in any manner.
- Use the appliance only for its intended household purpose.
3. Package Contents
Upon unpacking, please check that all items are present and in good condition:
- Senseo HD6553/50 Coffee Maker
- Removable Water Reservoir
- Drip Tray and Grid
- 1-cup Pod Holder
- 2-cup Pod Holder
- User Manual (this document)
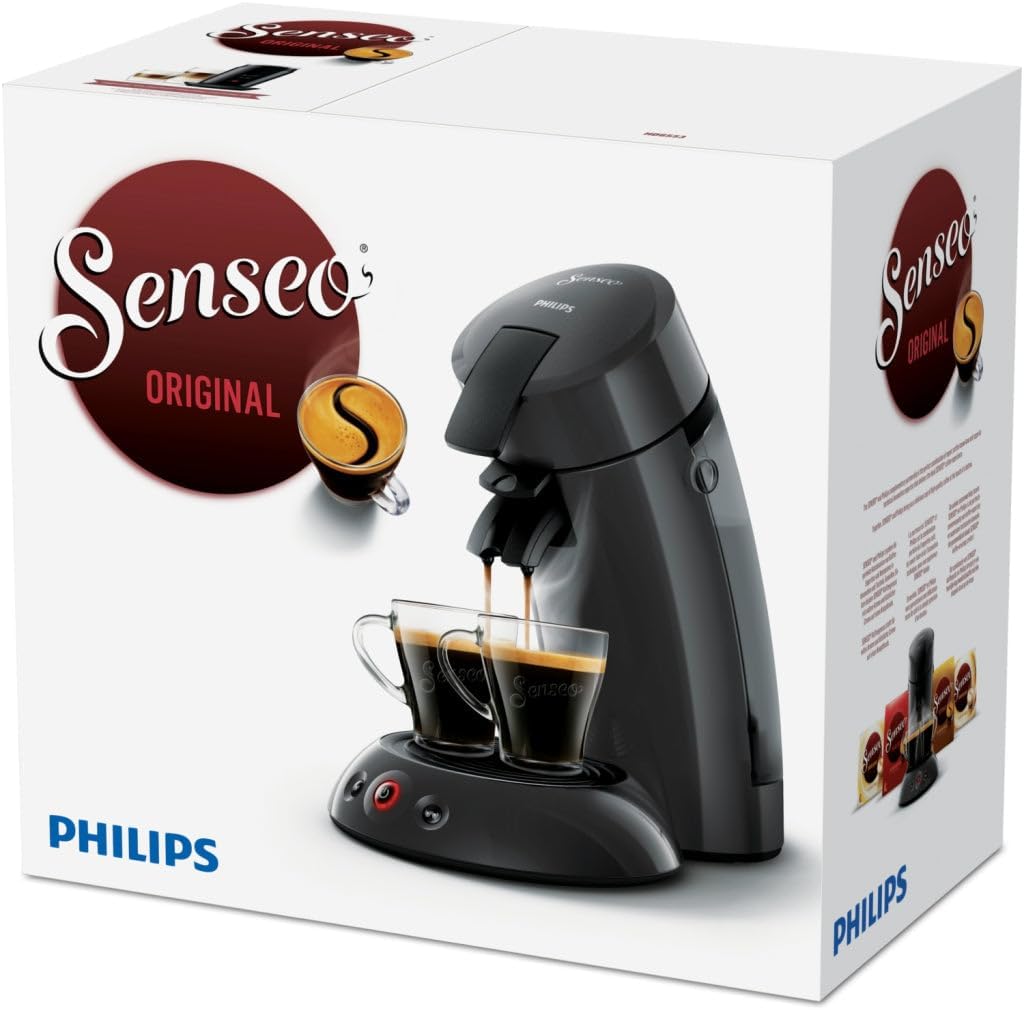
Image 3.1: The Senseo HD6553/50 Coffee Maker packaging box, illustrating the product and brand.
4. Setup
- Unpacking: Remove all packaging materials and stickers from the appliance.
- Initial Cleaning: Before first use, rinse the water reservoir, pod holders, and drip tray with hot water and a mild detergent.
- Positioning: Place the coffee maker on a stable, flat surface. Ensure there is enough space around the appliance.
- Filling the Water Reservoir: Fill the water reservoir with fresh, cold tap water up to the MAX indication. Do not exceed the MAX level.
- First Use Cycle: Before brewing coffee, perform a rinsing cycle without a coffee pod. Fill the water reservoir, place a 1-cup pod holder (without a pod) in the machine, close the lid, and press the 1-cup button. Repeat this process until the water reservoir is empty. This cleans the internal system.
5. Operating Instructions
5.1 Brewing Coffee
- Fill Water Reservoir: Ensure the water reservoir is filled with fresh, cold water.
- Insert Pod Holder: Place the appropriate pod holder (1-cup or 2-cup) into the machine.
- Place Coffee Pod(s): For one cup, place one Senseo coffee pod in the 1-cup holder. For two cups, place two Senseo coffee pods in the 2-cup holder. Ensure the pod(s) are centered.
- Close Lid: Close the lid and ensure it is securely locked.
- Position Cup(s): Place one or two cups on the drip tray under the coffee spout.
- Select Brew: Press the 1-cup button or the 2-cup button. The machine will start brewing.
- Automatic Shut-off: The machine will automatically stop brewing once the selected amount of coffee is dispensed.
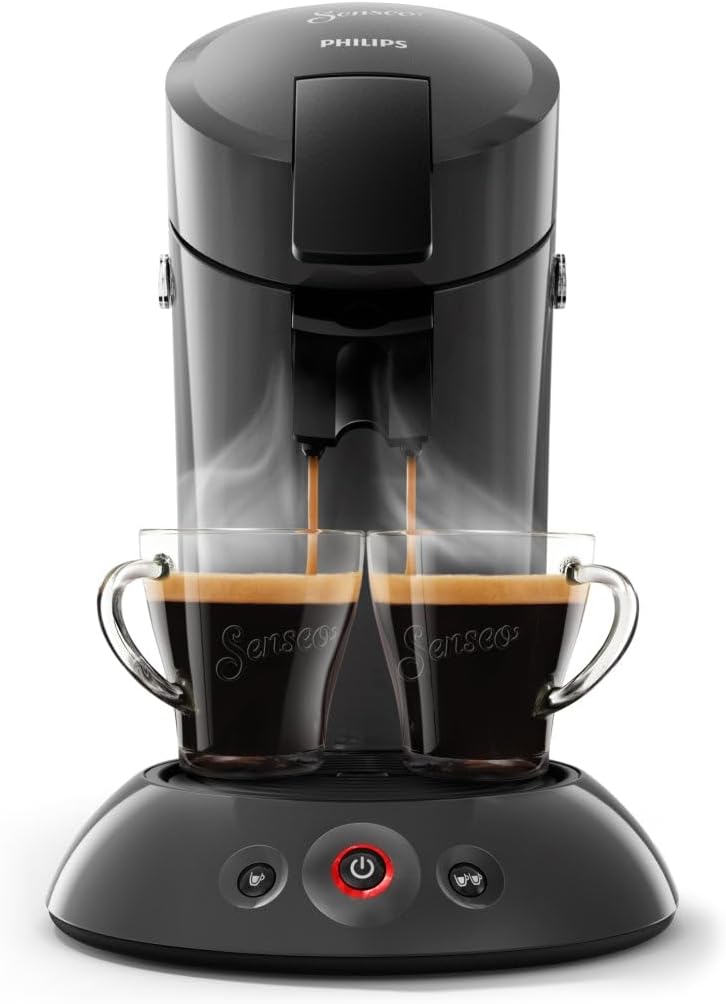
Image 5.1: The Senseo HD6553/50 Coffee Maker actively brewing two cups of coffee, showcasing the front view of the appliance.
5.2 Key Features
- Simultaneous 2-Cup Preparation: Brew two cups of coffee at the same time with the dedicated 2-cup pod holder.
- SENSEO Coffee Boost Technology: This technology distributes hot water evenly over the entire Senseo coffee pad via 45 aroma nozzles, ensuring the best taste.
- Crema Plus Technology: Enjoy a fine, velvety crema layer with every cup of Senseo coffee.
- Automatic Shut-off: For energy saving and safety, the appliance switches off automatically after 30 minutes of inactivity.
6. Maintenance and Cleaning
6.1 Daily Cleaning
- Removable Parts: After each use, remove and rinse the drip tray, grid, and used pod holder(s) under hot running water. These parts are dishwasher-safe.
- Exterior: Wipe the exterior of the appliance with a soft, damp cloth. Do not use abrasive cleaning agents or scouring pads.
- Water Reservoir: Rinse the water reservoir daily and refill with fresh water.
6.2 Descaling
Regular descaling is crucial for maintaining optimal performance and extending the lifespan of your Senseo coffee maker. The frequency depends on water hardness and usage. We recommend descaling every 3 months or after 400 cups.
- Use a Senseo-approved descaling agent or a citric acid-based descaler. Follow the instructions on the descaling agent packaging.
- Never use vinegar as a descaling agent, as it can damage your appliance.
- Perform several rinsing cycles after descaling to ensure all descaling agent residue is removed.
7. Troubleshooting
If you encounter issues with your Senseo HD6553/50, please refer to the following common problems and solutions:
| Problem | Possible Cause | Solution |
|---|---|---|
| Coffee is not hot enough | Appliance not preheated; cold cups | Allow machine to preheat fully; preheat cups with hot water. |
| No coffee or very little coffee comes out | Water reservoir empty; pod holder clogged; appliance needs descaling | Fill water reservoir; clean pod holder; descale the appliance. |
| Coffee tastes weak | Incorrect pod size; old coffee pods | Ensure correct Senseo pods are used; use fresh coffee pods. |
| Appliance leaks | Water reservoir not properly seated; damaged seal | Ensure reservoir is correctly placed; contact support if seal is damaged. |
If the problem persists after trying these solutions, please contact Senseo customer support.
8. Specifications
| Feature | Detail |
|---|---|
| Brand | Senseo |
| Model Number | HD6553/50 |
| Color | Black |
| Product Dimensions (L x W x H) | 21.3 x 31.5 x 33 cm |
| Capacity | 2 Cups |
| Power | 1450 Watts |
| Material | Metal, Plastic |
| Item Weight | 2.25 Kilograms |
| Special Feature | Cup warmer |
| Coffee Maker Type | Pad Coffee Maker |
| Manufacturer | Philips |
9. Warranty and Support
This Senseo coffee maker comes with a standard manufacturer's warranty. Please refer to the warranty card included in your product packaging for specific terms and conditions, including warranty period and coverage.
For technical assistance, spare parts, or further information, please visit the official Senseo or Philips website or contact their customer support directly. Contact details can usually be found in the warranty documentation or on the manufacturer's website.


