
1. Introduction
This manual provides detailed instructions for the safe and efficient operation of your Somikon SD-950 Standalone Slide and Negative Scanner. Please read this manual thoroughly before using the device and keep it for future reference. This scanner is designed to digitize 50x50mm slides and negative film strips, saving them directly to an SD card without the need for a computer.
2. Safety Instructions
- Do not expose the device to moisture or extreme temperatures.
- Use only the provided power adapter and USB cable.
- Keep the device away from children.
- Do not attempt to disassemble or repair the device yourself. Contact qualified service personnel.
- Ensure proper ventilation around the device during operation.
3. Package Contents
Please check that all items are present and in good condition:
- Somikon SD-950 Slide and Negative Scanner
- Negative film holder
- Slide holder
- Cleaning brush
- Power adapter
- USB cable
- User manual (this document)
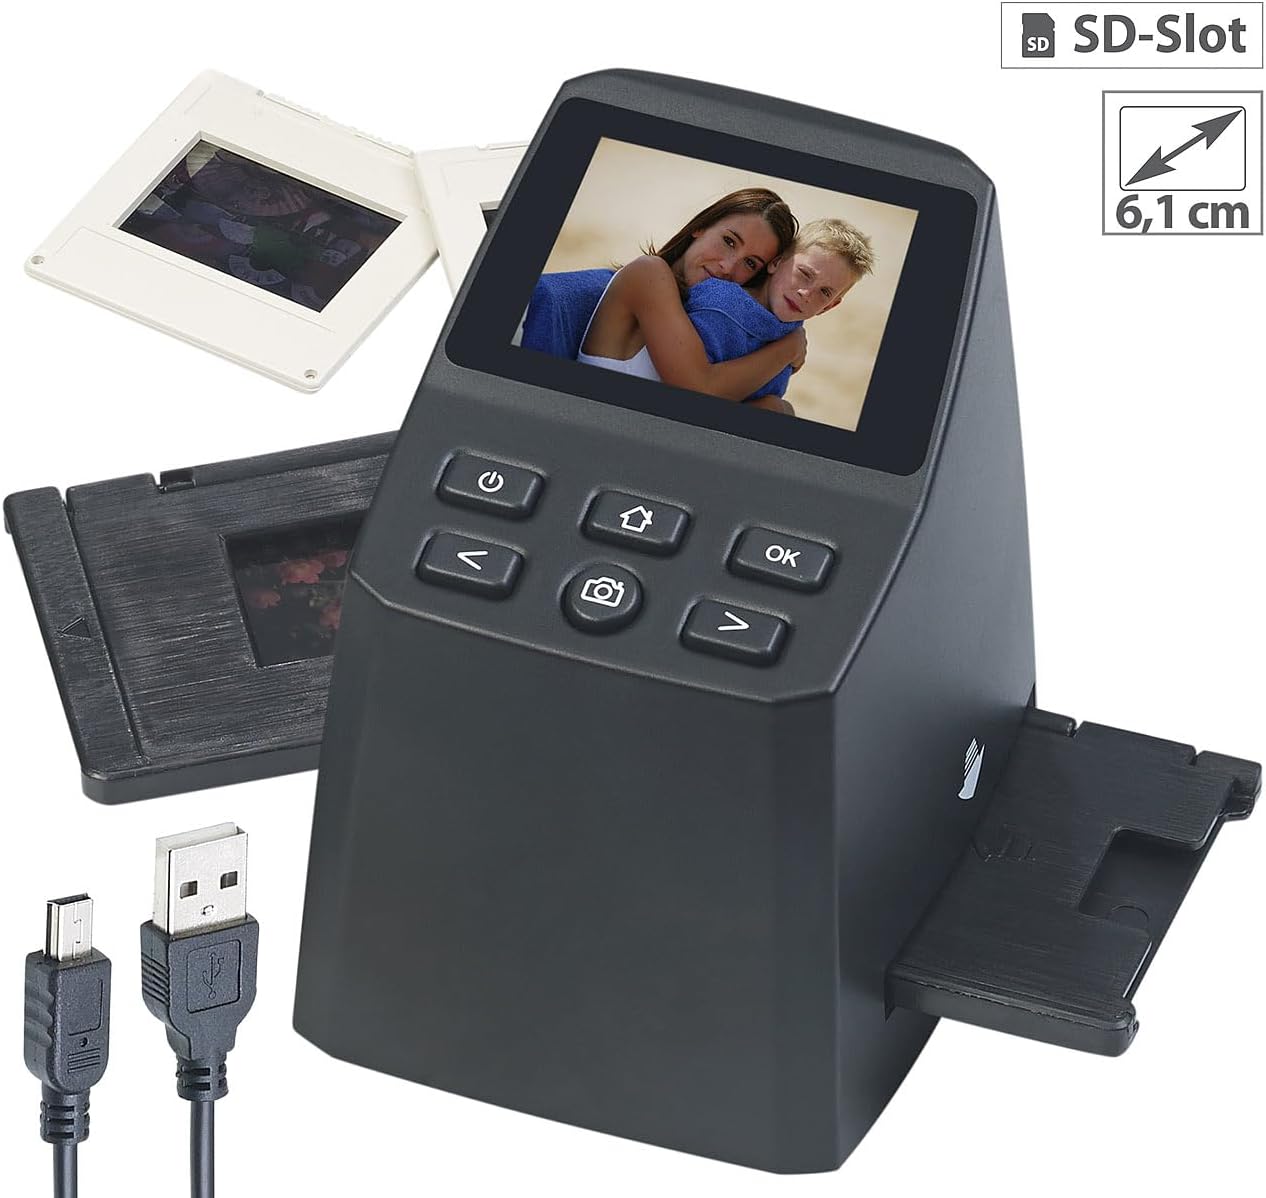
Image: Somikon SD-950 scanner with its various accessories, including the USB cable, power adapter, and holders for slides and negative film strips.
4. Product Overview
The Somikon SD-950 features a compact design with an integrated 2.4-inch color TFT display for previewing and reviewing your scans. It includes intuitive controls for easy operation.
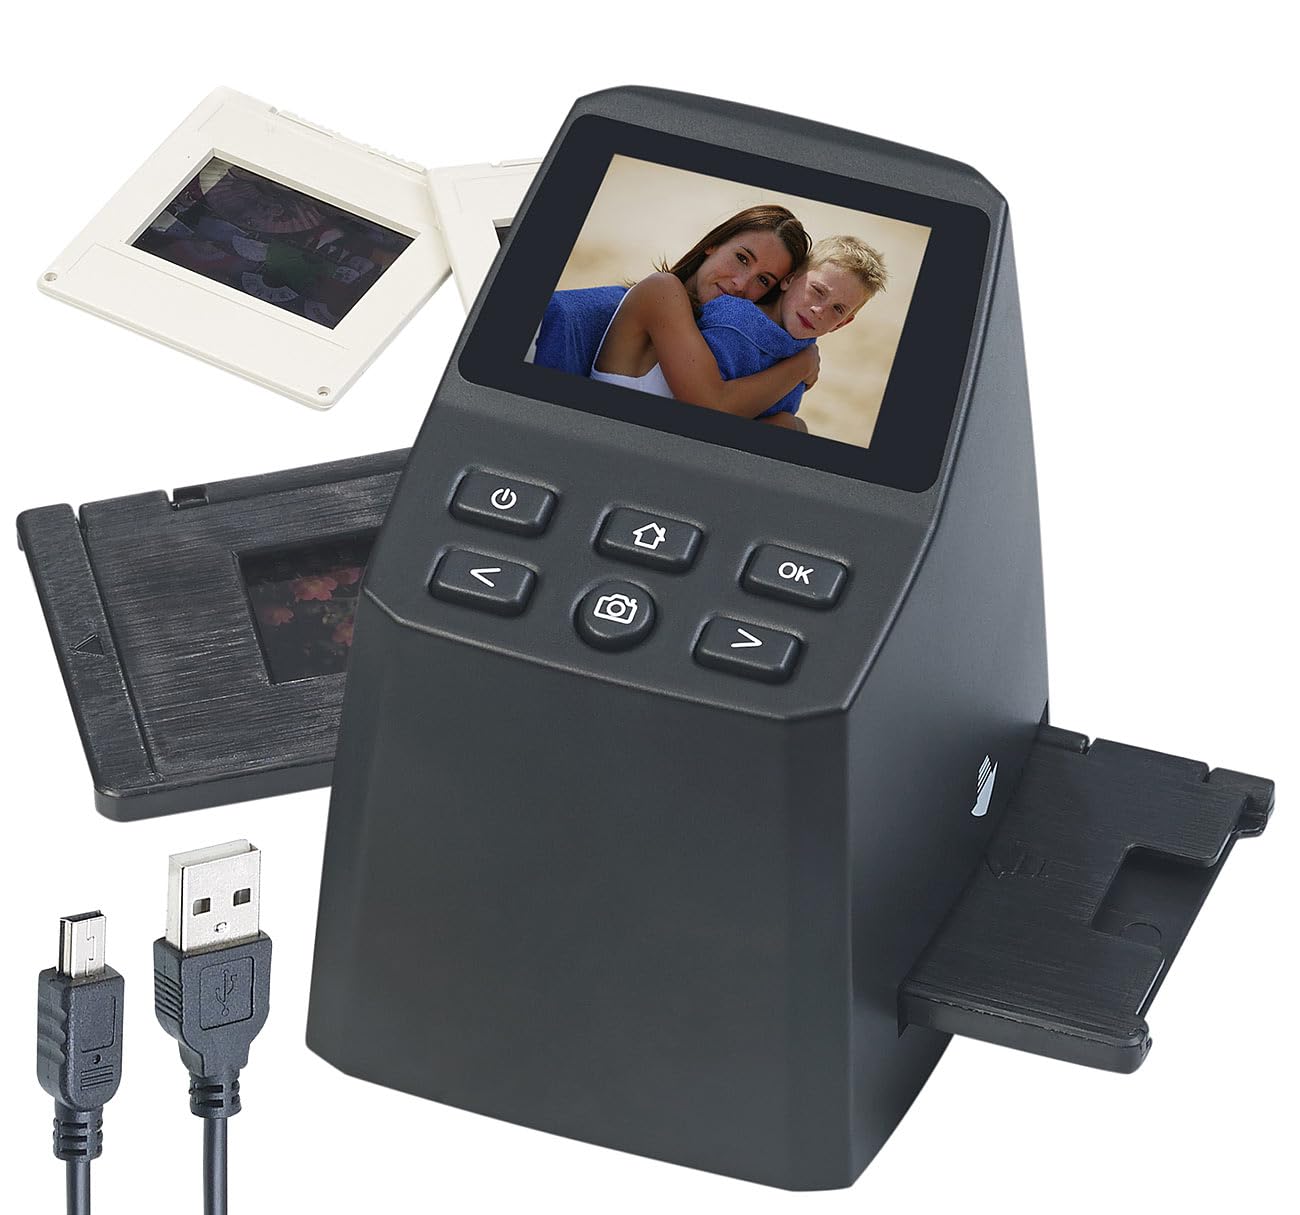
Image: Front view of the Somikon SD-950 scanner, highlighting the display, control buttons, and the slot for film holders.
Controls and Display:
- Power Button: Turns the device on/off.
- Home Button: Returns to the main menu.
- OK Button: Confirms selections or initiates scanning.
- Left/Right Arrow Buttons: Navigate menus or adjust settings.
- Camera Button: Initiates the scanning process.
- 2.4" Color TFT Display: For previewing images, navigating menus, and reviewing scanned photos.

Image: Detailed view of the scanner's control buttons and the 2.4-inch display.
5. Setup
5.1 Power Connection
- Connect the provided USB cable to the scanner's USB port.
- Connect the other end of the USB cable to the power adapter, then plug the adapter into a wall outlet. Alternatively, connect the USB cable to a powered USB port on a computer.
- Press the Power button to turn on the scanner.
5.2 Inserting an SD Card
The scanner saves digitized images to an SD (HC) card (up to 32 GB, not included). Ensure the card is inserted correctly before scanning.
- Locate the SD card slot on the side of the scanner.
- Insert the SD card with the metal contacts facing down until it clicks into place.
- To remove, push the card gently until it springs out.

Image: Inserting an SD card into the scanner's dedicated slot.
5.3 Preparing Slides and Negatives
Use the appropriate holder for your media type. Ensure slides and negatives are clean and free of dust before insertion.

Image: Cleaning a slide with the provided brush before placing it into the slide holder.
- For Slides (50x50mm): Open the slide holder and carefully place one slide into the designated slot. Ensure the slide is oriented correctly. Close the holder. Note: Slide frames thicker than 2mm may not fit the standard holder. You may need to remove the slide from its frame or use an alternative method for thicker slides.
- For Negative Film Strips (Type 126, Type 135): Open the negative film holder. Carefully insert the film strip into the guide. Ensure the film is flat and properly aligned. Close the holder.
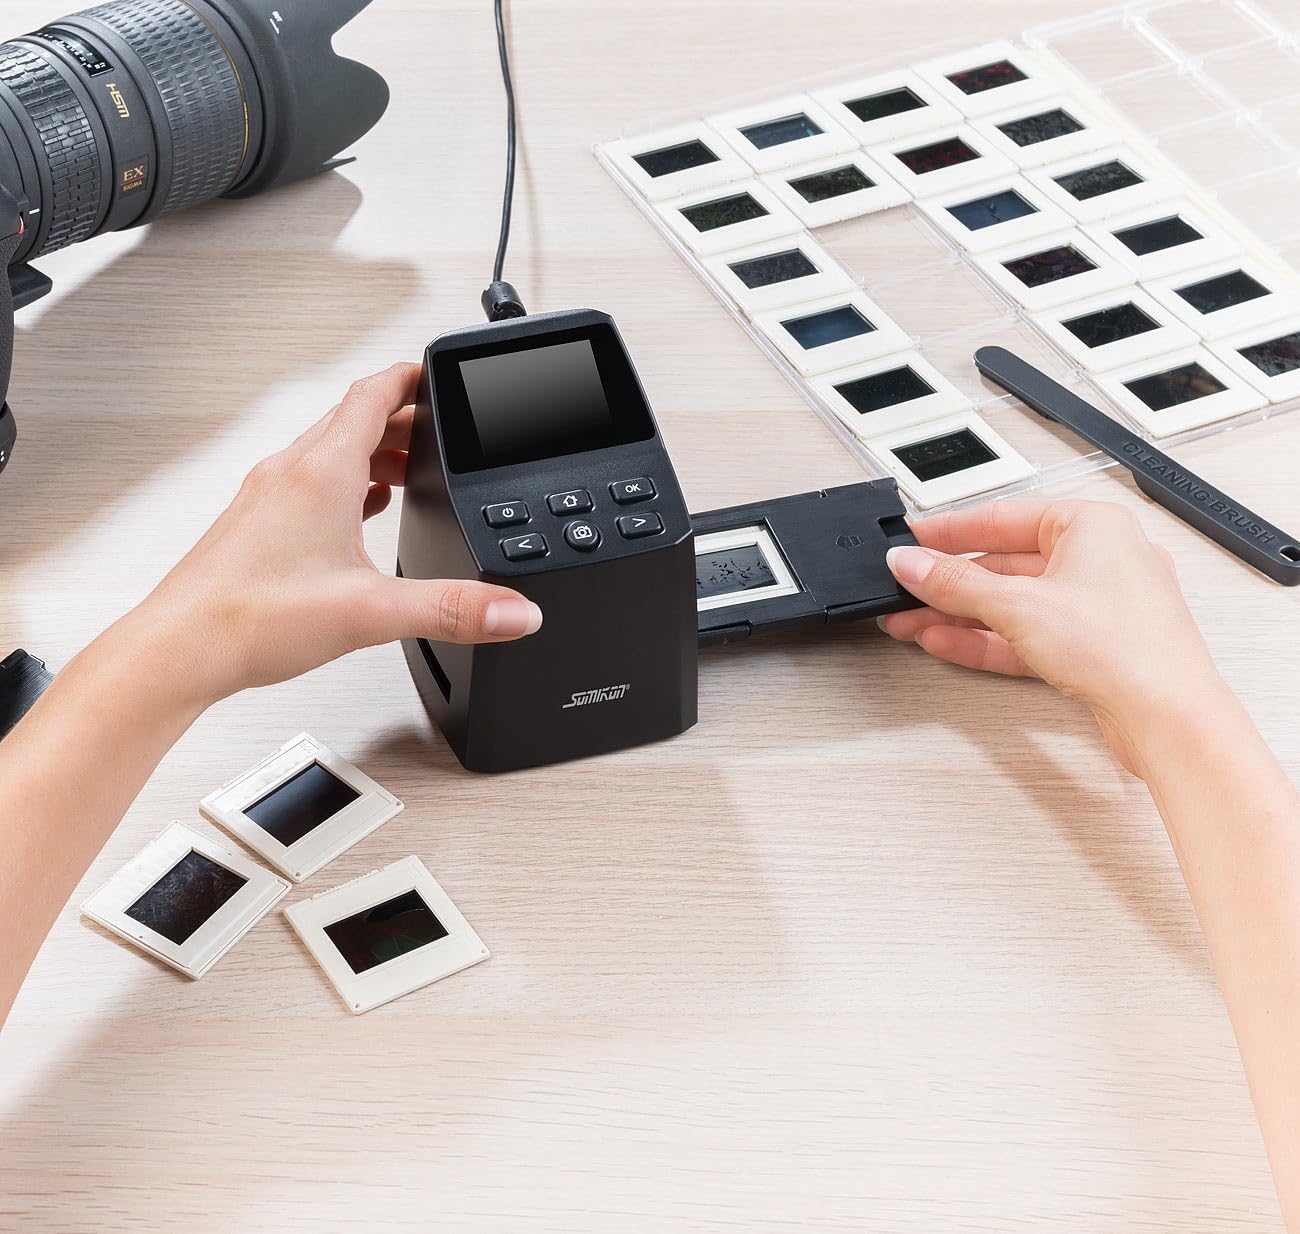
Image: Inserting a loaded slide holder into the scanner's side slot.
6. Operating Instructions
6.1 Scanning Process
- Turn on the scanner and select "Slide" or "Negative" from the main menu using the arrow buttons and confirm with "OK".
- Insert the prepared slide or negative holder into the scanner's side slot.
- The image will appear on the 2.4-inch display. Adjust the position if necessary.
- You can adjust brightness (+/-2 EV) and color (red, green, blue) using the menu options. The scanner also features automatic brightness and color adjustment.
- Press the Camera button to capture the image. The scanned image will be saved to the SD card as a JPG file.
- Remove the holder and insert the next slide or negative. The scanning speed is up to 20 slides per minute.
6.2 Viewing Scanned Images
You can view your scanned images directly on the scanner's display:
- From the main menu, select "Playback" or similar option.
- Use the Left/Right arrow buttons to navigate through your saved images.
6.3 Transferring Images to a Computer
To transfer images to your PC or laptop (Windows 7/8/8.1/10 or Mac OS X 10.7.3 and above):
- Connect the scanner to your computer using the USB cable.
- The scanner will appear as a removable disk drive (SD card reader).
- You can then copy the JPG files from the SD card to your computer.
7. Maintenance
7.1 Cleaning the Scanner
- Use the provided cleaning brush to gently remove dust from the film slot and lens area.
- For stubborn dust, a can of compressed air can be used carefully, ensuring not to spray liquid propellant onto the sensor.
- Wipe the exterior of the scanner with a soft, dry cloth. Do not use liquid cleaners or solvents.
7.2 Cleaning Slides and Negatives
Always clean your slides and negatives before scanning to ensure optimal image quality and prevent dust from being transferred to the scanner's sensor.
- Use a soft, anti-static cloth or a specialized film cleaning brush.
- Wear cotton gloves to avoid leaving fingerprints on the film.
8. Troubleshooting
| Problem | Possible Cause | Solution |
|---|---|---|
| Scanner does not turn on. | No power supply or faulty connection. | Ensure the USB cable and power adapter are securely connected and the power outlet is functional. |
| Images appear blurry or dusty. | Dust on slides/negatives or scanner sensor. | Clean slides/negatives thoroughly before scanning. Use the cleaning brush to clean the scanner's film slot and sensor. |
| Slide holder does not fit or slides are too thick. | Slide frames exceed the maximum 2mm thickness. | Remove the slide from its frame and place it directly into the holder, or use the negative film holder if applicable and carefully align. |
| Scanned images have a red tint (especially negatives). | Overexposure in certain areas or color balance issue. | Adjust the color balance settings (red, green, blue) in the scanner's menu before scanning. Post-processing on a computer can also correct this. |
| Images are slightly cropped on the sides. | Inherent characteristic of the scanning area. | This is a minor limitation. Ensure critical parts of the image are centered. |
| Cannot rotate images from landscape to portrait. | Scanner does not support this function directly. | Image rotation must be done using photo editing software on a computer after transfer. |
| SD card not recognized. | Card inserted incorrectly, incompatible format, or faulty card. | Ensure the SD card is inserted correctly. Use an SD (HC) card up to 32 GB. Format the card in the scanner's menu if available, or on a computer. |
9. Specifications
| Feature | Detail |
|---|---|
| Brand | Somikon |
| Model Name | SD-950 |
| Model Number | NX6269-944 |
| Scanner Type | Film Scanner (Slides and Negatives) |
| Optical Sensor Technology | CMOS |
| Resolution (Native) | 2400 dpi (3280 x 2464 pixels) |
| Resolution (Interpolated) | 3600 dpi (4416 x 3312 pixels) |
| Effective Pixels | 8 Megapixels (14.6 MP interpolated) |
| Display | 2.4" (6.1 cm) Color TFT LCD |
| Slide Compatibility | 50 x 50 mm slides (max. 2 mm frame thickness) |
| Film Compatibility | Instamatic film (Type 126), Small screen film (Type 135) |
| Scanning Speed | Up to 20 slides per minute |
| Image Format | JPG |
| Storage | SD (HC) card up to 32 GB (not included) |
| Connectivity | USB 2.0 |
| Power Supply | USB powered |
| Dimensions (L x W x H) | 92 x 123 x 101 mm |
| Weight | 285 Grams |
| Color Depth | 24 NA |
| Minimum System Requirements | Windows 7/8/8.1/10 or Mac OS X 10.7.3 and above |
10. Warranty and Support
For warranty information and technical support, please refer to the documentation provided at the time of purchase or contact your retailer. Keep your proof of purchase for warranty claims.
For further assistance, you may visit the official Somikon website or contact their customer service department.