1. Product Overview
The Yard Force SA650ECO Robotic Lawnmower is designed for efficient and autonomous lawn maintenance in gardens up to 650 square meters. This model features automatic mowing capabilities, a robust brushless motor, and a Samsung 28V 2Ah lithium-ion battery, providing up to 60 minutes of operation per charge. It is equipped with integrated lift, obstacle, and tilt sensors to navigate your garden safely and effectively, handling slopes up to 40%.
The SA650ECO offers five adjustable cutting heights, ranging from 20 mm to 60 mm, and incorporates a mulching function. This feature returns fine grass clippings to the lawn, enriching the soil with essential nutrients for a healthier, well-maintained appearance. The package includes the robotic lawnmower, a charging station, boundary wires, fixing stakes, spare blades, and connectors for a complete setup.
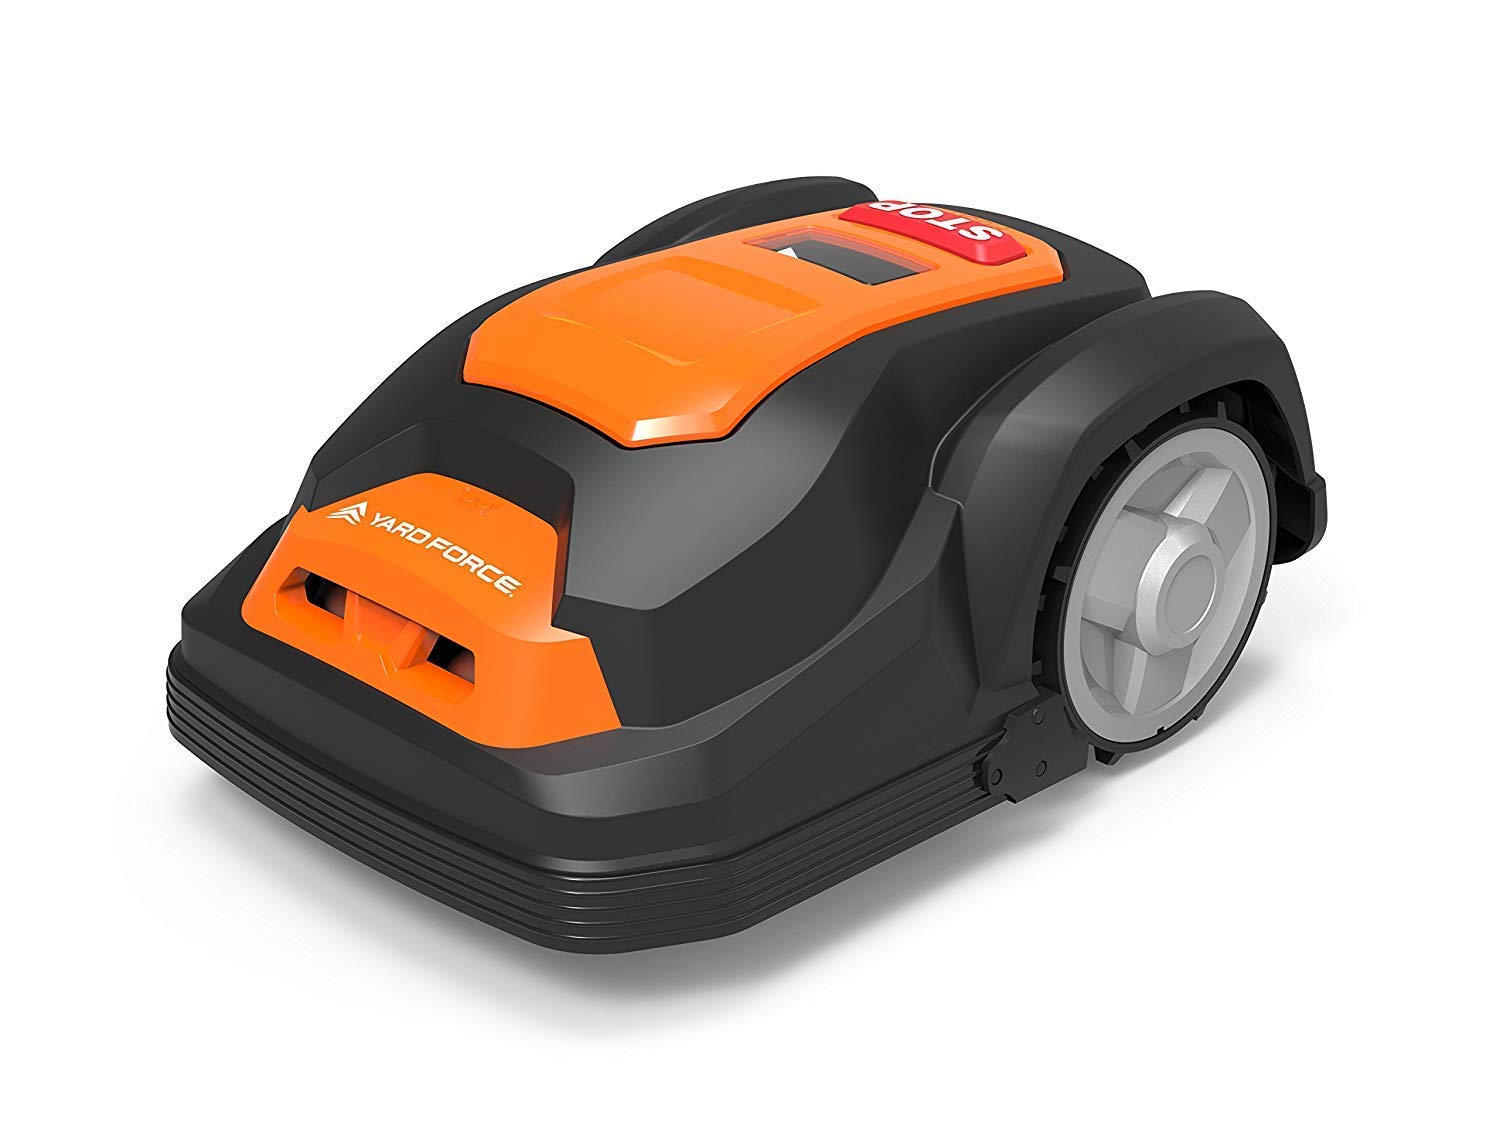
Figure 1: The Yard Force SA650ECO Robotic Lawnmower.
2. Installation and Setup
Proper installation of the charging station and boundary wire is crucial for the optimal performance of your Yard Force SA650ECO. Follow these steps carefully:
- Charging Station Placement: Select a flat area with access to a power outlet. Ensure there is sufficient clear space around the charging station for the robot to dock easily.
- Boundary Wire Installation: Lay the boundary wire around the perimeter of your mowing area. The wire defines the working zone for the robot. Secure the wire to the ground using the provided stakes. Maintain a minimum distance from obstacles and edges as specified in the detailed manual.
- Connecting the Wire: Connect both ends of the boundary wire to the charging station terminals. Ensure a secure connection to maintain the signal.
- Power Connection: Plug the charging station into a power outlet. The indicator light on the charging station should confirm a successful connection.
- Initial Charge: Place the robotic lawnmower onto the charging station to allow the battery to fully charge before its first operation.

Figure 2: Rear view of the robotic lawnmower docked with its charging station, showing boundary wire connections.

Figure 3: The robotic lawnmower operating autonomously in a garden.
3. Operating Instructions
Once installed and charged, the SA650ECO is ready for operation. The robot operates automatically based on programmed schedules and boundary wire detection.
- Automatic Mowing: The lawnmower will automatically begin mowing when the boundary lines are detected and the pre-selected mowing times are active.
- Cutting Height Adjustment: The cutting height can be adjusted to one of five settings, ranging from 20 mm to 60 mm, to suit your lawn's needs. Refer to the control panel or app (if applicable) for specific adjustment procedures.
- Sensor Technology: Integrated lift, obstacle, and tilt sensors ensure safe operation. The robot will stop or change direction upon encountering obstacles, being lifted, or operating on excessive slopes (up to 40% maximum).
- Mulching Function: The sharp blades finely cut grass, returning the clippings to the lawn as natural fertilizer. This promotes a healthier, greener lawn.

Figure 4: The robotic lawnmower performing its task, allowing users to enjoy their leisure time.
4. Maintenance
Regular maintenance ensures the longevity and optimal performance of your robotic lawnmower.
- Blade Inspection and Replacement: Regularly check the blades for sharpness and damage. Dull or damaged blades can affect cutting quality. Replace blades as needed using the provided spare blades and following the instructions in the full manual.
- Cleaning: Keep the robot's chassis, wheels, and charging contacts clean. Remove any grass clippings, dirt, or debris that may accumulate. Use a soft brush or cloth; avoid using high-pressure water.
- Battery Care: For optimal battery life, ensure the robot is stored in a dry, frost-free environment during off-season periods. Follow charging guidelines to prevent overcharging or deep discharge.
- Sensor Cleaning: Ensure all sensors (lift, obstacle, tilt) are clean and free from obstructions to guarantee proper functionality.

Figure 5: Accessing the internal components of the robotic lawnmower for cleaning or blade replacement.
5. Troubleshooting Common Issues
This section addresses common issues you might encounter with your Yard Force SA650ECO.
| Problem | Possible Cause | Solution |
|---|---|---|
| Mower does not start or stops unexpectedly. | Low battery, boundary wire signal interruption, safety sensor activated. | Ensure the battery is charged. Check boundary wire connections and for any breaks. Verify no objects are obstructing sensors or lifting the mower. |
| Mower does not return to charging station. | Charging station obstructed, boundary wire issue near station, incorrect placement. | Clear any obstacles around the charging station. Inspect the boundary wire leading to and from the station. Ensure the station is placed on a flat, accessible surface. |
| Poor cutting performance. | Dull or damaged blades, incorrect cutting height, excessive grass length. | Replace blades. Adjust cutting height. For very long grass, consider a higher initial cut or manual trimming before robotic operation. |
| Mower crosses boundary wire. | Boundary wire too close to edge, signal interference, damaged wire. | Adjust boundary wire placement to ensure adequate distance from edges. Check for sources of electromagnetic interference. Inspect the wire for damage. |
For more detailed troubleshooting, please refer to the complete user manual provided with your product or visit the official Yard Force support website.
6. Technical Specifications
| Feature | Detail |
|---|---|
| Model Number | SA650ECO |
| Brand | Yard Force |
| Recommended Lawn Area | Up to 650 m² |
| Battery Type | 28V 2Ah Lithium-ion (Samsung) |
| Motor Type | Brushless |
| Cutting Width | 18 cm |
| Cutting Height Adjustment | 20 mm - 60 mm (5 positions) |
| Max Slope Capability | 40% |
| Operating Mode | Automatic |
| Sensors | Lift, Obstacle, Tilt |
| Product Dimensions (L x W x H) | 57 x 39 x 26 cm |
| Weight | 16.48 kg |
| Color | Black/Orange |
7. Warranty and Support
7.1. Warranty Information
Warranty terms and conditions for the Yard Force SA650ECO Robotic Lawnmower are typically provided with the product documentation at the time of purchase. Please refer to the warranty card or the official Yard Force website for specific details regarding coverage, duration, and claim procedures. It is recommended to register your product to activate any extended warranty offers.
7.2. Customer Support
For technical assistance, spare parts, or any inquiries not covered in this manual, please contact Yard Force customer support. Contact details, including phone numbers and email addresses, can usually be found in the product's original packaging, the full user manual, or on the official Yard Force website. When contacting support, please have your product model number (SA650ECO) and purchase information readily available.