
Introduction
This manual provides detailed instructions for the setup, operation, and maintenance of your Braun BC09B-DCF Digital Radio Controlled Alarm Clock. Please read this manual thoroughly before using the product to ensure correct operation and to maximize its lifespan.

Image: Front view of the Braun BC09B-DCF Digital Radio Controlled Alarm Clock, displaying time and alarm setting.
Package Contents
- Braun BC09B-DCF Digital Radio Controlled Alarm Clock
- User Manual (this document)
- Note: 1 x AA battery is required and NOT included.

Image: Packaging box of the Braun BC09B-DCF Digital Radio Controlled Alarm Clock.
Setup
1. Battery Installation
- Locate the battery compartment on the back of the alarm clock.
- Open the battery compartment cover.
- Insert one (1) AA battery, ensuring correct polarity (+/-).
- Close the battery compartment cover securely.

Image: Rear view of the alarm clock, highlighting the battery compartment and control buttons.
2. Initial Time Synchronization (DCF Radio Control)
The BC09B-DCF model features DCF radio control for automatic time synchronization with the Central European Time Zone. This covers most of Central and Western Europe (e.g., Germany, France, Netherlands, Belgium, Denmark, Switzerland, Northern Italy).
- After battery installation, the clock will automatically attempt to receive the DCF signal. This process may take several minutes.
- Ensure the clock is placed in an area with good reception, away from electronic interference.
- A radio signal icon will appear on the display once synchronization is successful.

Image: Front display of the alarm clock showing the radio control signal icon.
3. Manual Time Setting (If Radio Control is Off or Unavailable)
If the radio control signal is not received or if you are in a region outside the DCF coverage, the radio control function can be deactivated, and the time can be set manually.
- Refer to the back panel of the clock (see image in "Battery Installation" section).
- Locate the time setting button (often marked with a clock icon).
- Press and hold the time setting button to enter time adjustment mode.
- Use the '+' and '-' buttons to adjust the hours and minutes.
- Press the time setting button again to confirm and exit adjustment mode.
Operating Instructions
1. Setting the Alarm
- Locate the alarm setting button (often marked with a bell icon) on the back of the clock.
- Press and hold the alarm setting button to enter alarm adjustment mode. The alarm time will flash on the display.
- Use the '+' and '-' buttons to adjust the desired alarm hour and minute.
- Press the alarm setting button again to confirm and exit alarm adjustment mode.
- To activate or deactivate the alarm, use the "alarm on/off" switch located on the top or back of the clock. An alarm icon (bell) will appear on the display when the alarm is active.
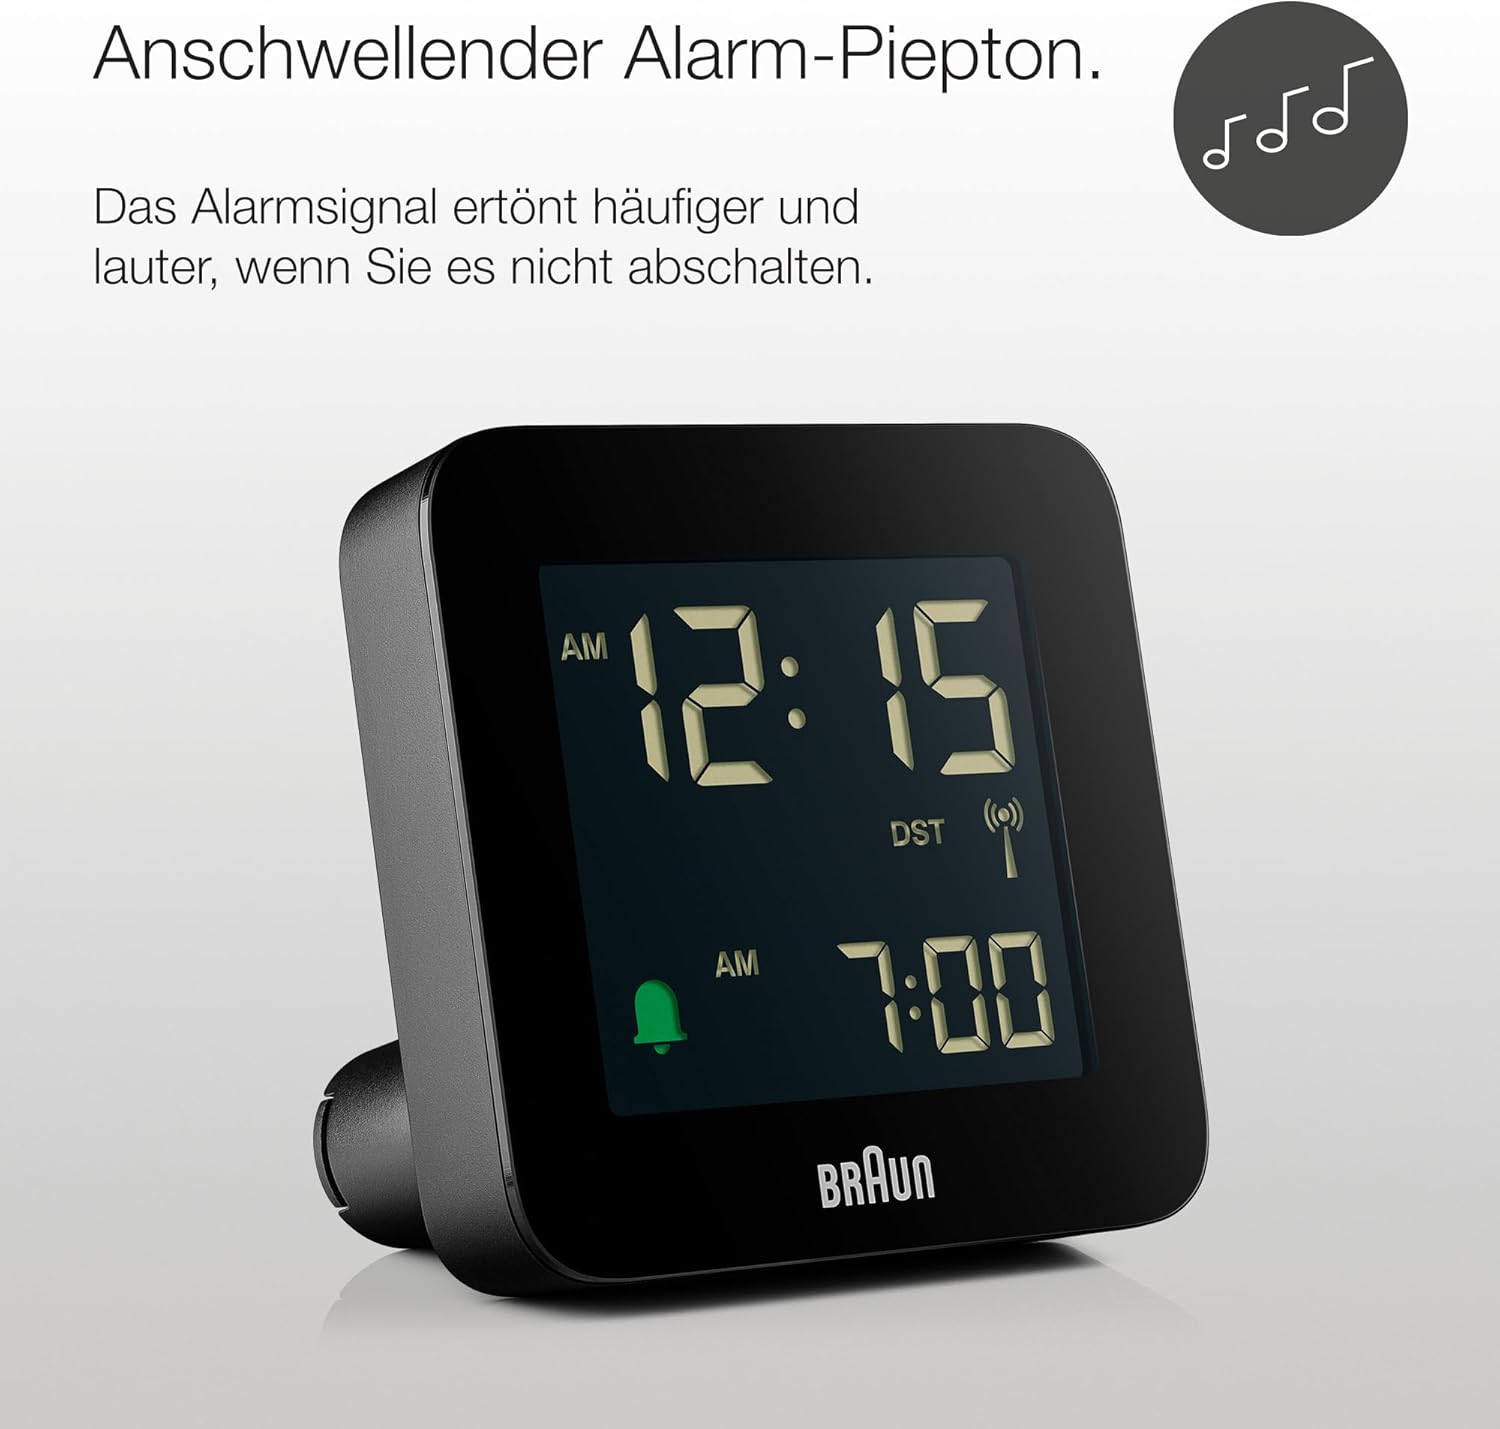
Image: Front display of the alarm clock showing the alarm time and indicating the crescendo alarm feature.
The alarm features a crescendo beep sound. This means the alarm sound will become more frequent and louder if it is not turned off, ensuring you wake up effectively.
2. Snooze and Backlight Function
The alarm clock is equipped with an integrated snooze and backlight function.
- When the alarm sounds, press the large Snooze/Light button located on the top of the clock.
- This will temporarily silence the alarm for a 5-minute snooze interval.
- Pressing the Snooze/Light button at any other time will activate the backlight for approximately 10 seconds, allowing you to view the display in low light conditions.

Image: Front display of the alarm clock with an icon indicating the snooze and backlight function.
3. 12/24 Hour Format
The negative LCD display offers an option for 12-hour or 24-hour time format. Consult the specific instructions for your model on how to switch between these formats, typically involving a dedicated button or a combination of existing buttons during time setting.
Note: The contrast of the digital display may vary depending on ambient light conditions.
Maintenance
1. Battery Replacement
When the display dims or the clock functions become erratic, it is time to replace the battery. Follow the "Battery Installation" steps in the Setup section to replace the AA battery.
2. Cleaning
To clean the alarm clock, use a soft, dry cloth. Do not use abrasive cleaners, solvents, or spray directly onto the unit, as this may damage the finish or internal components.
Troubleshooting
- Clock not displaying time / Display is blank:
Check if the battery is inserted correctly and has sufficient charge. Replace the AA battery if necessary.
- Radio control signal not received:
Ensure the clock is placed in an open area, away from large metal objects, electronic devices, or thick walls that might interfere with the signal. Try repositioning the clock. If reception remains poor, you can deactivate the radio control and set the time manually.
- Alarm not sounding:
Verify that the alarm is activated using the "alarm on/off" switch. Check that the alarm time is set correctly.
- Display contrast issues:
The display contrast can be affected by ambient light. Try adjusting the viewing angle or the lighting in the room. This is a characteristic of negative LCD displays.
- Clock resets unexpectedly:
This could indicate a low battery. Replace the AA battery. If the issue persists, perform a factory reset by pressing the 'RESET' button (if available, typically a small recessed button requiring a pin) on the back of the unit.
Specifications
| Model Number | BC09B-DCF |
| Dimensions (L x H x D) | 7.5 cm x 7.5 cm x 4.5 cm (approximately 2.95 x 2.95 x 1.77 inches) |
| Weight | 100 grams (approximately 3.53 ounces) |
| Power Source | 1 x AA Battery (not included) |
| Display Type | Negative LCD Digital Display |
| Time Control | DCF Radio Controlled (Central European Time Zone) with manual setting option |
| Alarm Features | Crescendo Beep Alarm, 5-minute Snooze |
| Additional Features | Backlight (10 seconds when activated), 12/24 Hour Format Option |
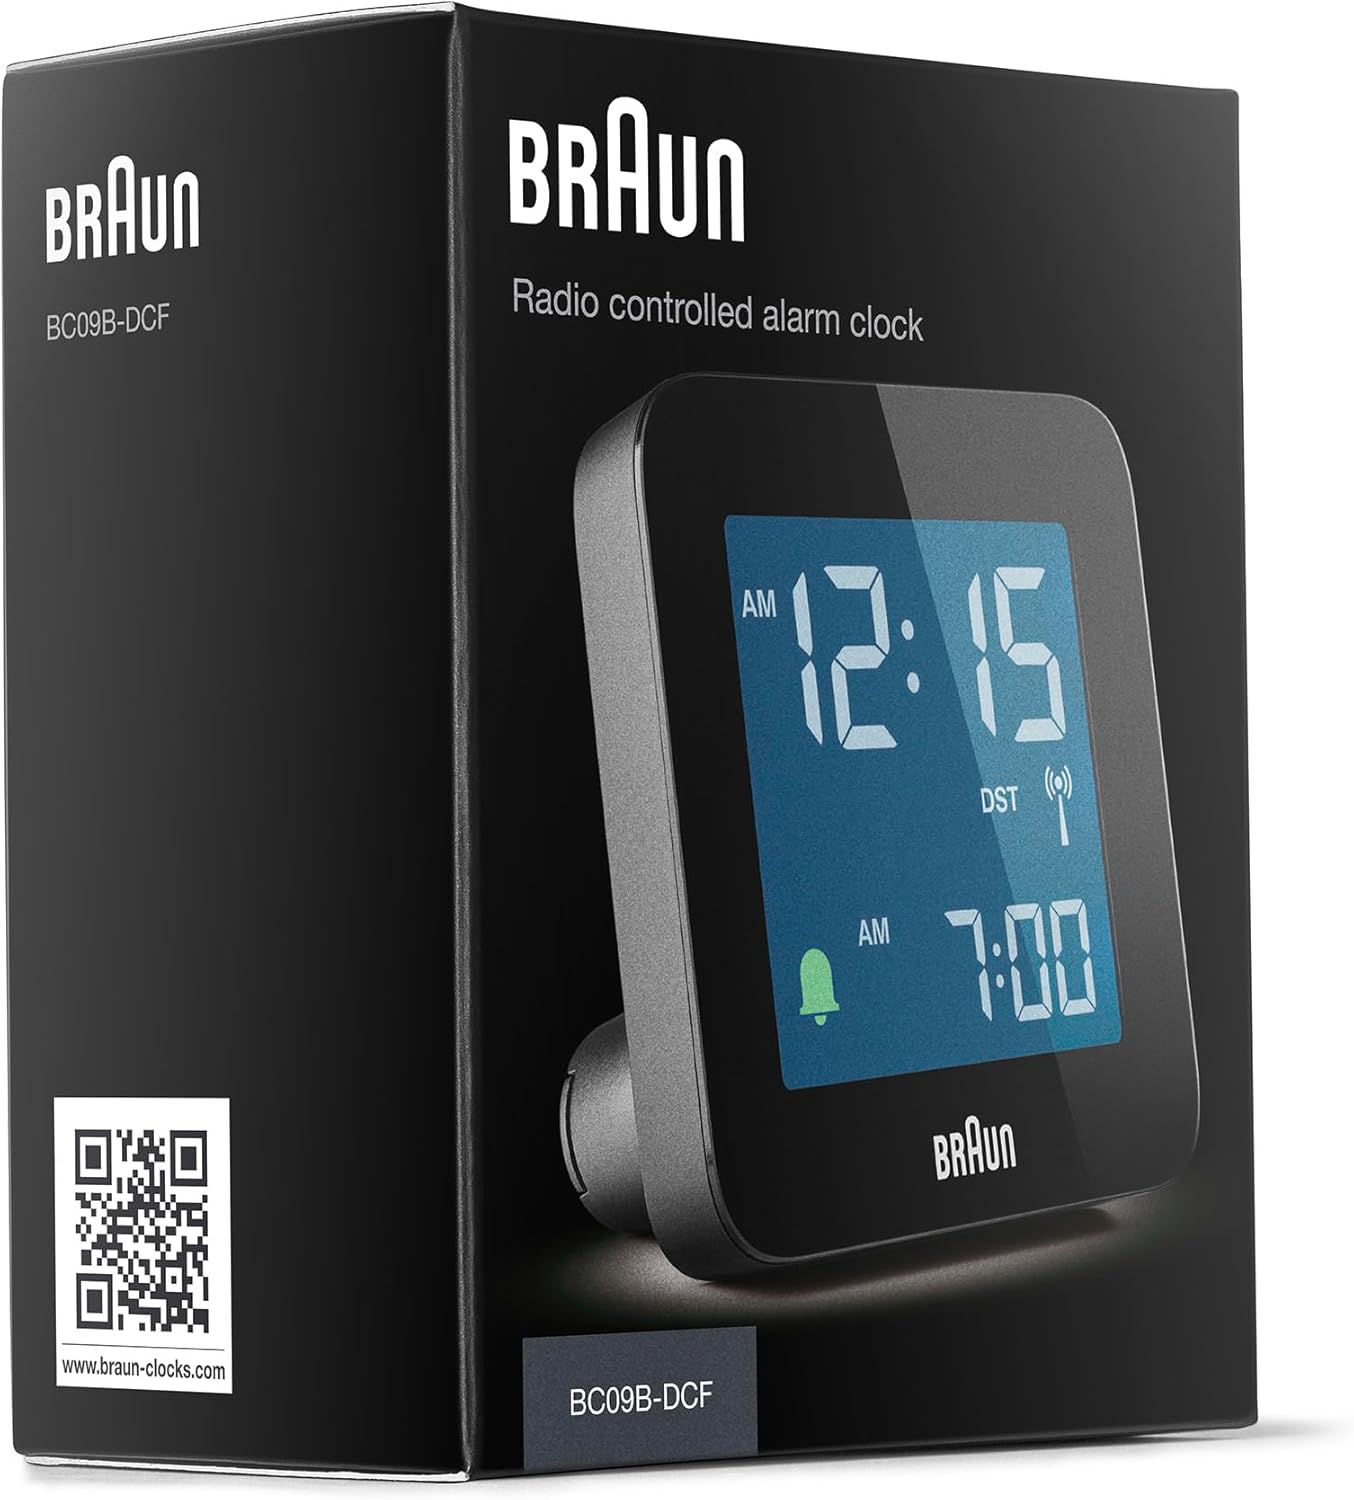
Image: The alarm clock held in a hand, demonstrating its compact dimensions (75mm height indicated).
Warranty
This Braun product is covered by a standard manufacturer's warranty. Please refer to the warranty card included with your purchase or visit the official Braun website for detailed warranty terms and conditions specific to your region.
Support
For further assistance, technical support, or inquiries regarding your Braun BC09B-DCF Digital Radio Controlled Alarm Clock, please contact Braun customer service. Contact information can typically be found on the official Braun website or on the product packaging.
You can visit the Braun Store on Amazon for more product information.