Jectse TE-801
Jectse TE-801 Adjustable Helping Hands Magnifying Repair Stand
User Manual
Introduction
Thank you for choosing the Jectse TE-801 Adjustable Helping Hands Magnifying Repair Stand. This multi-functional tool is designed to assist with precision tasks such as repairing electrical appliances, carving, laboratory work, and handling jewelry or jade. It features an adjustable magnifying glass, LED lighting, and flexible auxiliary clips to enhance your work efficiency and accuracy.
Please read this manual thoroughly before use to ensure proper operation and maintenance of your device.
Safety Instructions
- Always place the stand on a stable, level surface to prevent tipping.
- Keep the magnifying glass clean to ensure clear vision. Avoid using abrasive cleaners.
- Do not look directly into the LED lights for extended periods to prevent eye strain.
- When soldering, ensure adequate ventilation and wear appropriate personal protective equipment (PPE) such as safety glasses.
- Keep out of reach of children.
- Disconnect power when not in use or when cleaning.
Package Contents
Verify that all items listed below are present in your package:
- 2 x Auxiliary Clips
- 3 x Binaural Knobs
- 6 x Three-Hole Gaskets
- 1 x Welded Frame
- 1 x Welded Pillar
- 4 x Screws
- 3 x Nuts
- 1 x Manual (this document)
- 1 x Workbench with Magnifying Glass and LED Light
Setup and Assembly
Follow these steps to assemble your Jectse TE-801 Helping Hands Magnifying Repair Stand:
- Attach the Welded Pillar: Insert the welded pillar into the designated hole on the workbench base. Secure it from underneath with a screw and nut.

Image: Side view of the assembled stand, highlighting the main pillar connection.
- Mount the Magnifying Glass and LED Light: The magnifying glass with LED light is pre-attached to a flexible gooseneck arm. Insert the base of this arm into the top of the welded pillar. Tighten the binaural knob to secure its position.

Image: Top view of the stand, illustrating the magnifying glass and LED light attachment.
- Install Auxiliary Clips: Attach the auxiliary clips to the welded frame using the remaining screws, nuts, and three-hole gaskets. The clips can be positioned as needed. Then, attach the welded frame to the main pillar using the remaining binaural knobs.

Image: Angled view of the stand, demonstrating the adjustable auxiliary clips.
- Connect Power: Connect the provided USB power cable to the workbench base and a suitable USB power source (e.g., USB wall adapter, computer USB port).
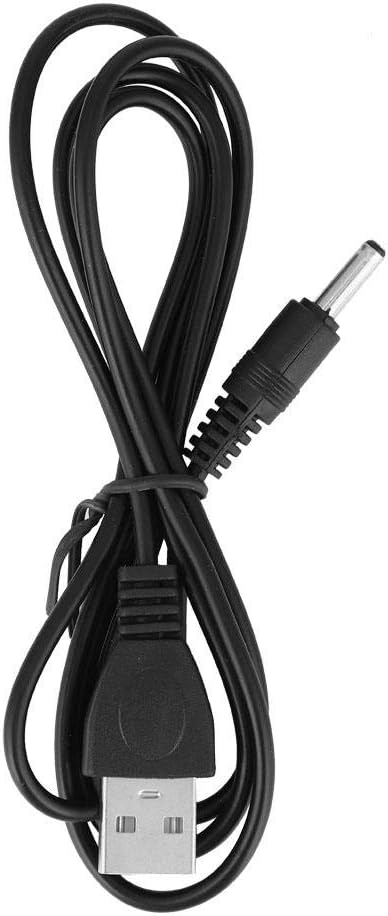
Image: The USB power cable used to power the LED light.

Image: The Jectse TE-801 Helping Hands Magnifying Repair Stand fully assembled and ready for use.
Operating Instructions
- Powering On/Off the LED Light: Once the USB cable is connected to a power source, press the button located on top of the magnifying glass housing to turn the LED light on or off.
- Adjusting the Magnifying Glass: The magnifying glass is mounted on a flexible gooseneck. Gently bend and position the gooseneck to bring the magnifying glass to the desired height and angle over your workpiece.
- Using the Auxiliary Clips: The two auxiliary clips are designed to hold small components or circuit boards. Loosen the binaural knobs to adjust the position and angle of the clips. Once positioned, tighten the knobs to secure the clips. The clips can rotate 360 degrees and pivot to hold items firmly.
- Optimizing Workspace: Adjust the light source and magnifying glass position as needed to ensure optimal visibility and comfort for your specific task.
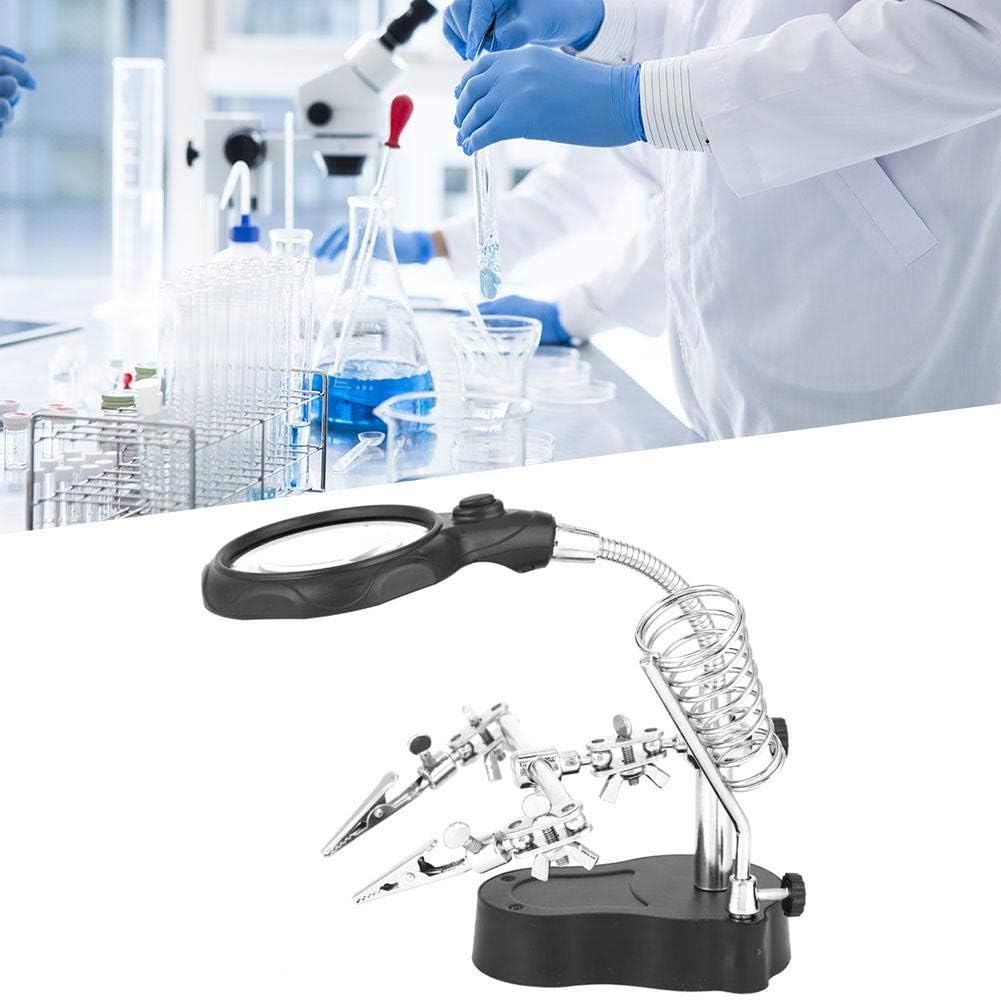
Image: The stand with its magnifying glass and clips positioned for detailed work.
Maintenance
- Cleaning: Use a soft, dry cloth to clean the stand and magnifying glass. For the lens, use a lens cleaning solution and a microfiber cloth to avoid scratches. Do not use harsh chemicals or abrasive materials.
- Storage: Store the unit in a clean, dry environment away from direct sunlight and extreme temperatures.
- Inspection: Periodically check all screws and knobs to ensure they are tight.
Troubleshooting
| Problem | Possible Cause | Solution |
|---|---|---|
| LED light does not turn on. | No power, loose connection, or faulty switch. | Ensure the USB cable is securely connected to both the stand and a working power source. Press the power button firmly. Try a different USB port or adapter. |
| Magnifying glass view is blurry. | Dirty lens or incorrect focal distance. | Clean the lens with a soft, lint-free cloth. Adjust the height and angle of the magnifying glass until the object is in clear focus. |
| Auxiliary clips are loose or do not hold items securely. | Knobs are not tightened sufficiently. | Ensure all binaural knobs and screws securing the clips are tightened firmly. |
Specifications
| Feature | Detail |
|---|---|
| Model | TE-801 |
| Brand | Jectse |
| Material | Metal, Acrylic Lens |
| Light Source | LED |
| Power Source | USB (cable included) |
| UPC | 738589633967 |
Warranty Information
Specific warranty details for the Jectse TE-801 are not provided in this manual. Please refer to the retailer's return policy or contact Jectse customer support for warranty inquiries.
Customer Support
If you encounter any issues or have questions regarding your Jectse TE-801 Adjustable Helping Hands Magnifying Repair Stand, please contact your point of purchase or visit the official Jectse website for support resources.
Ask a question about this manual
Ask about setup, troubleshooting, compatibility, parts, safety, or missing instructions. Manuals+ will review the question and use this page’s manual context to help answer it.