
1. Introduction
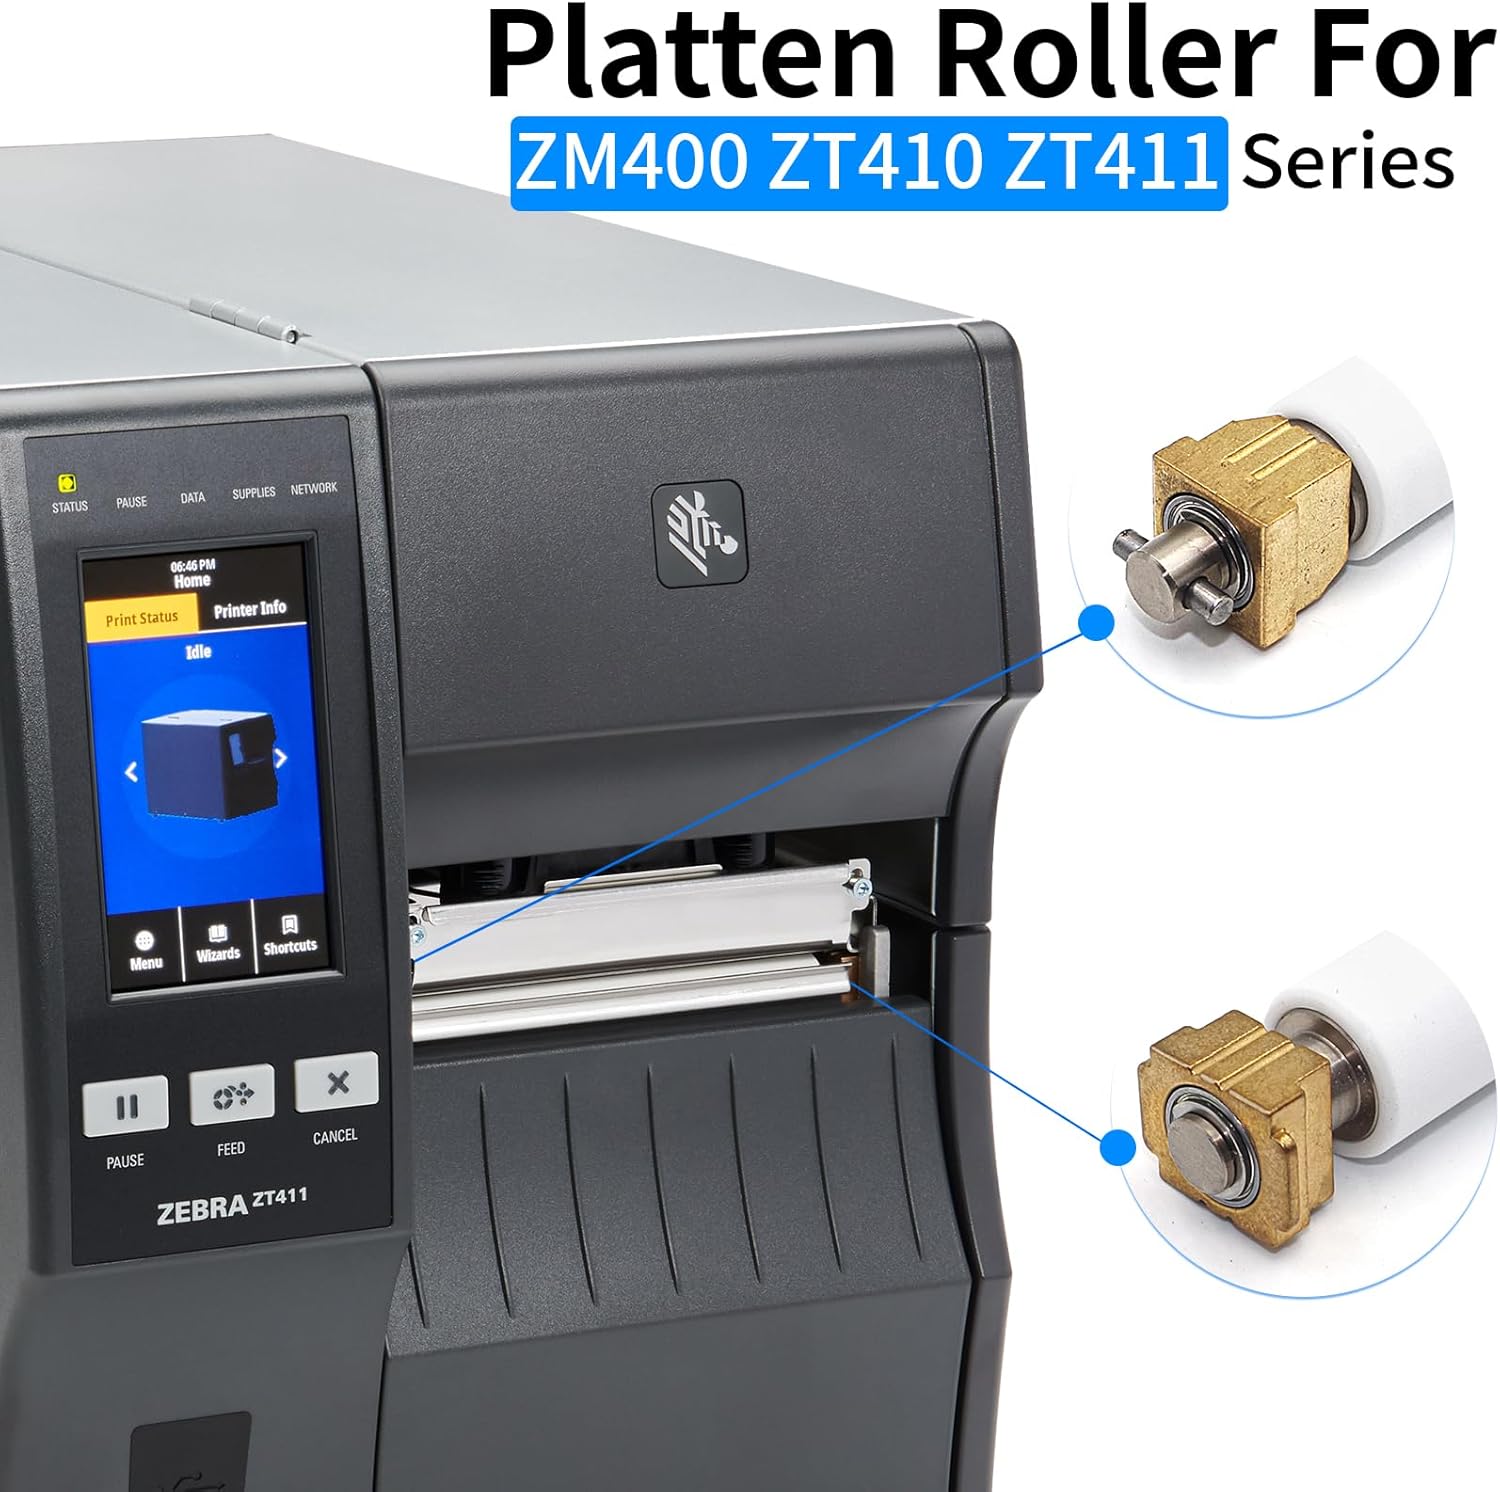
This manual provides essential instructions for the installation, operation, maintenance, and troubleshooting of the PARTS P1058930-080 Platen Roller Kit. This kit is designed as a replacement part for Zebra ZT410 and ZT411 thermal label printers, supporting 203dpi, 300dpi, and 600dpi models. Please read this manual thoroughly before installation and use to ensure proper function and longevity of your printer component.
Note: This item is not compatible with Zebra ZT420 thermal printers.
2. Product Overview
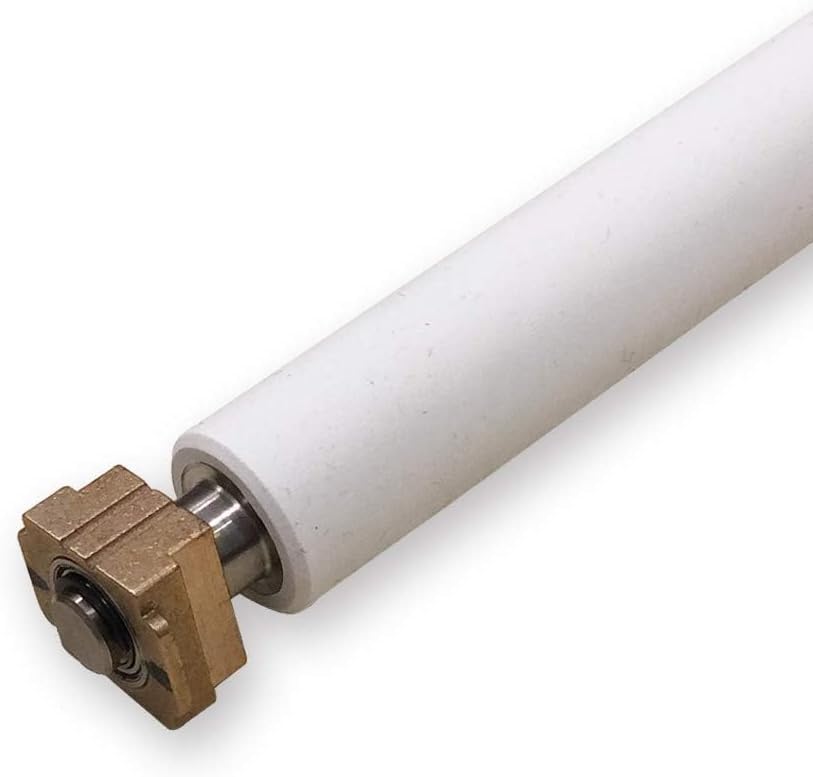
The P1058930-080 Platen Roller is a critical component in thermal label printers, responsible for pressing the media against the printhead to ensure proper heat transfer and print quality. This replacement kit includes one platen roller with bearings.
2.1 Package Contents
- 1x ZT410/ZT411 Kit Platen Roller
- 1x Bearing (pre-installed or included for assembly)
2.2 Product Images



3. Safety Information
- Always disconnect the printer from the power source before performing any installation or maintenance.
- Handle printer components with care to avoid damage.
- Refer to your printer's official service manual for detailed safety precautions and procedures.
- Keep small parts away from children.
4. Installation
The P1058930-080 Platen Roller is designed for easy installation. No special tools are typically required, and it can be directly installed into the Zebra ZT410 or ZT411 printer.
4.1 Pre-Installation Steps
- Power Off: Ensure the printer is turned off and unplugged from the power outlet.
- Open Printer Cover: Open the printer's top cover and any necessary internal access panels to expose the platen roller area.
- Remove Old Roller: Carefully remove the existing platen roller. This usually involves releasing retaining clips or levers. Consult your printer's user manual for specific removal instructions.
4.2 Installing the New Platen Roller
- Position Roller: Align the new P1058930-080 platen roller with the mounting points inside the printer.
- Secure Roller: Gently push the roller into place until it clicks or locks securely. Ensure the bearings are properly seated.
- Verify Installation: Lightly rotate the roller by hand to confirm it spins freely and is not obstructed.
- Close Covers: Close all printer covers and access panels.
4.3 Installation Video Guide
Video 1: ZEBRA ZT410 ZT411 Kit Platen Roller Replacement. This video demonstrates the process of replacing the platen roller in Zebra ZT410 and ZT411 printers.
5. Operating the Printer After Roller Replacement
After installing the new platen roller, reconnect the printer to power and turn it on. It is recommended to perform a test print to ensure proper label feeding and print quality. The platen roller works in conjunction with the printhead to feed labels smoothly and apply pressure for optimal thermal transfer.
- Ensure labels are loaded correctly according to your printer's specifications.
- Run a calibration if recommended by your printer's manual after component replacement.
6. Maintenance
Regular maintenance of the platen roller helps extend its lifespan and ensures consistent print quality.
6.1 Cleaning the Platen Roller
- Power Off: Disconnect the printer from power.
- Access Roller: Open the printer cover to access the platen roller.
- Clean Surface: Use a lint-free cloth dampened with isopropyl alcohol (99% pure) to gently wipe the surface of the platen roller. Rotate the roller to clean the entire surface.
- Dry: Allow the roller to air dry completely before closing the printer and restoring power.
Frequency: Clean the platen roller regularly, especially if you notice print quality issues or label feeding problems.
7. Troubleshooting
If you encounter issues after replacing the platen roller, refer to the following common problems and solutions:
| Problem | Possible Cause | Solution |
|---|---|---|
| Labels not feeding correctly | Improper roller installation, dirty roller, incorrect label loading. | Re-check roller installation, clean the roller, ensure labels are loaded correctly. |
| Poor print quality (faded, uneven) | Dirty roller, worn roller (unlikely for new), printhead issues. | Clean the platen roller and printhead. If issues persist, inspect the printhead. |
| Roller not spinning freely | Obstruction, incorrect bearing seating. | Inspect for debris, ensure bearings are properly seated in their mounts. |
If problems persist after attempting these solutions, please contact customer support or refer to your printer's comprehensive service manual.
8. Specifications
| Feature | Detail |
|---|---|
| Model Name | P1058930-080 |
| Compatibility | Zebra ZT410, Zebra ZT411 Thermal Label Printers (203dpi, 300dpi, 600dpi) |
| Part Number | P1058930-080 |
| Item Weight | 0.2 Kilograms |
| Included Components | 1x ZT410/ZT411 Kit Platen Roller, 1x bearing |
9. Warranty and Support
9.1 Warranty Information
This product comes with a 3-month limited warranty. For specific warranty terms and conditions, please refer to the product packaging or contact the manufacturer directly.
9.2 Customer Support
For any questions, technical assistance, or issues not covered in this manual, please contact customer support. You can typically find contact information on the product packaging or the seller's website.
Manufacturer: PARTS


