1. Introduction
Thank you for choosing the Moonka 10.1-inch Wi-Fi Digital Photo Frame. This device allows you to easily share and display your cherished photos and videos with family and friends from anywhere in the world. Featuring a vibrant 10.1-inch IPS touch screen, Wi-Fi connectivity, and 32GB of internal storage, this frame offers a convenient way to relive your memories. This manual will guide you through the setup, operation, and maintenance of your new digital photo frame.
2. Important Safety Information
Please read all safety instructions carefully before using the product. Failure to follow these instructions may result in electric shock, fire, or damage to the device.
- Power Source: Use only the provided power adapter. Using an incompatible adapter may damage the device and void your warranty.
- Water and Moisture: Do not expose the device to water, rain, or excessive moisture. Keep it away from sinks, bathtubs, and other wet areas.
- Heat: Keep the device away from heat sources such as radiators, heat registers, stoves, or other heat-producing appliances.
- Ventilation: Ensure proper ventilation. Do not block any ventilation openings.
- Cleaning: Unplug the device before cleaning. Use a soft, dry cloth. Do not use liquid cleaners or aerosol cleaners.
- Servicing: Do not attempt to service this product yourself. Refer all servicing to qualified service personnel.
- Placement: Place the frame on a stable, flat surface to prevent it from falling.
3. Package Contents
Verify that all items are included in your package:
- Moonka 10.1-inch Wi-Fi Digital Photo Frame
- Power Adapter
- Detachable Stand
- User Manual

Figure 3.1: Digital Photo Frame and Accessories
4. Product Overview
4.1 Front View

Figure 4.1: Front View of the Digital Photo Frame
The front of the frame features a 10.1-inch IPS touch screen display. The screen provides a wide viewing angle and clear image quality.
4.2 Rear View and Ports

Figure 4.2: Rear View and Port Layout
- Power ON/OFF: Button to turn the device on or off.
- RESET: Small hole for resetting the device (use a pin).
- Mini USB: For connecting to a computer or other USB devices.
- Micro SD Card Slot: Insert a Micro SD card for additional storage.
- DC Power Input: Connect the power adapter here.
- Wall Mount Hole: For mounting the frame on a wall.
- Bracket: Detachable stand for tabletop placement.
5. Setup
5.1 Step 1: Power On
- Connect the power adapter to the DC Power Input port on the back of the frame.
- Plug the power adapter into a wall outlet.
- Press the Power ON/OFF button to turn on the frame.
5.2 Step 2: Initial Configuration
Upon first power-on, the frame will guide you through initial settings:
- Select your preferred language.
- Set the time zone.
- Connect to your Wi-Fi network by selecting it from the list and entering the password. The frame supports 2.5GHz Wi-Fi.
5.3 Step 3: Download the "SSA WiFi Frame" App
To easily upload and manage photos and videos, download the free "SSA WiFi Frame" app on your smartphone or tablet.
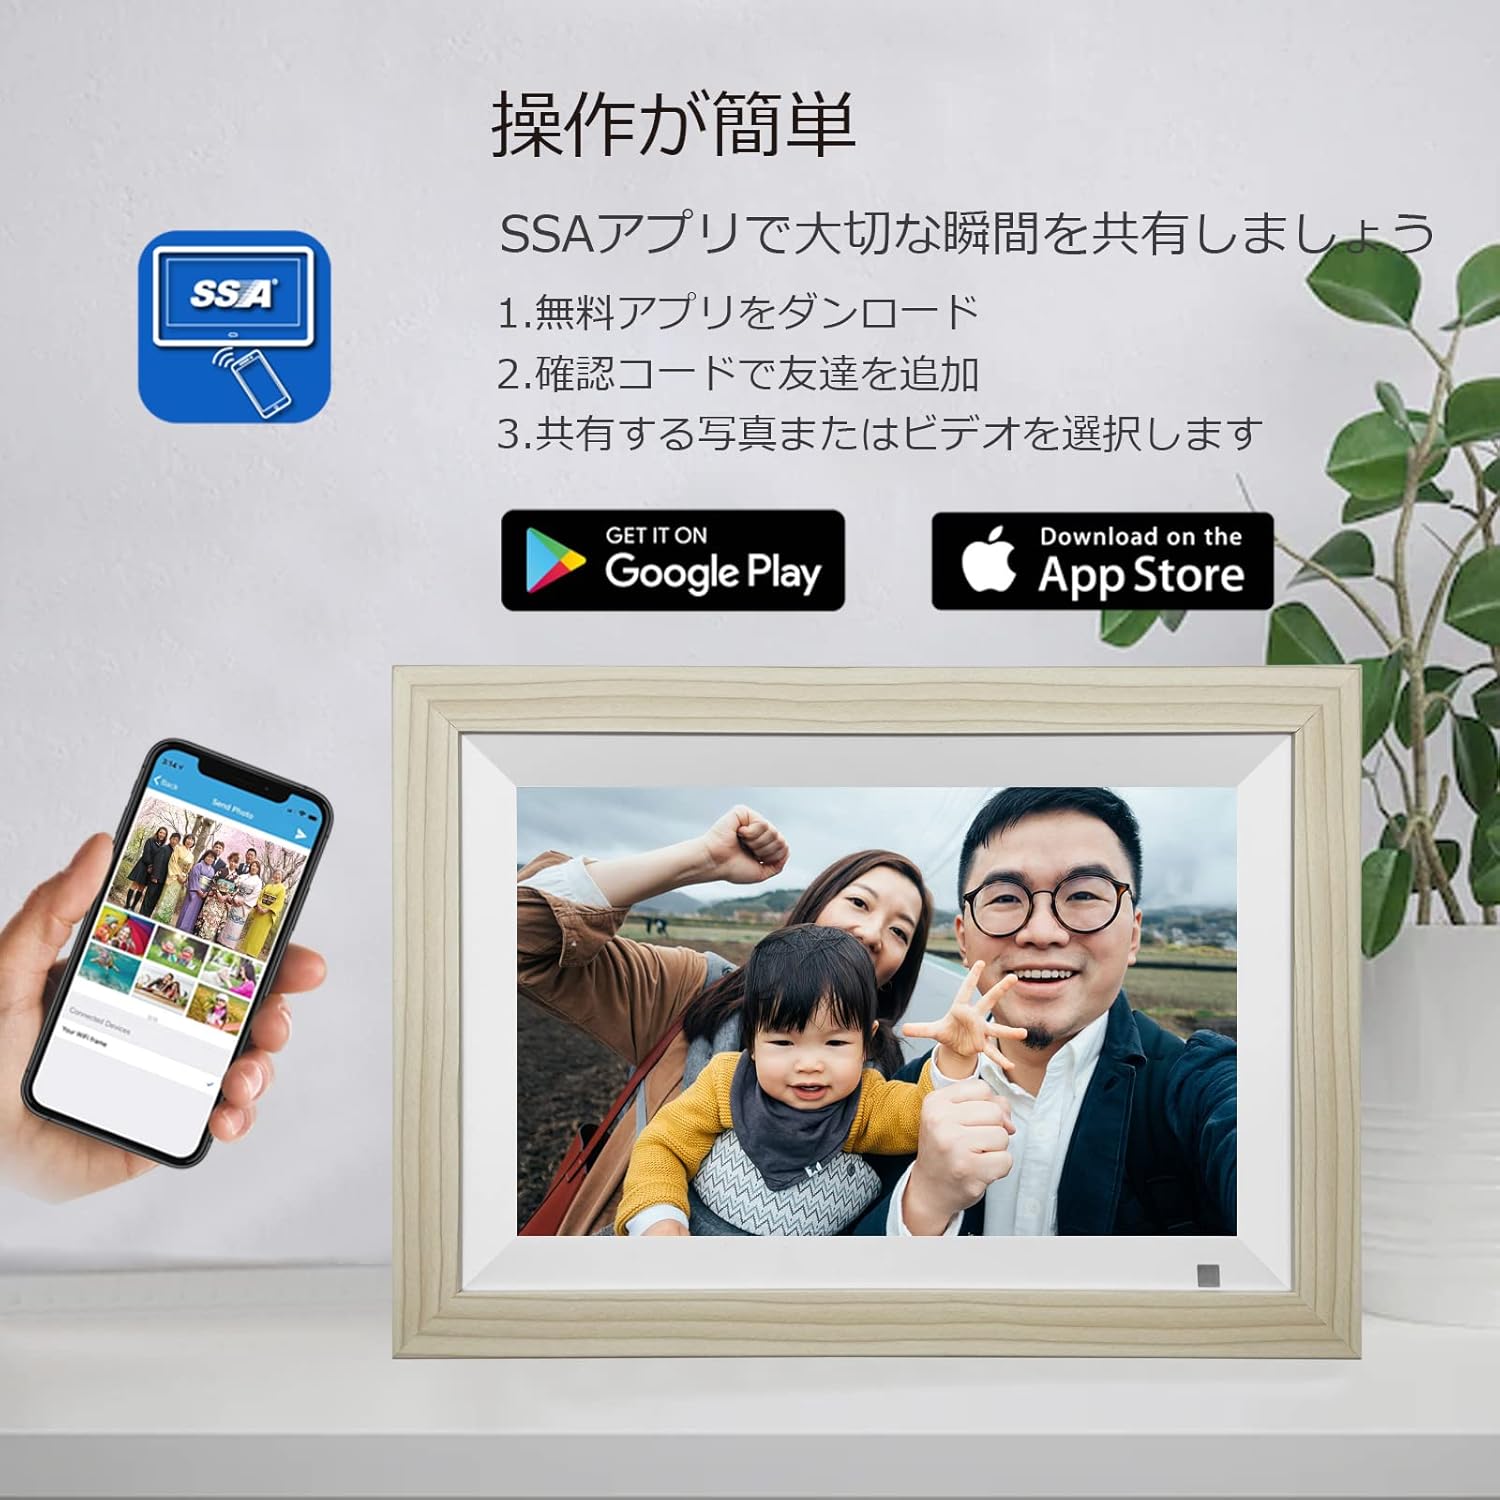
Figure 5.1: SSA WiFi Frame App Download
- Scan the QR code displayed on the frame or in the manual, or search for "SSA WiFi Frame" in your device's app store (Google Play for Android, App Store for iOS).
- Install the app and create an account.
- Follow the in-app instructions to pair your smartphone with the digital photo frame using the unique device ID provided on the frame.
6. Operating Instructions
6.1 Uploading Photos and Videos
6.1.1 Via "SSA WiFi Frame" App
The app allows for real-time sharing of photos and short videos (up to 15 seconds) directly to your frame.
- Open the "SSA WiFi Frame" app on your smartphone.
- Select the photos or videos you wish to upload.
- Tap the upload button to send them to your connected digital photo frame.
- Photos and videos will appear on the frame almost instantly, allowing family and friends to share moments regardless of distance.
6.1.2 Via Micro SD Card or USB Drive
You can also transfer media files directly using a Micro SD card or a USB drive.
- Insert a Micro SD card into the Micro SD Card Slot or a USB drive into the Mini USB port on the back of the frame.
- Navigate to the 'Files' or 'Gallery' section on the frame's touch screen.
- Select the external storage device and choose the files you want to copy to the frame's internal memory.
6.2 Viewing Photos and Videos
6.2.1 Slideshow Mode
The frame automatically starts a slideshow of all uploaded photos and videos. You can customize slideshow settings such as transition effects and display time per image in the settings menu.
6.2.2 Manual Browsing
Tap the screen to pause the slideshow and browse through your media manually. Swipe left or right to navigate between photos and videos. Tap on a video to play it.
6.3 Adjusting Settings
Access the settings menu by tapping the screen and selecting the 'Settings' icon. Here you can customize various aspects of your frame:
- Display: Adjust brightness, contrast, and screen orientation (the frame also supports automatic rotation).
- Sleep Mode: Set schedules for the frame to automatically turn on/off.
- Motion Sensor: Enable or disable the human motion sensor. When enabled, the frame will automatically turn on when motion is detected and turn off after a period of inactivity.
- Date & Time: Manually set or synchronize date and time via Wi-Fi.
- Volume: Adjust the volume for video playback.

Figure 6.1: Motion Sensor in Action
6.4 Additional Features
The Moonka digital photo frame offers several convenient features:
- Calendar: View the current date and month.
- Clock: Display the current time.
- Weather: Get real-time weather updates for your selected location (requires Wi-Fi connection).
7. Maintenance
- Cleaning the Screen: Gently wipe the screen with a soft, lint-free cloth. For stubborn smudges, slightly dampen the cloth with water or a screen-cleaning solution. Avoid harsh chemicals.
- General Care: Keep the frame in a dry environment. Avoid extreme temperatures and direct sunlight.
8. Troubleshooting
| Problem | Possible Cause | Solution |
|---|---|---|
| Frame does not turn on. | No power, faulty adapter. | Check power connection. Ensure adapter is securely plugged in. Try a different outlet. |
| Cannot connect to Wi-Fi. | Incorrect password, out of range, 5GHz network. | Verify Wi-Fi password. Move frame closer to router. Ensure your network is 2.5GHz. |
| Photos/videos not appearing. | App not connected, incorrect file format, storage full. | Check app connection status. Ensure files are in supported formats (JPEG, MP4). Check available storage. |
| Screen is unresponsive. | Temporary software glitch. | Restart the frame. If issue persists, use the RESET button. |
9. Specifications
| Feature | Detail |
|---|---|
| Brand | moonka |
| Model Number | ZN-DP1002 |
| Screen Size | 10.1 inches |
| Resolution | 1280x800 |
| Display Type | IPS Touch Panel |
| Internal Memory | 32GB |
| External Storage | Supports Micro SD card (up to 32GB, sold separately) |
| Connectivity | Wi-Fi (2.5GHz) |
| Supported File Formats | JPEG, JPG (photos); MPEG-1, MPEG-2, MPEG-4, H.263 (videos) |
| Product Dimensions | Approximately 4 x 3 x 2.51 cm (frame thickness) |
| Product Weight | Approximately 930 g |
10. Warranty and Support
Your Moonka Digital Photo Frame comes with a 1-year quality guarantee from the date of purchase. If you encounter any issues or have questions regarding your product, please contact our customer support team. We offer 24-hour Japanese customer support.
Contact Information:
- Please refer to your Amazon order history: Go to "Account Service" > "Order History" > "Seller" > "Ask a Question" to send us an email.
- Our team will respond promptly within 24 hours.
We are committed to providing high-quality products and services to ensure your satisfaction.