1. Introduction
This manual provides detailed instructions for the safe and efficient operation of your Sailnovo Automatic 56-Egg Incubator. Please read this manual thoroughly before use to ensure optimal performance and successful hatching results. This incubator is designed for incubating various poultry eggs, including chicken, duck, quail, and reptile eggs, with automatic temperature control and egg turning features.
2. Safety Instructions
- Always connect the incubator to a grounded power outlet.
- Do not immerse the incubator or its electrical components in water or other liquids.
- Keep the incubator away from direct sunlight, heat sources, and drafts.
- Ensure proper ventilation around the incubator.
- Unplug the incubator from the power supply before cleaning or performing any maintenance.
- Keep out of reach of children and pets.
- Use only fresh, fertilized eggs for incubation.
3. Package Contents
Upon unpacking, please verify that all the following items are included:
- 1 x Sailnovo Automatic 56-Egg Incubator
- 1 x Foam Protection (for shipping)
- 1 x Power Cable
- 1 x Instruction Manual
4. Product Features
- Capacity: Accommodates up to 56 standard chicken eggs.
- Automatic Egg Turning: Eggs are automatically turned to ensure even heating and development.
- Digital LED Display: Shows current temperature, humidity, incubation day, and countdown to hatch.
- Automatic Temperature Control: Allows precise temperature setting between 20°C and 40°C.
- Humidity Sensor: Digital display for monitoring internal humidity levels.
- Built-in Fan: Ensures uniform heat distribution throughout the incubator.
- Transparent Design: Clear plastic lid for easy observation of the incubation process.
- Egg Candling System: Integrated feature to check egg fertility and embryo development.
- Alarm Function: Alerts for temperature and humidity deviations.
5. Technical Specifications
| Model Number | 2951 |
| Brand | Sailnovo |
| Capacity | 56 Eggs (Chicken) |
| Power | 80W |
| Dimensions (L x W x H) | 43 cm x 43 cm x 18 cm (approx. 17 x 17 x 7 inches) |
| Weight | 2.0 kg (approx. 4.4 lbs) |
| Temperature Range | 20°C - 40°C |
6. Setup Instructions
- Unpack the Incubator: Carefully remove all components from the packaging. Retain the foam protection for future storage if needed.
- Placement: Place the incubator on a stable, level surface in a room with a consistent ambient temperature (ideally between 20-25°C). Avoid direct sunlight, drafts, or areas with extreme temperature fluctuations.
- Add Water: Locate the water reservoir at the bottom of the incubator. Fill it with distilled or demineralized water. Ensure the water level is adequate but do not overfill. The transparent design allows observation of the water level.
- Connect Power: Plug the power cable into the incubator and then into a grounded electrical outlet.
- Pre-heating: Allow the incubator to run for at least 2-3 hours before placing eggs inside. This allows the internal temperature and humidity to stabilize.
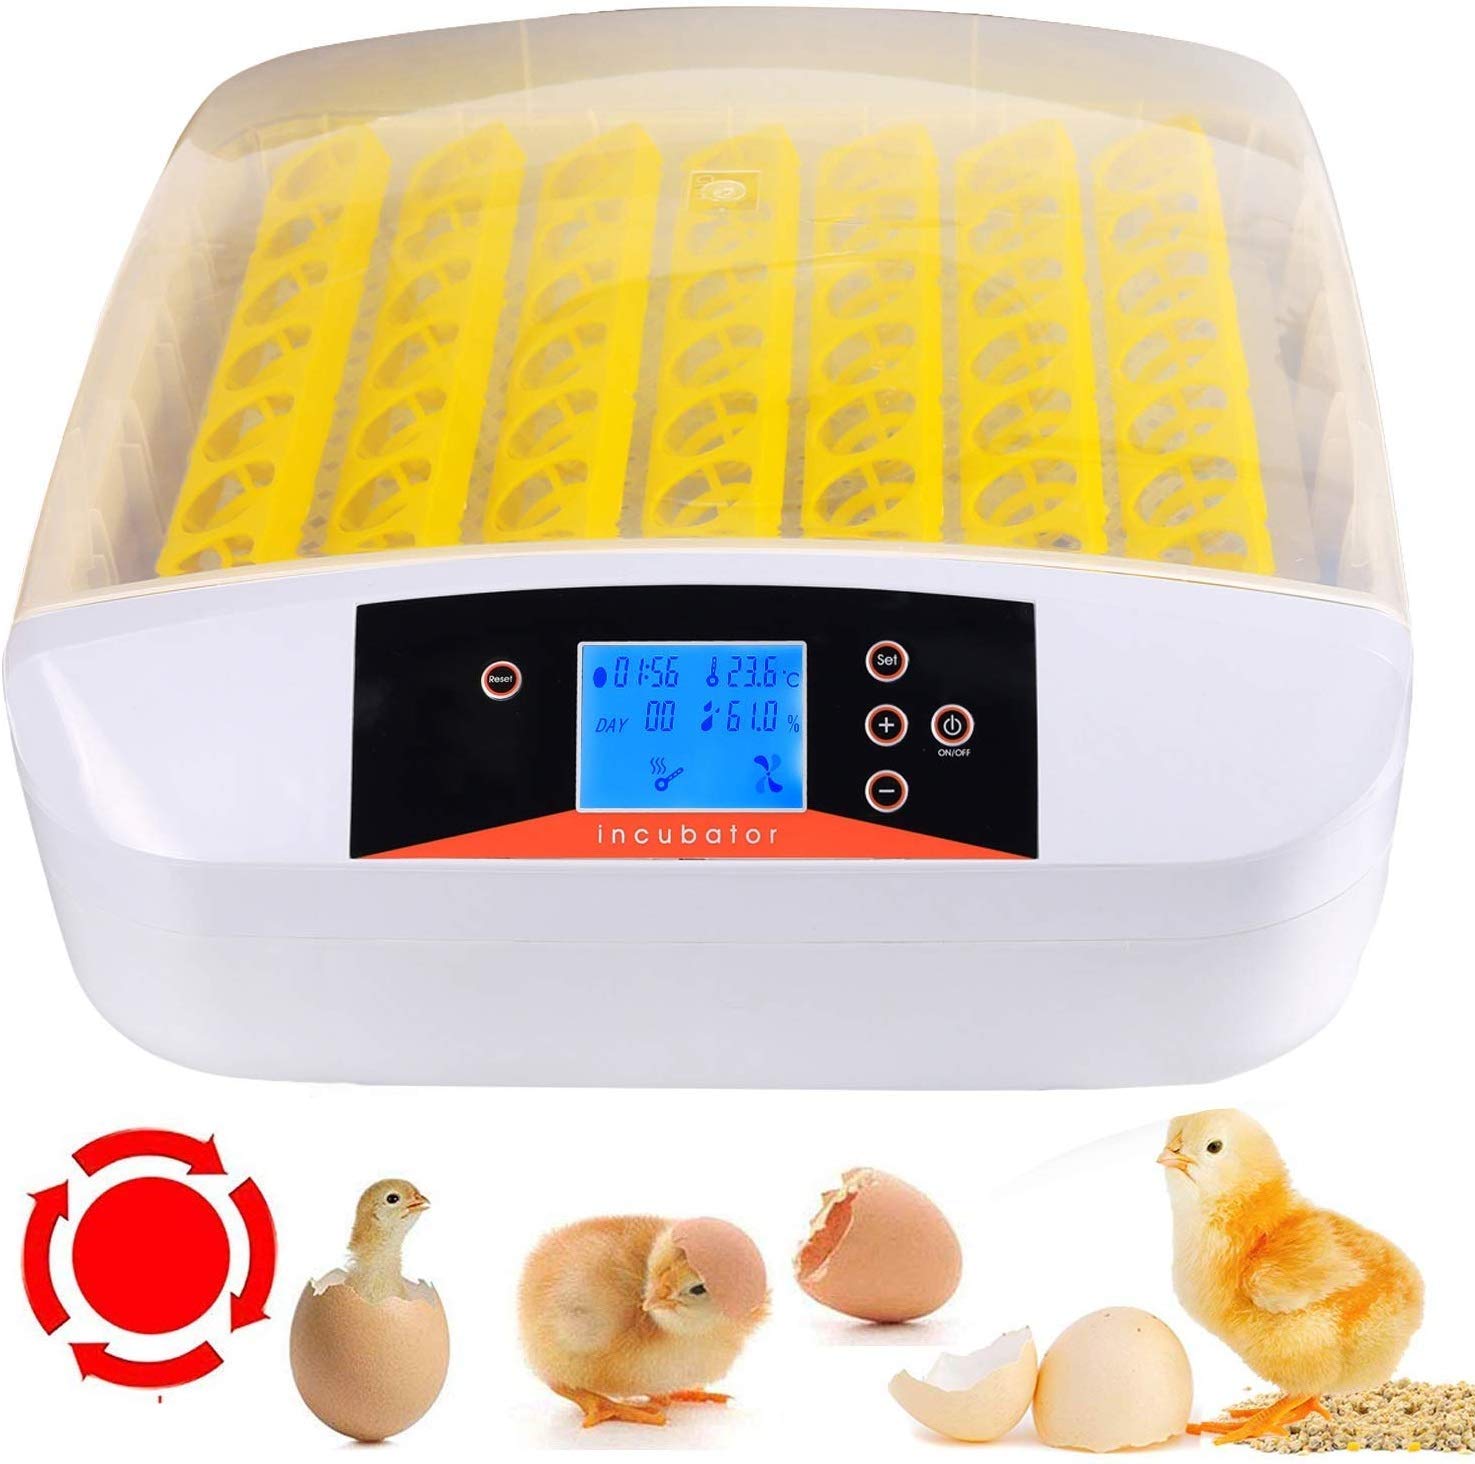
Image 1: Sailnovo Automatic 56-Egg Incubator. The transparent lid allows for easy viewing of the eggs inside.
7. Operating Instructions
7.1 Control Panel Overview

Image 2: Detailed view of the incubator's control panel, showing the LCD screen, Reset, Set, Temperature adjustment, and On/Off buttons.
- LCD Screen: Displays temperature, humidity, incubation day, and egg turning countdown.
- SET Button: Enters temperature setting mode.
- + / - Buttons: Adjust temperature values.
- ON/OFF Button: Powers the unit on or off.
- RESET Button: Resets incubation day count or alarm.
7.2 Setting Temperature and Humidity
- Press the SET button once. The temperature display will flash.
- Use the + and - buttons to adjust the desired temperature. For chicken eggs, a common setting is 38°C for the first 18 days, then 37.5°C for the last 3 days.
- Press SET again to confirm the temperature.
- Humidity is primarily controlled by adding water to the reservoir. Monitor the digital humidity display and add water as needed to maintain the recommended levels (typically 50-60% for incubation, 65-75% for hatching).
7.3 Placing Eggs
- Ensure eggs are fresh and fertilized, ideally collected within 7 days.
- Carefully place eggs into the egg trays with the pointed end facing downwards.
- Close the incubator lid securely.
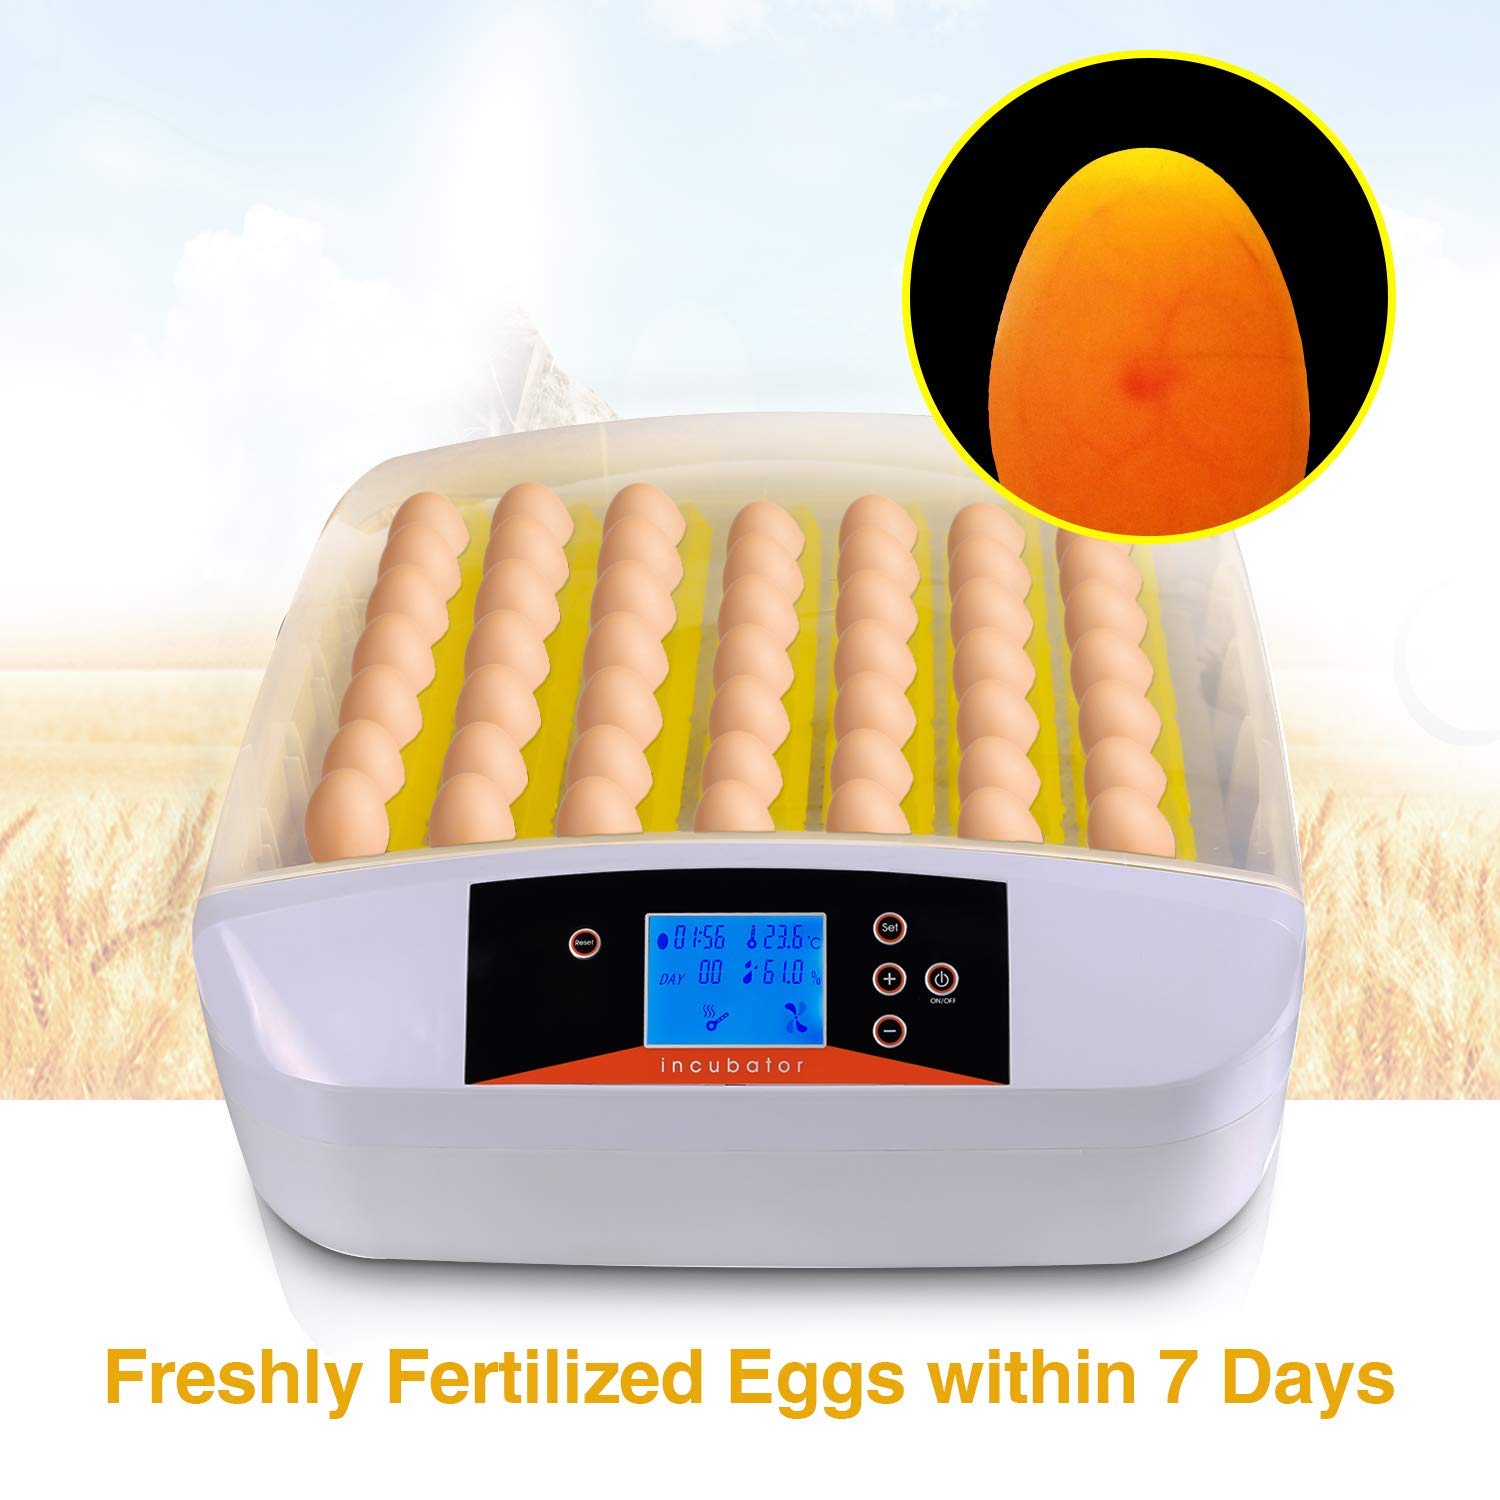
Image 3: Freshly fertilized eggs placed in the incubator. The inset shows a candled egg with visible embryo development.
7.4 Automatic Egg Turning
The incubator features an automatic egg turning mechanism. This system will gently turn the eggs at regular intervals (factory set, typically every 2 hours) to prevent the embryo from sticking to the shell and ensure even heat distribution. The egg turning mechanism can be observed through the transparent lid.

Image 4: Internal view highlighting the automatic egg turning mechanism and removable egg trays. The low-speed motor drives the turning process.
7.5 Egg Candling
The incubator includes an egg candling system. To use it, simply place an egg over the designated candling light (if available, otherwise use an external candler) to observe the embryo's development and check for fertility. This is typically done around day 7 and day 14 of incubation.
7.6 Hatching Period
Approximately 3 days before the expected hatch date, it is recommended to stop the automatic egg turning. This allows the chicks to position themselves for hatching. Increase humidity during this period to aid in the hatching process. Do not open the incubator frequently during hatching to maintain stable conditions.
8. Incubation Guidelines for Different Species
The following table provides general guidelines. Specific conditions may vary based on breed and individual egg characteristics.

Image 5: Visual guide to typical hatching times for different bird species.
| Species | Incubation Period | Temperature (Days 1-X) | Temperature (Last 3 Days) | Humidity (Days 1-X) | Humidity (Last 3 Days) |
|---|---|---|---|---|---|
| Chicken | 21 Days | 38°C (100.4°F) | 37.5°C (99.5°F) | 50-60% | 65-75% |
| Duck | 28 Days | 37.5°C (99.5°F) | 37°C (98.6°F) | 55-65% | 70-80% |
| Quail | 17-18 Days | 37.8°C (100°F) | 37.2°C (99°F) | 45-55% | 60-70% |
| Pigeon | 18 Days | 37.5°C (99.5°F) | 37°C (98.6°F) | 50-60% | 65-75% |
9. Maintenance
9.1 Cleaning
- Always unplug the incubator before cleaning.
- Remove the egg trays and wash them with mild soap and water. Rinse thoroughly and allow to air dry completely.
- Wipe the interior and exterior surfaces of the incubator with a damp cloth. A mild disinfectant solution can be used, but ensure it is safe for plastics and rinsed off thoroughly.
- Ensure all components are completely dry before reassembling and storing or reusing the incubator.
9.2 Storage
When not in use, store the incubator in a clean, dry place, away from direct sunlight and extreme temperatures. It is recommended to keep the original packaging for safe storage.
10. Troubleshooting
| Problem | Possible Cause | Solution |
|---|---|---|
| Temperature fluctuations | Unstable room temperature, lid not sealed properly, faulty sensor. | Place incubator in a stable environment. Ensure lid is closed tightly. Contact support if sensor is suspected faulty. |
| Humidity too low | Insufficient water in reservoir, dry ambient air. | Add more water to the reservoir. Consider placing a damp sponge inside (away from electrical components) if needed. |
| Humidity too high | Too much water in reservoir, humid ambient air, poor ventilation. | Reduce water in reservoir. Ensure room is not excessively humid. Check ventilation holes. |
| Eggs not turning | Motor malfunction, egg tray obstruction. | Check for obstructions. Ensure power is connected. If motor is faulty, contact support. |
| Low hatching rate | Infertile eggs, incorrect temperature/humidity, poor egg quality, frequent opening of lid. | Use fresh, fertile eggs. Verify temperature and humidity settings. Avoid opening the incubator unnecessarily. |
11. Warranty and Support
Specific warranty information for the Sailnovo Automatic 56-Egg Incubator is not provided in this manual. Please refer to your purchase documentation or contact the retailer/manufacturer directly for details regarding warranty coverage and customer support.
For technical assistance or inquiries, please visit the official Sailnovo website or contact their customer service department.