Clementoni 52442
Clementoni Create Your Crystals Instruction Manual
Model: 52442
Introduction
The Clementoni Create Your Crystals kit provides an engaging and educational experience for discovering the fascinating world of crystallography. This science lab allows you to create amazing translucent and colorful crystals by exploring the chemical reactions of various salts. The comprehensive manual included guides you through each experiment, ensuring a safe and enjoyable learning process.
This kit is designed for users aged 8 years and up, offering a hands-on approach to understanding basic chemistry principles.
Safety Information
WARNING: Not suitable for children under 8 years of age.
- This kit contains small parts which may present a choking hazard if swallowed or inhaled.
- To be used under strict adult supervision.
- This kit contains chemicals that may be hazardous if misused. Read all instructions carefully before use and follow them precisely.
- Avoid all contact of chemicals with the body, especially the mouth and eyes. In case of contact, rinse immediately with plenty of water and seek medical advice if irritation persists.
- Keep young children and animals away from the area where experiments are being conducted.
- Store the experiment kit out of reach of children under 8 years.
- Always wear the provided protective gloves when handling chemicals.
- Do not ingest any components of the kit.
What's in the Box
Carefully unpack the contents of your Clementoni Create Your Crystals kit and verify that all items listed below are present:
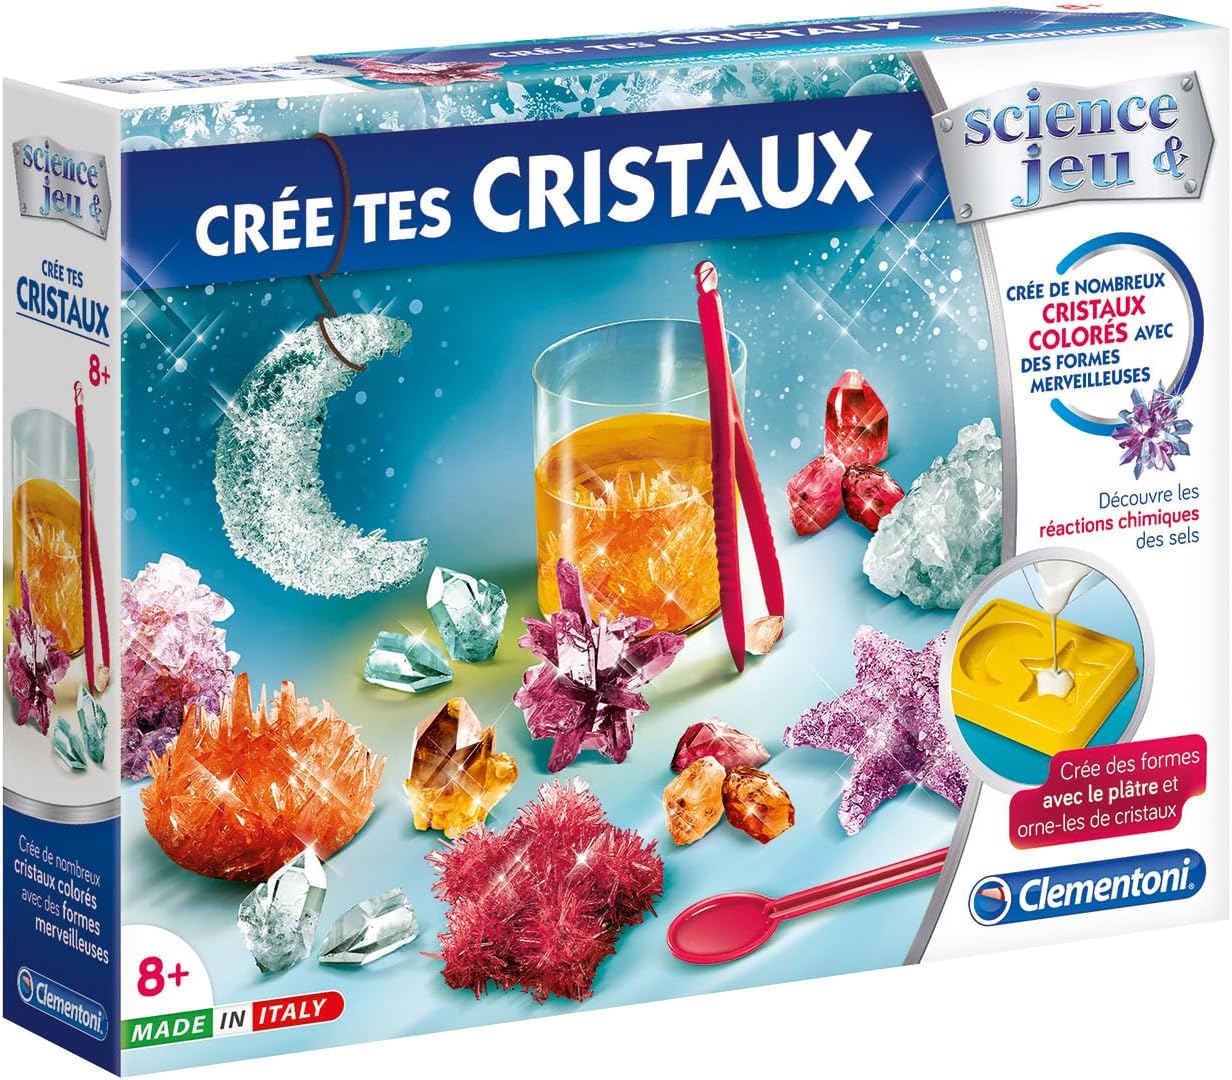
Image: All components of the Create Your Crystals kit, including various powders, liquids, measuring tools, and molds.
- Protective Gloves
- Pipette
- Spoon
- Spatula
- Tweezers
- Graduated Beakers (100 ml and 50 ml) with lids
- Potassium Aluminum Sulfate powder
- Calcium Sulfate (Plaster) powder
- Ammonium Dihydrogen Orthophosphate powder
- Dye
- Mold with various shapes
- Tray for liquid plaster
- Illustrated Instruction Manual
Setup
Before beginning any experiment, ensure you have a clean, flat, and stable work surface. It is recommended to cover your work area with newspaper or a protective sheet to prevent spills.
- Prepare Your Workspace: Choose a well-ventilated area, away from food and drinks. Ensure adequate lighting.
- Read the Manual: Thoroughly read the entire illustrated instruction manual provided in the kit before starting any experiment. Familiarize yourself with the steps and safety precautions.
- Gather Materials: Lay out all the components from the "What's in the Box" section. Have access to clean water and a waste container.
- Wear Protective Gear: Always put on the provided protective gloves before handling any chemicals or solutions.
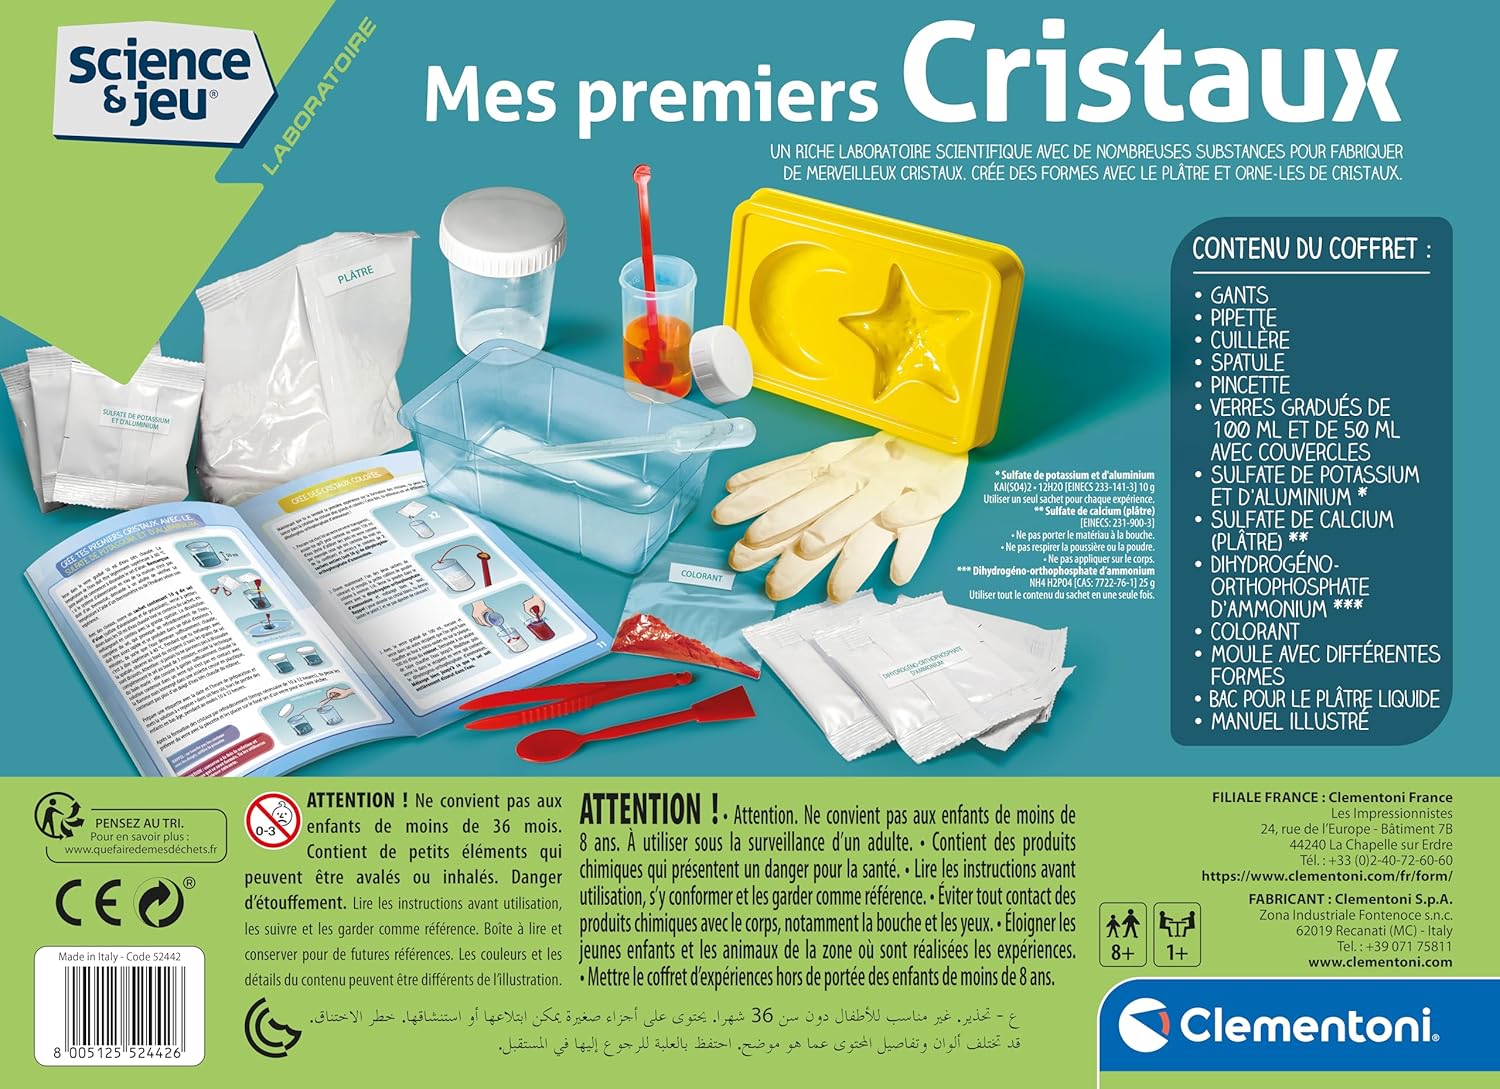
Image: Components of the crystal growing kit laid out, showing the instruction manual, powders, and tools.
Operating Instructions: Creating Your Crystals
The kit allows for various crystal growing experiments. Refer to the detailed instruction manual for specific recipes and techniques for each type of crystal. Below is a general overview of the crystal growing process.
- Prepare the Solution:
Using the graduated beakers, measure the specified amount of warm water (as per the manual's instructions for the specific crystal type you are growing). Carefully add the designated crystal-forming powder (e.g., Potassium Aluminum Sulfate or Ammonium Dihydrogen Orthophosphate) to the water. Stir thoroughly with the spoon until the powder is completely dissolved. This creates a supersaturated solution.
- Add Dye (Optional):
If you wish to create colored crystals, add a few drops of the provided dye to the solution and stir gently until the color is evenly distributed.
- Introduce the Seed Crystal/Mold:
For some experiments, you may need to introduce a small "seed" crystal or use the provided molds. Place the mold or seed crystal carefully into the solution, ensuring it is fully submerged but not touching the bottom or sides of the beaker.
- Allow for Growth:
Place the beaker in a quiet, undisturbed location at room temperature. Avoid moving or shaking the beaker during the crystal growth period. Crystal formation can take several hours to several days, depending on the type of crystal and environmental conditions. Observe the crystals as they grow.
- Harvesting Crystals:
Once the crystals have reached the desired size or growth has stopped, carefully remove them from the solution using the tweezers. Place them on a paper towel to dry completely. Handle the crystals gently as they can be fragile.
- Plaster Mold Creation (if applicable):
For experiments involving plaster, mix the Calcium Sulfate (Plaster) powder with water in the plaster tray according to the manual's instructions to form a thick paste. Pour the paste into the mold with different shapes. Once the plaster hardens, you can embed your grown crystals into the plaster shapes for display.

Image: Examples of crystals grown with the kit, showcasing different shapes and colors.
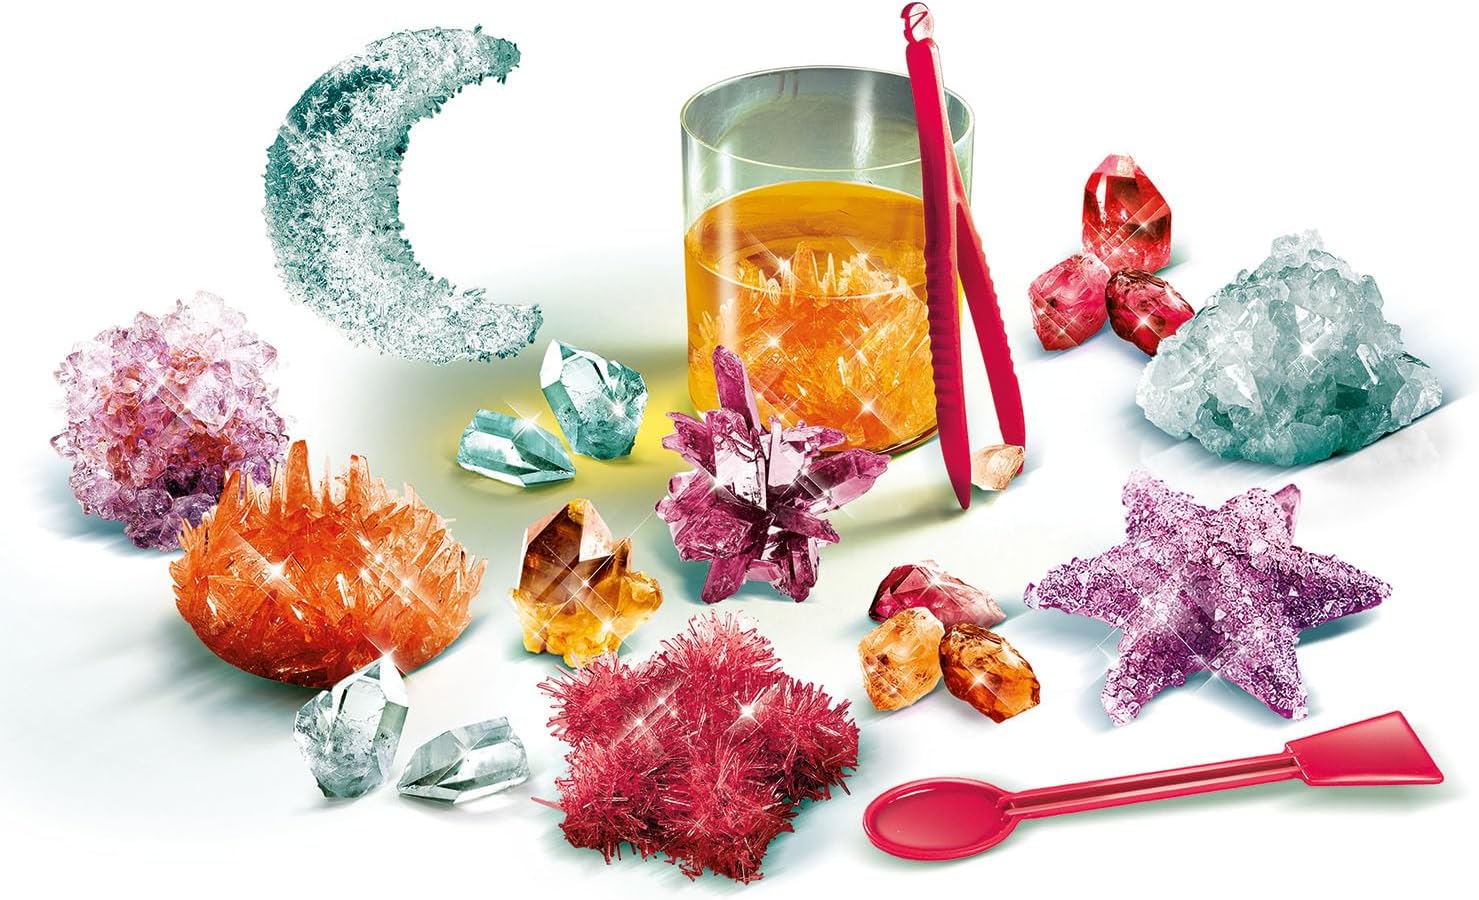
Image: Detailed view of various crystals, highlighting their intricate structures.
Maintenance
Proper care and maintenance will ensure the longevity of your kit components and facilitate future experiments.
- Cleaning Tools: After each experiment, thoroughly rinse all plastic tools (beakers, spoons, spatulas, pipette, tweezers, molds, tray) with warm water. Ensure no chemical residue remains. Allow them to air dry completely before storing.
- Storing Powders: Keep all chemical powders in their original sealed containers or in airtight bags to prevent moisture absorption and contamination. Store them in a cool, dry place.
- Disposal of Solutions: Dispose of leftover chemical solutions responsibly. Do not pour them down the drain. Consult local regulations for proper disposal of chemical waste or dilute them heavily with water before disposal if permitted.
- Kit Storage: Store the entire kit in its original box in a cool, dry place, out of direct sunlight and out of reach of young children and pets.
Troubleshooting
If you encounter issues during your crystal growing experiments, consider the following common problems and solutions:
| Problem | Possible Cause | Solution |
|---|---|---|
| Crystals are not growing or are very small. |
|
|
| Crystals are cloudy or misshapen. |
|
|
| No crystals forming on the seed crystal. |
|
|
For more detailed troubleshooting, please refer to the comprehensive instruction manual included in your kit.
Specifications
- Model Number: 52442
- Brand: Clementoni
- Product Dimensions: 2.76 x 13.78 x 10.24 inches (7 x 35 x 26 cm)
- Item Weight: 1.25 pounds (0.57 kg)
- Recommended Age: 8 years and up
- Country of Manufacture: Italy
- Primary Language of Manual: English (for this digital manual)
Warranty and Support
Clementoni products are manufactured to high-quality standards. For any issues regarding missing parts, defects, or operational questions not covered in this manual or the included physical manual, please contact Clementoni customer support.
Clementoni Contact Information:
- Website: www.clementoni.com
- Refer to the physical instruction manual or Clementoni's official website for specific warranty details and regional support contacts.
Please have your product model number (52442) and purchase information ready when contacting support.