Star Micronics 39651110
Star Micronics mC-Print3 Thermal POS Printer User Manual
Model: 39651110
1. Introduction
This manual provides comprehensive instructions for the setup, operation, maintenance, and troubleshooting of your Star Micronics mC-Print3 3-inch Ethernet (LAN) / USB / Lightning Thermal POS Printer. Designed for efficiency and reliability, the mC-Print3 is a compact and fast thermal printer suitable for various point-of-sale environments.
The mC-Print3 features a printing speed of 250 mm/sec and incorporates Print-Flat Technology for consistent receipt quality. It offers extensive software compatibility across Windows, iOS, Android, web, and cloud platforms. Connectivity options include USB and Ethernet LAN, with advanced features like CloudPRNT and a peripheral hub. Its splash-proof enclosure ensures durability in demanding settings.
2. Safety Information
Please read all safety instructions carefully before operating the printer. Failure to do so may result in injury or damage to the device.
- Ensure the printer is connected to a power source that matches the specified voltage requirements.
- Do not expose the printer to excessive moisture or extreme temperatures. The splash-proof design offers protection against splashes, but it is not fully waterproof.
- Avoid blocking ventilation openings to prevent overheating.
- Do not attempt to disassemble or repair the printer yourself. Refer all servicing to qualified personnel.
- Use only recommended paper types and sizes to prevent paper jams and ensure optimal print quality.
- Keep hands clear of the paper cutter during operation.

3. What's in the Box
Upon unboxing your Star Micronics mC-Print3 printer, verify that all the following items are included:
- mC-Print3 Printer
- Test Paper Roll
- USB Cable
- Power Supply
4. Setup
4.1. Physical Setup
Before connecting the printer, ensure it is placed on a stable, flat surface.

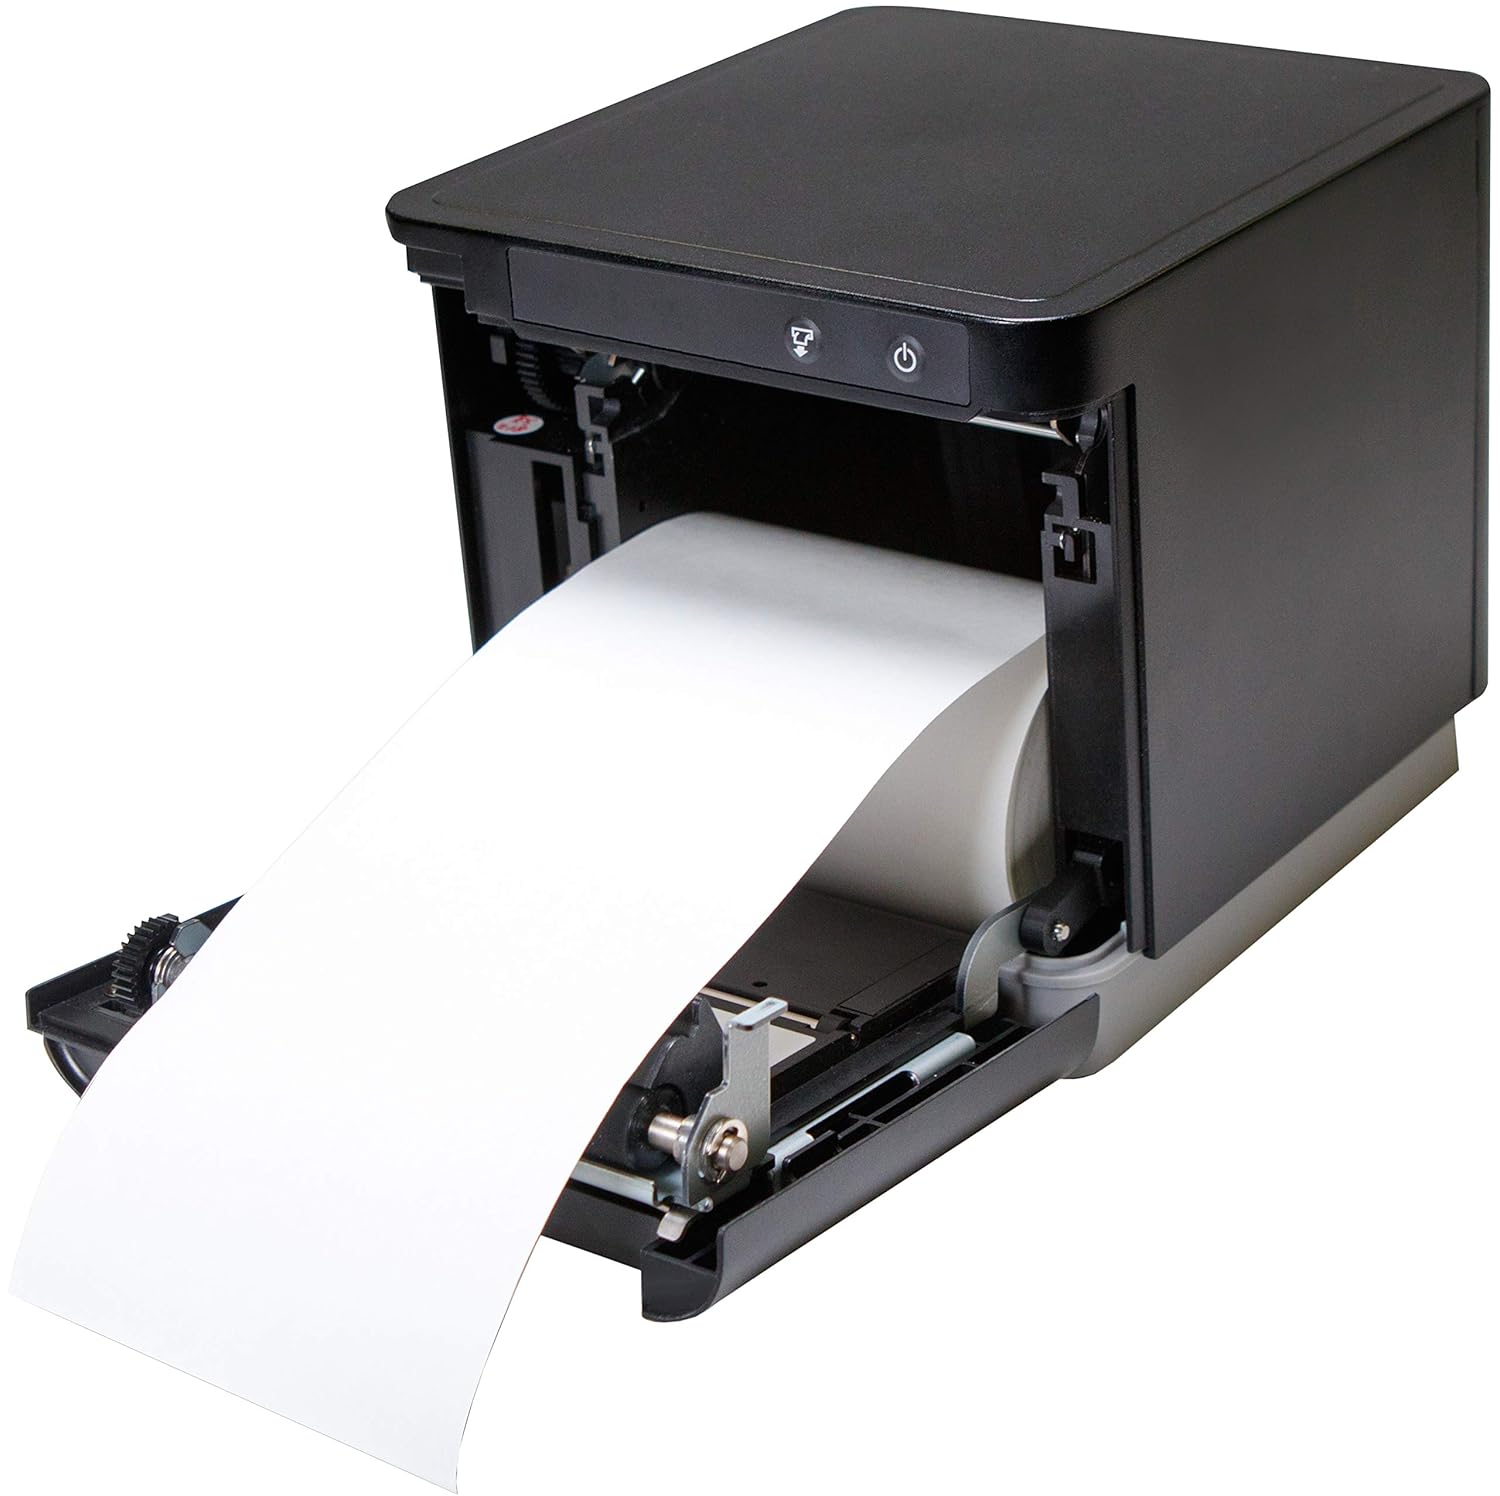
4.2. Loading Paper
The mC-Print3 features a convenient front-loading paper mechanism.
- Open the front cover of the printer.
- Insert the thermal paper roll, ensuring the paper feeds from the bottom of the roll.
- Pull a small amount of paper past the cutter and close the cover firmly until it clicks.
4.3. Connecting Cables
The mC-Print3 offers multiple connectivity options. Connect the power supply and your chosen interface cable (USB or Ethernet LAN) to the rear of the printer. The printer also features a peripheral hub for connecting other POS devices.


4.4. Software and Driver Installation
The mC-Print3 supports a wide range of operating systems including Windows, iOS, Android, web, and cloud environments. Drivers and SDKs are available from the Star Micronics website to facilitate integration with your POS system.
For iOS devices, the unique SteadyLAN™ technology allows for internet connection to the tablet via the USB cable, eliminating the need for Wi-Fi or Bluetooth for network access.
Video 4.1: This video demonstrates the SteadyLAN technology, showing how an iPad can receive internet connectivity and power directly through the printer's USB connection, simplifying POS setup.
5. Operating Instructions
5.1. Basic Printing
Once connected and configured with your POS software, the printer will automatically receive print commands. The mC-Print3's fast printing speed of 250 mm/sec ensures quick transaction processing.

5.2. Peripheral Hub Functionality
The integrated peripheral hub allows you to connect various devices such as barcode scanners, customer displays, and RFID readers directly to the printer, streamlining your POS setup.
Video 5.1: This video highlights the mC-Print series' compact design and superior connectivity, including the peripheral hub that supports various POS devices like customer displays and barcode scanners.
6. Maintenance
6.1. Cleaning the Printer
Regular cleaning helps maintain print quality and extends the life of your printer.
- Turn off the printer and disconnect the power cable before cleaning.
- Use a soft, lint-free cloth dampened with a mild, non-abrasive cleaner to wipe the exterior.
- For the thermal print head and platen roller, use an alcohol-based cleaning pen or a cotton swab lightly dampened with isopropyl alcohol. Allow to dry completely before use.
6.2. Paper Roll Replacement
Replace the paper roll as described in Section 4.2 when the paper low sensor is activated or print quality degrades.
7. Troubleshooting
This section addresses common issues you might encounter with your mC-Print3 printer.
| Problem | Possible Cause | Solution |
|---|---|---|
| Printer not powering on | Power cable disconnected; faulty power supply. | Check power connections; try a different outlet; replace power supply if necessary. |
| No print output | Paper jam; out of paper; incorrect driver/software settings; connectivity issue. | Clear paper jam and reload paper; install correct drivers; verify USB/Ethernet connection. |
| Poor print quality | Dirty print head; incorrect paper type; worn-out print head. | Clean the print head; ensure correct thermal paper is used; contact support if print head is worn. |
| Paper getting stuck/hole in receipt | Paper not loaded correctly; internal mechanism issue. | Ensure paper is loaded straight and cover is closed properly. If issue persists, contact Star Micronics support. |
8. Specifications
- Model Name: mC-Print3
- Product Dimensions: 5.5 x 5.25 x 5 inches
- Item Weight: 2.8 Pounds
- Printing Technology: Thermal
- Maximum Print Speed: 250 mm/sec (Monochrome)
- Connectivity Technology: Wired Connectivity (USB, Ethernet LAN)
- Color: Black
- Manufacturer: Star Micronics America, Inc
- Special Feature: Ethernet, Peripheral Hub, CloudPRNT, SteadyLAN™
9. Warranty and Support
The Star Micronics mC-Print3 printer typically comes with a manufacturer's limited warranty. For specific warranty terms and conditions, please refer to the documentation included with your purchase or visit the official Star Micronics website.
For technical support, driver downloads, and additional resources, please visit the Star Micronics Store on Amazon or their official support portal.
Ask a question about this manual
Ask about setup, troubleshooting, compatibility, parts, safety, or missing instructions. Manuals+ will review the question and use this page’s manual context to help answer it.