1. Introduction
This manual provides detailed instructions for the installation, operation, and maintenance of your Anytek Dash Cam 4-inch Full HD 1080P Night Vision Car Camera. Please read this manual thoroughly before using the device to ensure proper function and safety.
2. Product Overview and Package Contents
The Anytek Dash Cam is designed to record video footage while driving, providing evidence in case of incidents and enhancing road safety. It features a 4-inch display, Full HD 1080P recording, night vision capabilities, G-sensor, and loop recording.
Package Contents:
- Anytek Dash Cam Unit
- Car Charger
- Suction Cup Mount
- Rear Camera (with cable)
- USB Cable
- User Manual

Image: The Anytek Dash Cam main unit, rear camera, car charger, suction cup mount, and USB cable.
3. Key Features
3.1 Full HD 1080P Recording
The dash cam records video in Full HD 1080P resolution, capturing clear and detailed footage of the road ahead. This ensures that important details like license plates and road signs are visible.

Image: Illustration of the dash cam's 1080P resolution capturing both front and rear views with high detail.
3.2 Enhanced Night Vision
Equipped with a Starvis Night Vision Sensor, WDR (Wide Dynamic Range) technology, and an F1.8 large aperture lens, the dash cam provides clear video recording even in low-light conditions or at night.
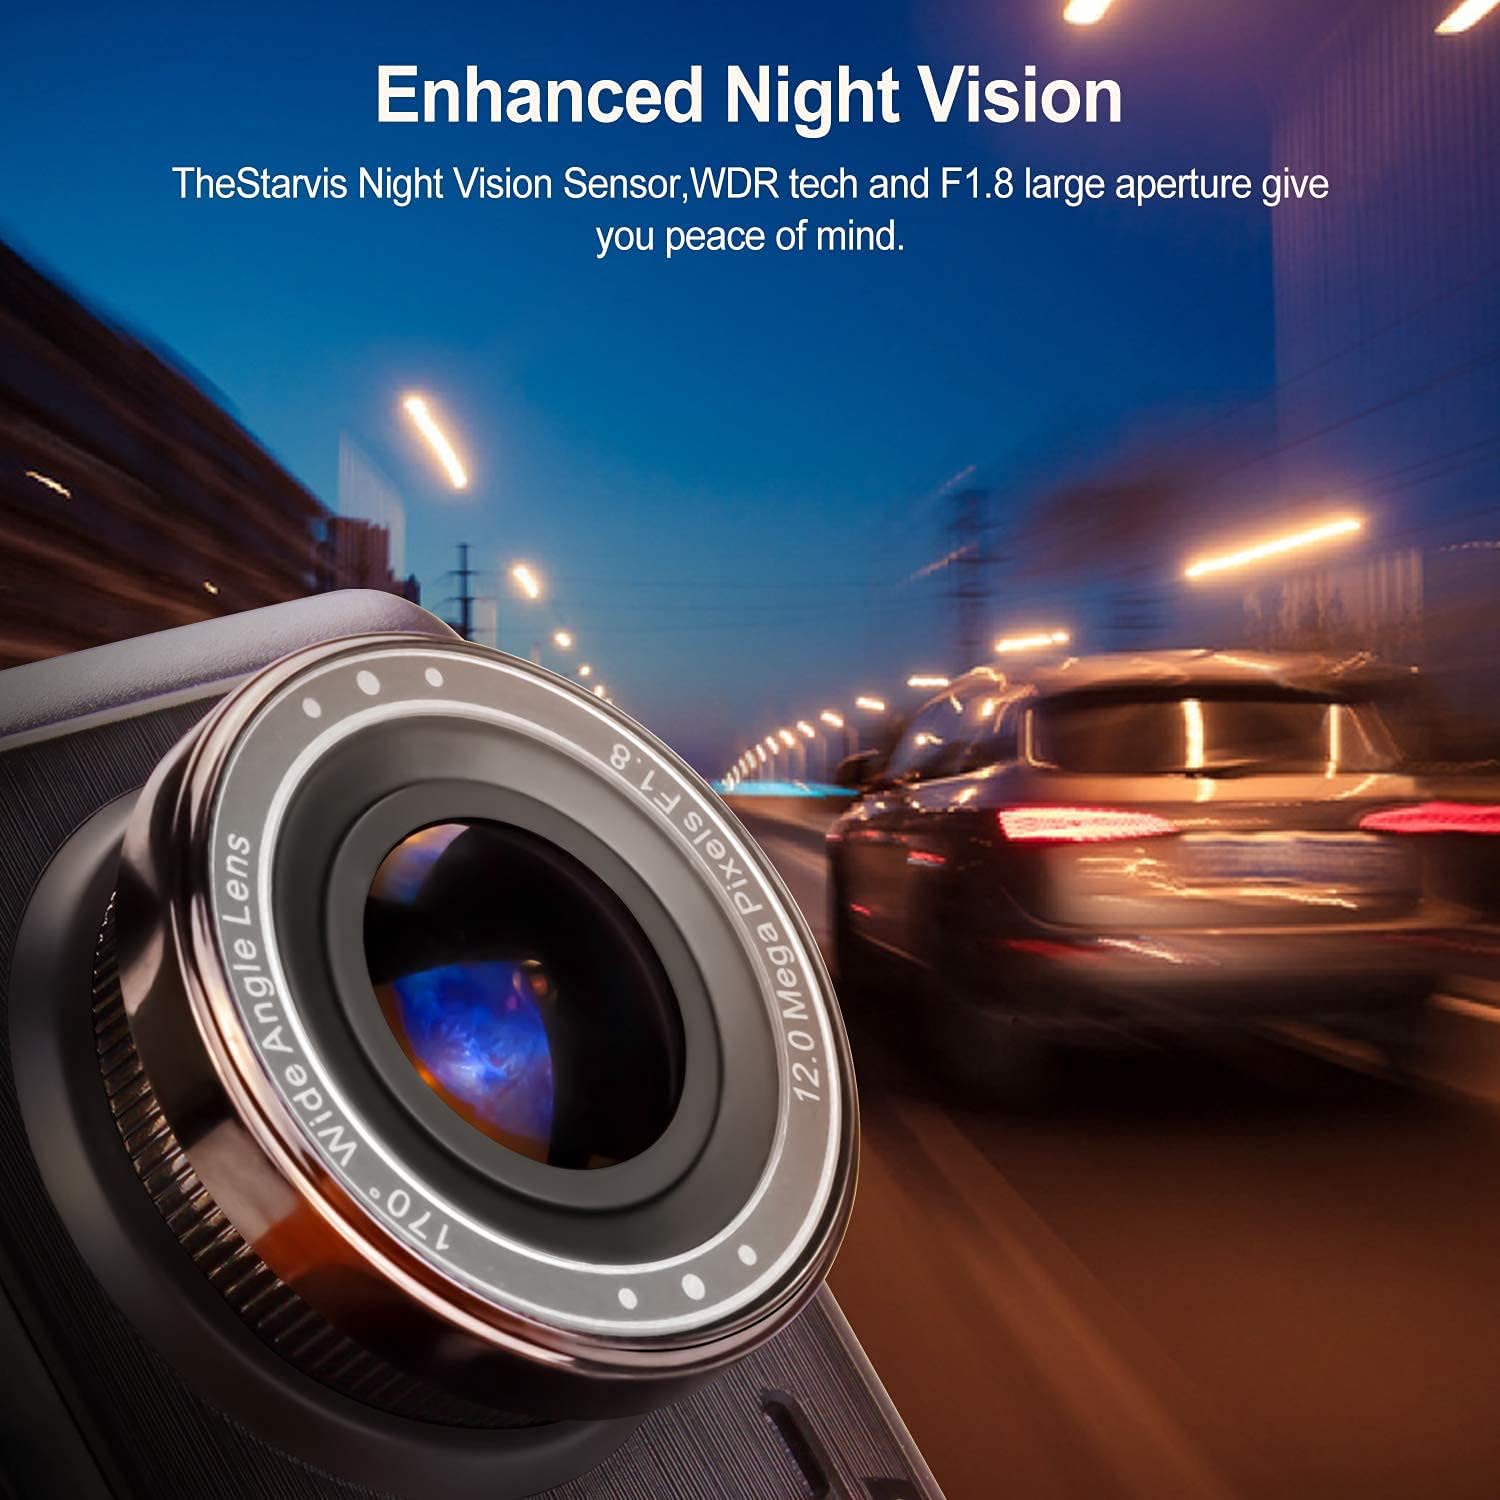
Image: A close-up view of the dash cam's lens, emphasizing its F1.8 aperture and night vision capabilities in a dark environment.
3.3 170° Wide Angle Lens
The dash cam features a 170-degree wide-angle lens, providing a broader field of view to capture more lanes of traffic and surroundings, minimizing blind spots. This is ideal for comprehensive coverage on wide highways or large intersections.

Image: An illustration demonstrating the 170-degree wide-angle coverage of the dash cam, showing its ability to capture a broad area.
3.4 G-Sensor (Gravity Sensor)
The built-in G-sensor automatically detects sudden shakes or collisions. When an impact is detected, the current video clip is locked and saved, preventing it from being overwritten. This ensures critical footage is preserved as evidence.

Image: A visual representation of a car collision, with a lock icon indicating the G-sensor's function to protect video files during an impact.
3.5 Loop Recording
Loop recording allows the dash cam to continuously record video. When the memory card is full, the oldest unlocked files are automatically overwritten by new recordings. This ensures uninterrupted recording without manual intervention.

Image: A graphic depicting the loop recording process, where older video segments are replaced by newer ones as the storage fills up.
3.6 Motion Detection
When enabled, the motion detection feature allows the dash cam to automatically start recording if movement is detected in front of the lens while the vehicle is parked and the camera is in standby mode. This provides surveillance even when you are not in the car.

Image: A scene showing a person walking past a parked car, illustrating how motion detection activates the camera to record.
4. Setup and Installation
4.1 Inserting the MicroSD Card
- Ensure the dash cam is powered off.
- Locate the MicroSD card slot on the side of the dash cam.
- Insert a Class 10 or higher MicroSD card (up to 32GB recommended, though some users report success with 128GB) into the slot until it clicks into place.
- To remove, gently push the card in until it springs out.
4.2 Mounting the Dash Cam
- Clean the windshield area where you intend to mount the dash cam.
- Attach the suction cup mount to the dash cam unit.
- Press the suction cup firmly against the windshield and flip the lever to secure it. Position the camera to ensure a clear view of the road without obstructing your driving vision.
4.3 Connecting Power
- Connect the car charger to the dash cam's power input port.
- Plug the other end of the car charger into your vehicle's 12V power outlet (cigarette lighter socket).
- Route the power cable neatly along the windshield and dashboard to avoid interference with driving.
4.4 Installing the Rear Camera (Optional)
- Mount the rear camera on the rear windshield or license plate area using the provided adhesive or screws.
- Connect the rear camera cable to the dash cam's AV input port.
- If you wish for the rear camera to display a reverse parking guide, connect the red wire from the rear camera cable to your vehicle's reverse light power supply. (Professional installation is recommended for this step).
5. Operating Instructions
5.1 Powering On/Off
- Automatic Power: The dash cam will automatically power on and begin recording when your vehicle's ignition is turned on (and power is supplied to the 12V outlet). It will power off automatically when the ignition is turned off.
- Manual Power: Press and hold the Power button for a few seconds to manually turn the device on or off.
5.2 Menu Navigation
- Use the Menu button to access the settings menu.
- Use the Up and Down arrow buttons to navigate through menu options.
- Press the OK button to confirm a selection.
- Press the Menu button again to exit the menu.
5.3 Recording Modes
- Normal Recording: Continuous recording when the device is powered on. Files are saved in segments (e.g., 1, 3, or 5 minutes) and loop recorded.
- G-Sensor Triggered Recording: Automatically locks the current video file upon detecting a collision or sudden movement.
- Parking Monitor: When enabled, the dash cam will automatically start recording if it detects a vibration or impact while the vehicle is parked and the engine is off. This feature requires a continuous power supply (e.g., hardwiring kit, not included).
5.4 Playback
- Stop recording by pressing the OK button if it's currently recording.
- Enter playback mode via the menu or a dedicated mode button (refer to your specific model's button layout).
- Use the Up and Down buttons to select the desired video file.
- Press OK to play the video.
5.5 Date and Time Settings
- Access the settings menu.
- Navigate to the 'Date/Time' option.
- Adjust the year, month, day, hour, and minute using the arrow buttons.
- Confirm with the OK button.
6. Maintenance
6.1 Cleaning the Device
- Use a soft, dry cloth to clean the dash cam's body and screen.
- For the lens, use a specialized lens cleaning cloth to avoid scratches. Do not use abrasive cleaners or solvents.
6.2 MicroSD Card Management
- It is recommended to format the MicroSD card every 2-4 weeks to maintain optimal performance and prevent data corruption.
- Format the card directly through the dash cam's menu settings.
6.3 Environmental Considerations
- Avoid exposing the dash cam to extreme temperatures for prolonged periods, as this can affect battery life and screen performance.
- If the device becomes excessively hot, allow it to cool down before further use.
7. Troubleshooting
| Problem | Possible Cause | Solution |
|---|---|---|
| Dash cam does not power on. | No power supply; faulty car charger; damaged cable. | Check car charger connection and vehicle's 12V outlet. Try a different power source or cable. |
| Recording stops unexpectedly. | MicroSD card full; card error; low battery. | Format the MicroSD card. Replace with a new, high-quality Class 10 card. Ensure continuous power supply. |
| Video footage is blurry or unclear. | Protective film on lens; dirty lens; windshield obstruction. | Remove any protective film. Clean the lens and windshield. |
| Screen freezes or device is unresponsive. | Software glitch; overheating. | Press the reset button (if available). Power off and restart the device. Allow to cool down if hot. |
| Rear camera not displaying. | Loose connection; faulty cable/camera. | Check the connection of the rear camera cable to the main unit. Ensure the cable is not damaged. |
8. Specifications
- Display: 4-inch LCD
- Video Resolution: Full HD 1080P
- Lens Angle: 170° Wide Angle
- Special Features: Night Vision, G-Sensor, Loop Recording, Motion Detection, WDR
- Storage: MicroSD Card (Class 10, up to 32GB recommended)
- Power Source: Car Charger (12V)
- Color: Black
- Product Weight: Approximately 650 g
- Compatible Devices: Personal Computer, Smartphone, Tablet (for file viewing)
9. Warranty and Support
For warranty information and technical support, please refer to the contact details provided with your purchase or visit the official Anytek website. Keep your purchase receipt as proof of purchase for warranty claims.