
1. Safety Information
Before beginning any repair or maintenance, ensure the dryer is completely disconnected from its power source. Failure to do so may result in electric shock, injury, or death. Always wear appropriate personal protective equipment, such as gloves, to prevent injury.
2. Setup & Preparation
This section outlines the necessary tools and initial steps before replacing the dryer drum belt.
2.1 Tools Required
- Small flat-head screwdriver
- Nut driver or socket set (various sizes, typically 1/4 inch and 5/16 inch)
- Wire hanger (for holding drum in place)
- Pliers (optional)
2.2 Product Overview
The Seentech 341241 Dryer Drum Belt is a flat belt, approximately 1/4 inch wide and 92-1/4 inches long, featuring 4 ribs and 3 grooves. It is designed for exact fit replacement in various dryer brands.

Image: The Seentech 341241 Dryer Drum Belt, coiled for packaging.

Image: Close-up of the 341241 Dryer Drum Belt highlighting its upgraded rubber, 4 ribs, 3 grooves, and premium design.
3. Operating Instructions
This drum belt is a replacement part for dryers. Its primary function is to rotate the dryer drum, allowing clothes to tumble and dry efficiently. It does not have user-operable controls.
3.1 Identifying a Broken Belt
A broken or worn dryer drum belt can manifest in several ways:
- Noisy Operation: The dryer may produce unusual grinding or squealing sounds.
- Will Not Start: The dryer may power on but the drum does not spin.
- Will Not Tumble: The motor may run, but the drum remains stationary.
- Takes Too Long to Dry: Inefficient tumbling can lead to longer drying cycles.
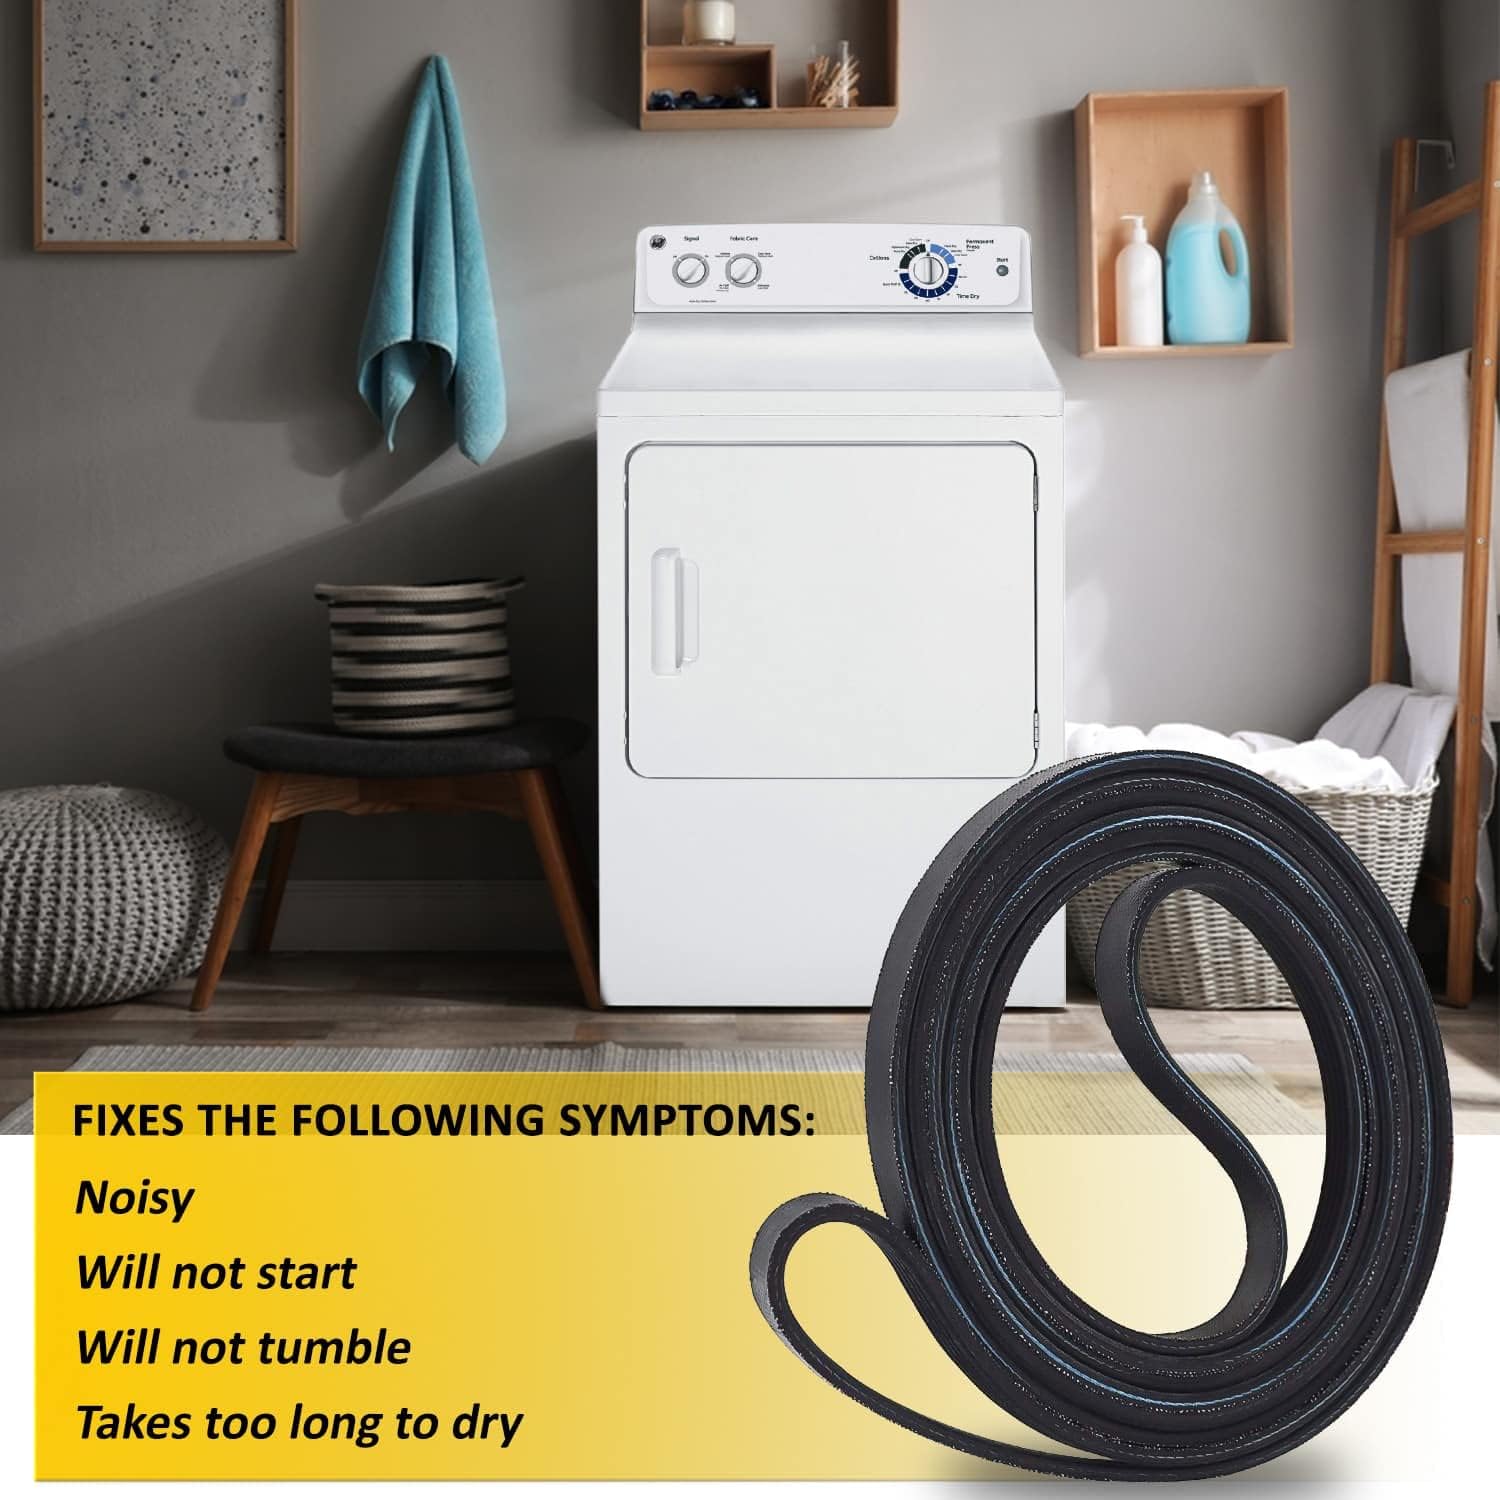
Image: A dryer with an overlay showing common symptoms fixed by replacing the drum belt: noisy, will not start, will not tumble, takes too long to dry.
3.2 Installation Steps (Dryer Drum Belt Replacement)
This guide provides general steps for replacing a dryer drum belt. Specific dryer models may vary. Always refer to your appliance's service manual for detailed instructions.
- Disconnect Power: Unplug the dryer from the wall outlet.
- Remove Lint Filter: Pull out the lint filter from its housing.
- Remove Lint Filter Housing Screws: Locate and remove the two screws inside the lint filter housing.
- Open Top Panel: Use a small flat-head screwdriver to release the clips securing the top panel. Carefully lift the top panel.
- Check Belt Condition: Observe the drum. If the belt is not visible around the drum, it is likely broken and needs replacement.
- Loosen Drum Screw & Secure Drum: Turn the drum until a specific screw (often near the top edge) aligns with a hole in the top frame. Loosen this screw slightly. Use a coat hanger wire, bent into a hook, to secure the drum by hooking it into the loosened screw and the top frame, preventing the drum from moving.
- Disconnect Door Switch: Locate and disconnect the wire harness connected to the door switch, typically found on the side of the dryer opening.
- Remove Front Panel Screws: Remove the screws securing the front panel to the dryer frame. These are usually located on the inside, near the top corners.
- Remove Front Panel: Carefully lift and remove the front panel.
- Remove Broken Belt & Idler Pulley: Reach into the dryer's base and remove any remnants of the broken belt. Also, remove the idler pulley assembly.
- Install New Belt Around Drum: Place the new drum belt around the dryer drum. Ensure it is centered and flat.
- Route Belt Around Idler and Motor Pulleys: Route the belt around the motor pulley and then around the idler pulley. The idler pulley provides tension to the belt. Ensure the ribbed side of the belt is against the motor pulley and the smooth side is against the idler pulley.
- Secure Belt with Tape (Optional): For easier reassembly, you can use three small pieces of tape to temporarily hold the belt in place on the drum.
- Reassemble Front Panel: Carefully position the front panel back in place and secure it with its screws.
- Reconnect Door Switch: Reconnect the door switch wire harness.
- Remove Drum Holding Wire: Remove the coat hanger wire used to hold the drum. Tighten the drum screw if it was loosened.
- Lower Top Panel: Carefully lower the top panel and ensure it clicks into place.
- Secure Lint Filter Housing: Screw in the two screws inside the lint filter housing.
- Reinsert Lint Filter: Place the lint filter back into its slot.
- Reconnect Power: Plug the dryer back into the wall outlet.

Image: The 341241 Dryer Drum Belt with an indicator showing its 92 1/4 inches length and compatibility with various top brands.

Image: The 341241 Dryer Drum Belt, emphasizing its upgraded materials for smoother and quieter operation, high quality, and perfect fit.

Image: A person performing a DIY repair on a washing machine, illustrating the economical nature of replacing parts like the dryer drum belt.
4. Maintenance
To ensure the longevity and optimal performance of your dryer drum belt, consider the following maintenance tips:
- Regular Inspection: Periodically inspect the belt for signs of wear, fraying, or cracking. Replace if any damage is observed.
- Clean Lint Filter: Always clean the lint filter before or after each load to prevent lint buildup, which can strain the dryer motor and belt.
- Check for Obstructions: Ensure no foreign objects are caught in the dryer drum or around the belt path that could cause damage.
5. Troubleshooting
If your dryer is experiencing issues after belt replacement, consult the table below for common problems and potential solutions.
| Symptom | Possible Cause | Solution |
|---|---|---|
| Dryer not tumbling after belt replacement | Belt not properly installed on pulleys; Idler pulley issue; Motor issue | Re-check belt routing on motor and idler pulleys. Ensure idler pulley moves freely. Consult a professional if motor issues are suspected. |
| Unusual noises (squealing, grinding) | Belt rubbing; Worn idler pulley; Worn drum rollers | Verify belt is not rubbing against internal components. Inspect idler pulley and drum rollers for wear and replace if necessary. |
| Dryer runs but clothes don't dry | Vent blockage; Heating element issue; Thermostat issue | Clean dryer vent thoroughly. Check heating element and thermostats for continuity (requires multimeter and electrical knowledge). |
6. Specifications
- Model Number: 341241 Dryer Drum Belt
- Dimensions: Approximately 1/4" wide x 92-1/4" long
- Belt Style: Flat, 4 ribs and 3 grooves
- Material: Durable high-quality plastic
- Compatibility: Compatible with popular dryer brands including Whirlpool, Kenmore, Maytag, KitchenAid, Roper, Amana, Crosley, Admiral, Estate, and Inglis.
7. Warranty and Support
7.1 Warranty Information
Seentech offers a 30-day return window on your purchase. This ensures your satisfaction with the product. For specific details regarding the warranty or return process, please refer to your purchase documentation or contact customer service.
7.2 Customer Support
If you have any questions regarding the compatibility, installation, or performance of your Seentech 341241 Dryer Drum Belt, please do not hesitate to contact our customer service team. We are committed to providing assistance and ensuring you select the correct replacement parts for your appliances.