COVVY BL-041
COVVY BL-041 Slim Music Player User Manual
Model: BL-041 | Brand: COVVY
Introduction
This manual provides comprehensive instructions for the COVVY BL-041 Slim Music Player. Please read this guide carefully to ensure proper use and maintenance of your device. This player is designed for portable audio and media playback, offering various functions including music, video, FM radio, and more.
Package Contents
Verify that all items listed below are included in your package:
- 1 x COVVY BL-041 MP3 Player
- 1 x USB Cable
- 1 x Earphone
- 1 x User Manual (this document)

Figure 1: Included accessories with the COVVY BL-041 MP3 Player.
Product Overview
Familiarize yourself with the physical components and controls of your COVVY BL-041 Slim Music Player.

Figure 2: Front and side view of the COVVY BL-041 MP3 Player with key components labeled.
- LCD Screen: Displays menus, playback information, and content.
- Menu Key (M): Accesses menus and returns to previous screens.
- Prev Key (◀◀): Skips to the previous track/item or navigates left.
- Play/Pause Key (►►): Plays or pauses media, confirms selections.
- Next Key (▶▶): Skips to the next track/item or navigates right.
- Volume Key (VOL): Adjusts the playback volume.
- Micro SD Card Slot: Insert a Micro SD card for expanded storage (up to 64 GB).
- Earphone Jack: Connect 3.5mm earphones.
- USB Port: Connects to a computer for data transfer and charging.
- Power On/Off Switch: Slides to turn the device on or off.
- Lanyard Hole: For attaching a lanyard (not included).
Setup
1. Initial Charging
Before first use, fully charge the device. Connect the player to a computer's USB port or a USB wall adapter (not included) using the provided USB cable. The battery icon on the screen will indicate charging status. A full charge typically takes approximately 1 hour and provides up to 60 hours of music playback.
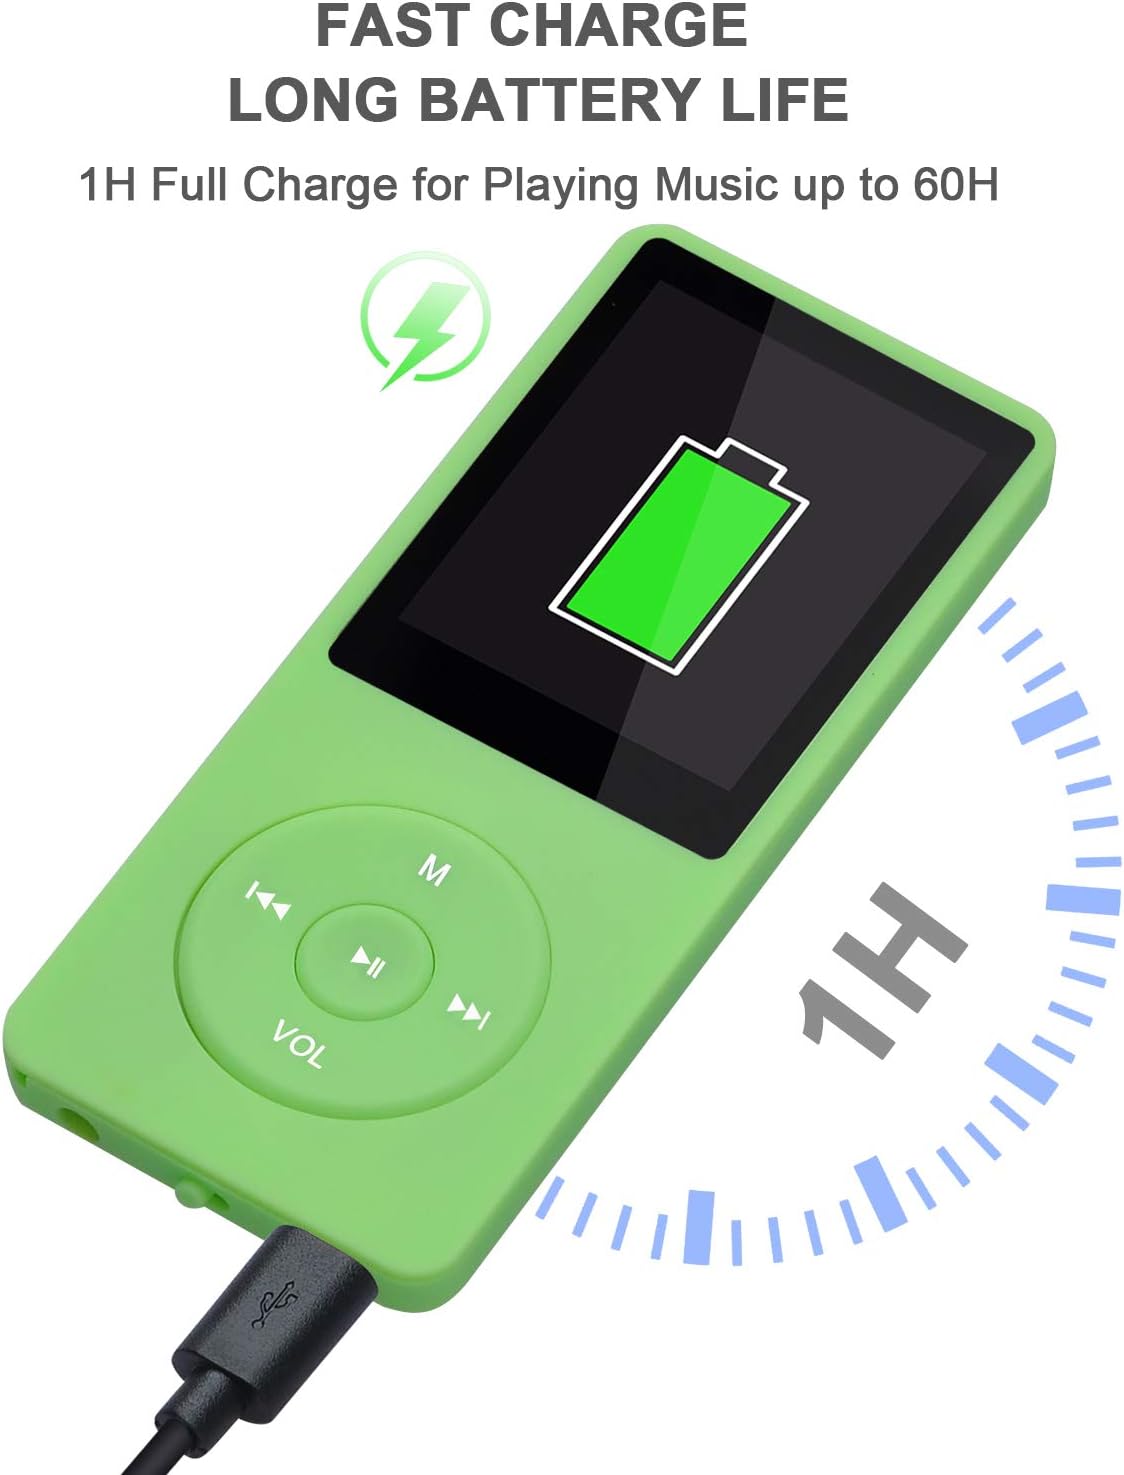
Figure 3: Charging the MP3 Player via USB.
2. Powering On/Off
- To Power On: Slide the Power On/Off switch to the "ON" position.
- To Power Off: Slide the Power On/Off switch to the "OFF" position.
3. Inserting a Micro SD Card
The player has 8 GB of internal storage. To expand storage, insert a Micro SD card (up to 64 GB, not included) into the Micro SD Card Slot until it clicks into place. Ensure the card is inserted with the correct orientation.
Operating Instructions
1. Basic Navigation
Use the navigation buttons (◀◀, ▶▶) to scroll through menu options. Press the Play/Pause button (►►) to select an option. Press the Menu (M) button to return to the previous screen or the main menu.
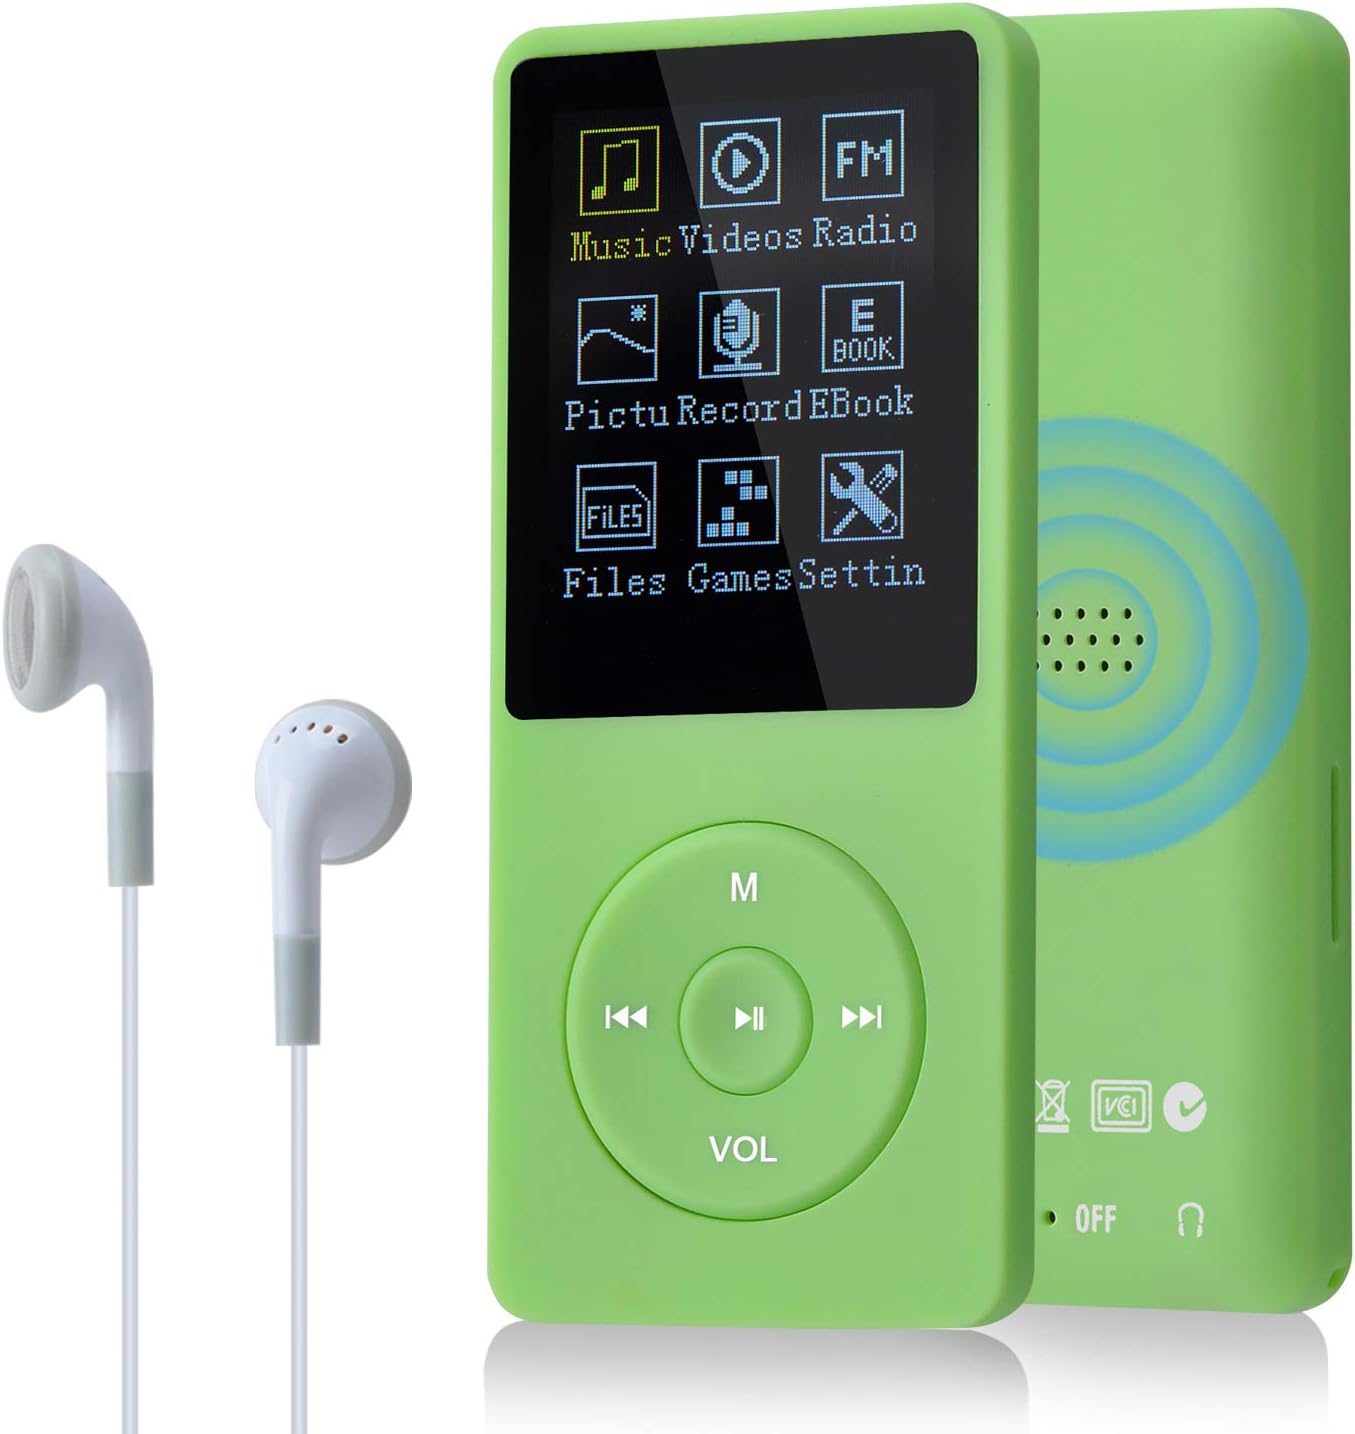
Figure 4: Main menu interface of the MP3 Player.
2. Music Playback
The player supports MP3, WMA, OGG, APE, FLAC, WAV, AAC-LC, and ACELP audio formats.
- From the main menu, select "Music".
- Browse your music library by artist, album, genre, or all songs.
- Select a song and press the Play/Pause button to begin playback.
- Use the ◀◀ and ▶▶ buttons to skip tracks.
- Press the VOL button to adjust volume.

Figure 5: Music playback screen and supported formats.
3. Video Playback
The player supports AMV and AVI video files. Videos must be converted to a compatible format and resolution for optimal playback.
- From the main menu, select "Videos".
- Select a video file to play.
4. FM Radio
The built-in FM radio allows you to listen to local radio stations. Ensure earphones are connected as they act as the antenna.
- From the main menu, select "Radio".
- Use the navigation buttons to scan for stations or select a preset.
- The player supports automatic or manual tuning and can save up to 30 channels.

Figure 6: FM Radio function with frequency display.
5. Voice Recording
Record audio using the built-in microphone. Recordings are saved in WAV or MP3 format.
- From the main menu, select "Record".
- Choose to start a new recording.
- Press the Play/Pause button to start/stop recording.

Figure 7: Voice recording interface.
6. Picture Viewing
View JPG, BMP, and GIF image files on the player's screen.
- From the main menu, select "Pictures".
- Browse and select an image to view.
7. E-Book Reading
The player supports reading text files. Transfer text files to the player to read them on the go.
- From the main menu, select "E-Books".
- Select a text file to open.
8. Tools
Access additional utilities:
- Calendar: View the current date.
- Stopwatch: Use for timing events.
- Alarm Clock: Set alarms.
9. Settings
Customize various device parameters, including language (supports 23 languages), display, time, and system information.
- From the main menu, select "Settings".
- Navigate through the options to adjust preferences.
10. Lyrics Display
When playing music, if an LRC format lyric file with the same name as the audio file is present in the same directory, the lyrics will be displayed on the screen.
11. A-B Repeat
This function allows you to repeat a specific segment of an audio track. During music playback, press the Menu (M) button to access options, then select A-B Repeat. Mark the start point (A) and end point (B) of the desired segment.
12. Keypad Lock
To prevent accidental button presses, the player features a keypad lock function. Consult the on-screen menu or specific button combinations for activation and deactivation (often a long press of the 'M' button or a dedicated lock switch if present).
Connecting to a Computer
To transfer files (music, videos, pictures, e-books) to and from your player:
- Ensure the player is powered on.
- Connect the player to your computer using the provided USB cable.
- The player will appear as a removable disk drive on your computer.
- Drag and drop files into the appropriate folders on the player (e.g., "Music" for audio files).
- Safely eject the removable disk from your computer before disconnecting the USB cable.
Maintenance
- Cleaning: Use a soft, dry cloth to clean the player's surface. Avoid liquid cleaners or abrasive materials.
- Battery Care: To prolong battery life, avoid fully discharging the battery frequently. Charge the device regularly, even if not in use for extended periods.
- Storage: Store the player in a cool, dry place away from direct sunlight and extreme temperatures.
- Water Exposure: This device is not waterproof. Avoid exposure to water or high humidity.
Troubleshooting
| Problem | Possible Solution |
|---|---|
| Device does not power on. | Ensure the battery is charged. Connect to a power source and try again. Check the Power On/Off switch position. |
| Cannot transfer files to/from computer. | Verify the USB cable connection. Ensure the player is powered on. Try a different USB port or cable. |
| No sound from earphones. | Check if earphones are properly plugged into the jack. Adjust the volume. Try a different pair of earphones. |
| Player freezes or becomes unresponsive. | Slide the Power On/Off switch to "OFF" and then back to "ON" to restart the device. If unresponsive, allow the battery to fully discharge and then recharge. |
| Files are not recognized. | Ensure files are in supported formats (e.g., MP3 for music, AMV/AVI for video, JPG/BMP/GIF for pictures, TXT for e-books). |
Specifications
| Brand | COVVY |
| Model | BL-041 |
| Internal Storage | 8 GB |
| Expandable Storage | Micro SD Card up to 64 GB |
| Supported Audio Formats | MP3, WMA, OGG, APE, FLAC, WAV, AAC-LC, ACELP |
| Supported Video Formats | AMV, AVI |
| Supported Image Formats | JPG, BMP, GIF |
| Supported E-Book Format | TXT |
| Display Size | 1.8 inches |
| Battery Type | Rechargeable Lithium Battery |
| Battery Life (Music Playback) | Up to 60 hours (after 1 hour charge) |
| Product Dimensions | 90mm x 40mm x 8mm (3.55" x 1.58" x 0.32") |
| Product Weight | 70 g |
| FM Radio Frequency | 87-108 MHz |
| Connectivity | USB, 3.5mm Audio Jack |
Warranty and Support
COVVY products are designed for reliability and performance. For warranty information or technical support, please refer to the contact details provided with your purchase documentation or visit the official COVVY website. Keep your proof of purchase for warranty claims.
Ask a question about this manual
Ask about setup, troubleshooting, compatibility, parts, safety, or missing instructions. Manuals+ will review the question and use this page’s manual context to help answer it.