1. Introduction
This manual provides essential information for the safe and effective operation, maintenance, and troubleshooting of your Stanley SS24-B5 Corded 240W 1/4 Sheet Sander. Please read this manual thoroughly before using the tool and keep it for future reference.
The Stanley SS24-B5 Sheet Sander is designed for optimal material removal across various surfaces, making it suitable for tasks such as paint and stain removal, furniture sanding, and general craft project finishing. Its 240W motor, enhanced rocking foot, and dust extraction system contribute to efficient and comfortable use.

Figure 1: Stanley SS24-B5 1/4 Sheet Sander with attached dust collection bag.
2. General Safety Instructions
Always follow basic safety precautions to reduce the risk of fire, electric shock, and personal injury when using power tools. Keep this manual for future reference.
2.1 Work Area Safety
- Keep the work area clean and well-lit. Cluttered or dark areas invite accidents.
- Do not operate power tools in explosive atmospheres, such as in the presence of flammable liquids, gases, or dust. Power tools create sparks which may ignite the dust or fumes.
- Keep children and bystanders away while operating a power tool. Distractions can cause you to lose control.
2.2 Electrical Safety
- Power tool plugs must match the outlet. Never modify the plug in any way.
- Avoid body contact with earthed or grounded surfaces such as pipes, radiators, ranges, and refrigerators. There is an increased risk of electric shock if your body is earthed or grounded.
- Do not expose power tools to rain or wet conditions. Water entering a power tool will increase the risk of electric shock.
- Do not abuse the cord. Never use the cord for carrying, pulling, or unplugging the power tool. Keep cord away from heat, oil, sharp edges, or moving parts. Damaged or entangled cords increase the risk of electric shock.
2.3 Personal Safety
- Always wear eye protection. Use safety glasses, goggles, or a face shield.
- Wear appropriate personal protective equipment (PPE) such as dust masks, non-skid safety shoes, hard hats, or hearing protection when necessary.
- Stay alert, watch what you are doing, and use common sense when operating a power tool. Do not use a power tool while you are tired or under the influence of drugs, alcohol, or medication.
- Prevent unintentional starting. Ensure the switch is in the off-position before connecting to power source, picking up or carrying the tool.
- Remove any adjusting key or wrench before turning the power tool on. A wrench or a key left attached to a rotating part of the power tool may result in personal injury.
- Do not overreach. Keep proper footing and balance at all times. This enables better control of the power tool in unexpected situations.
3. Components Overview
Familiarize yourself with the main components of your Stanley SS24-B5 Sheet Sander:
- Power Switch: On/Off control for the motor. Features a dust-proof design for extended tool life.
- Handle/Grip: Ergonomically designed with rubber grip surfaces for comfortable and secure handling.
- Sanding Pad: The base where sandpaper is attached. Designed for effective corner and edge sanding.
- Paper Clamps: Mechanisms to secure sandpaper to the sanding pad.
- Dust Collection Bag: Attaches to the dust extraction port to collect sanding debris, ensuring a cleaner workspace.
- Power Cord: Connects the sander to an electrical outlet.
- Motor Housing: Contains the 240W motor. Features a barrel structure for easy brush changes.
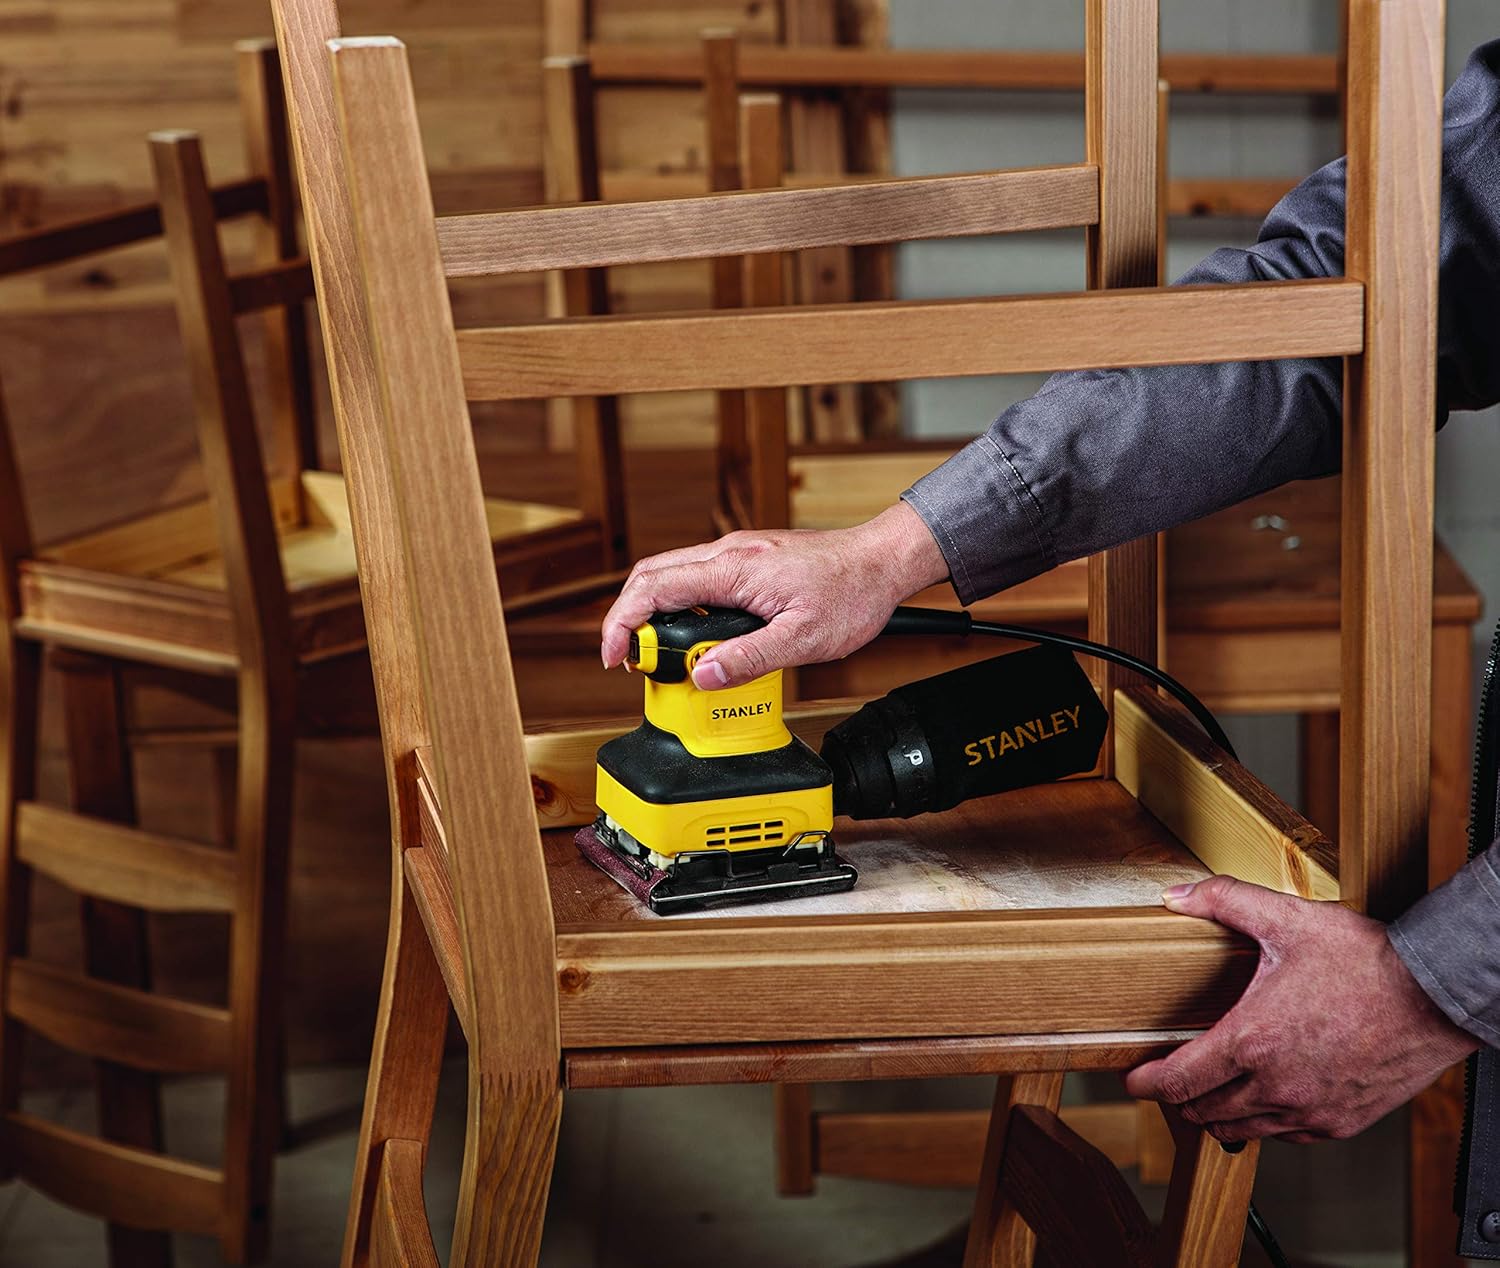
Figure 2: The sander in use, highlighting its compact design and grip.
4. Setup
4.1 Attaching Sandpaper
- Ensure the sander is unplugged from the power source.
- Lift the paper clamps on both sides of the sanding pad.
- Insert the edge of the sandpaper under one clamp, ensuring it is centered and taut.
- Press the clamp down to secure the sandpaper.
- Stretch the sandpaper across the sanding pad and insert the other edge under the second clamp.
- Ensure the sandpaper is flat against the pad and securely held by both clamps.
4.2 Attaching the Dust Collection Bag
- Locate the dust extraction port at the rear of the sander.
- Align the opening of the dust collection bag with the port.
- Push the bag firmly onto the port until it is securely attached.
- Periodically empty the dust bag to maintain optimal dust collection efficiency.
5. Operating Instructions
5.1 Before Starting
- Verify that the correct grit sandpaper is installed for your application.
- Ensure the dust bag is properly attached and empty.
- Inspect the power cord for any damage.
- Wear appropriate safety gear, including eye protection and a dust mask.
5.2 Powering On and Off
- To turn the sander ON, push the power switch to the 'I' (ON) position.
- To turn the sander OFF, push the power switch to the 'O' (OFF) position.
5.3 Sanding Technique
- Hold the sander firmly with both hands, ensuring a comfortable grip.
- Place the sander flat on the workpiece before turning it on.
- Apply light, even pressure. Do not force the sander, as this can reduce efficiency and damage the motor.
- Move the sander in smooth, overlapping strokes across the surface.
- For best results, sand with the grain of the wood.
- Lift the sander from the workpiece before turning it off.
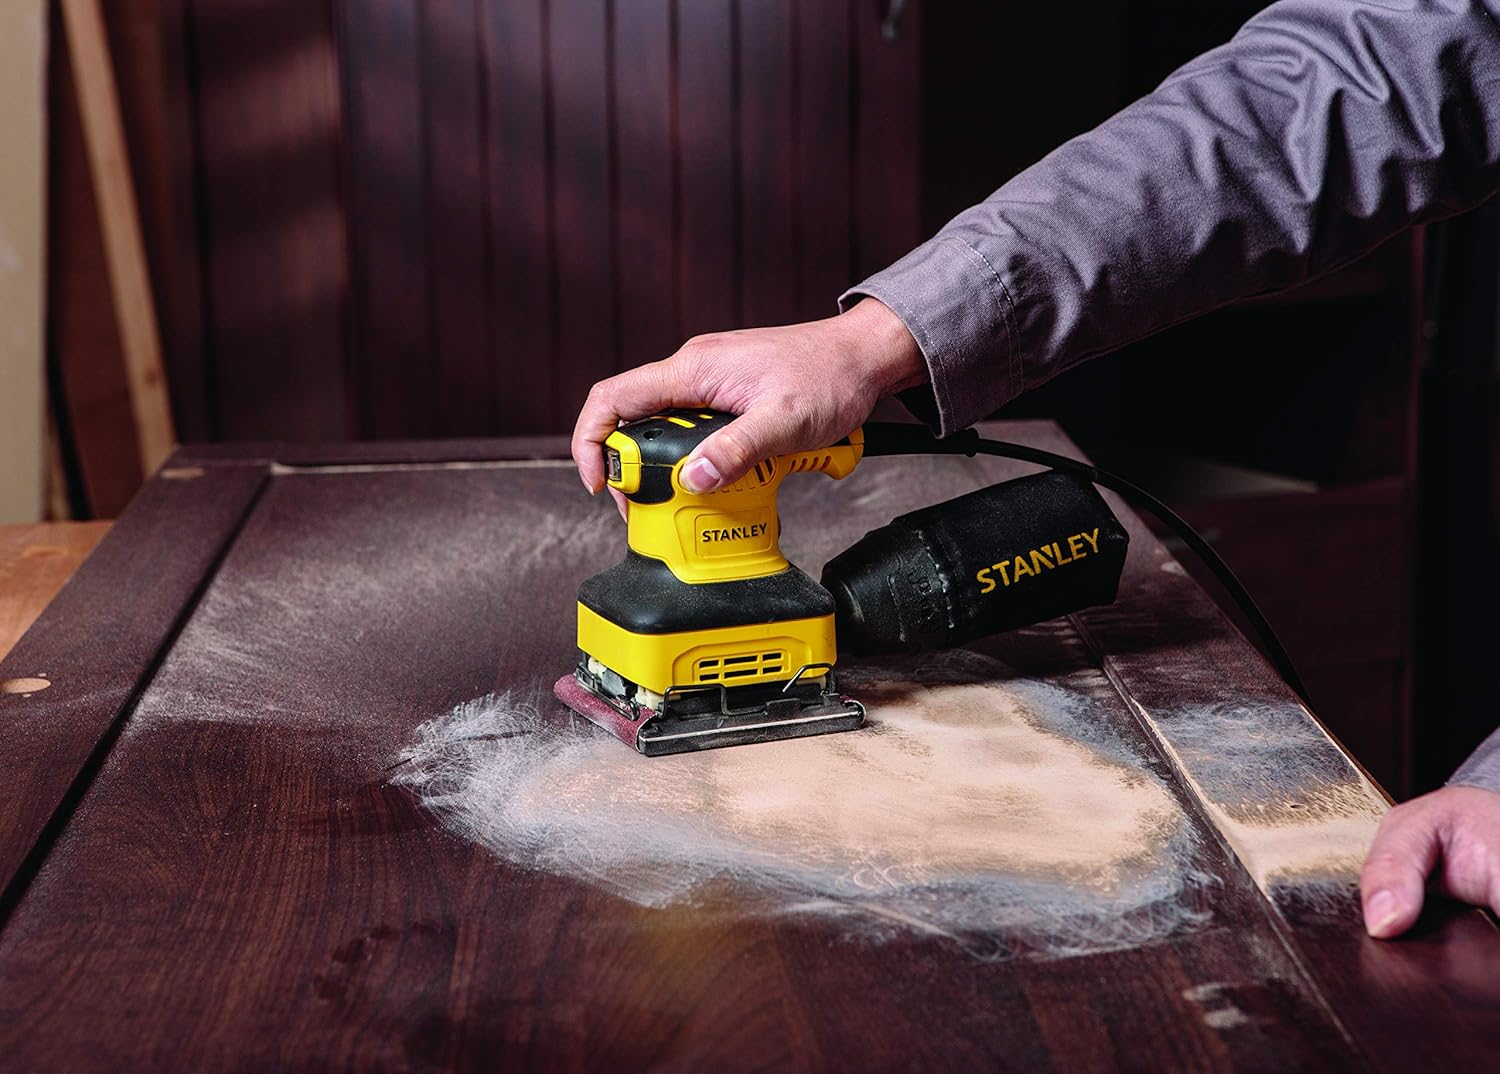
Figure 3: Demonstrating proper sanding technique on a flat surface.

Figure 4: The sander's compact design allows for use on contoured surfaces like spindles.

Figure 5: The sander effectively prepares large wooden surfaces.
6. Maintenance
Regular maintenance ensures the longevity and optimal performance of your sander. Always unplug the tool before performing any maintenance.
6.1 Cleaning
- After each use, empty the dust collection bag.
- Clean the exterior of the tool with a soft, damp cloth. Do not use harsh chemicals or abrasive cleaners.
- Use compressed air to clear dust from ventilation openings.
6.2 Carbon Brush Replacement
The SS24-B5 features a barrel structure designed for easy carbon brush replacement. Worn carbon brushes can lead to reduced power or intermittent operation. Refer to a qualified service technician for brush inspection and replacement if you are unsure.
6.3 Storage
- Store the sander in a clean, dry place, out of reach of children.
- Protect the power cord from damage during storage.
7. Troubleshooting
If you encounter issues with your sander, consult the table below before seeking professional service.
| Problem | Possible Cause | Solution |
|---|---|---|
| Sander does not start. | No power supply; faulty switch; worn carbon brushes. | Check power connection and outlet. Ensure switch is ON. Inspect carbon brushes (refer to Section 6.2). |
| Poor sanding performance. | Worn sandpaper; incorrect grit; excessive pressure. | Replace sandpaper. Use appropriate grit for the task. Apply lighter, even pressure. |
| Excessive vibration or noise. | Loose sandpaper; damaged sanding pad; internal component issue. | Ensure sandpaper is securely clamped. Inspect sanding pad for damage. If problem persists, seek professional service. |
| Ineffective dust collection. | Full dust bag; clogged dust port. | Empty the dust bag. Clear any blockages from the dust port. |
8. Technical Specifications
| Feature | Detail |
|---|---|
| Model Number | SS24-B5 |
| Power Input | 240W |
| Sander Type | 1/4 Sheet Sander |
| Power Source | Corded Electric |
| Item Weight | 1.91 Kilograms (approx. 4.2 Pounds) |
| Package Dimensions | 29 x 14.7 x 13.2 cm |
| Included Components | Instruction Manual, Sheet Sander |
| Manufacturer | Stanley Black & Decker |
| Country of Origin | China |
9. Warranty and Support
For information regarding warranty coverage, service, or technical support for your Stanley SS24-B5 Corded 240W 1/4 Sheet Sander, please refer to the warranty card included with your purchase or visit the official Stanley website. You may also contact Stanley customer service for assistance.
Official Stanley Website: www.stanleytools.com


