Introduction
This manual provides essential information for the safe and effective operation of your Wendry ZVS 2500W 12-48V Induction Heater. This high-power heating PCB board module is designed for various applications, including tempering, annealing, heat treatment of small parts, and melting metals such as gold, silver, copper, and aluminum when used with a graphite crucible. Please read this manual thoroughly before use to ensure proper setup, operation, and maintenance.
Safety Information
WARNING: This device operates at high power and voltage. Improper use can result in serious injury or damage to equipment. Always adhere to the following safety guidelines:
- Ensure all connections are secure and correct before applying power. Loose connections can cause arcing and overheating.
- Always use a power supply that meets or exceeds the specified voltage and current requirements (12V-48V, recommended above 36V; 12V 10A, 15V 20A; Maximum Power: 2500W, Maximum Current: 50A). An inadequate power supply can lead to system instability or damage.
- The induction heater generates significant heat. Always ensure adequate ventilation and never operate without the water cooling system properly connected and functioning.
- Keep flammable materials away from the heating area.
- Do not touch the induction coil or heated materials during operation or immediately after shutdown, as they will be extremely hot.
- Always wear appropriate personal protective equipment (PPE), including heat-resistant gloves and eye protection.
- Do not modify the device. Any modifications can void the warranty and create safety hazards.
- Keep out of reach of children and pets.
Package Contents
Verify that all components listed below are present in your package:
- 1 x Induction Heater PCB Board Module (with integrated fans and heatsinks)
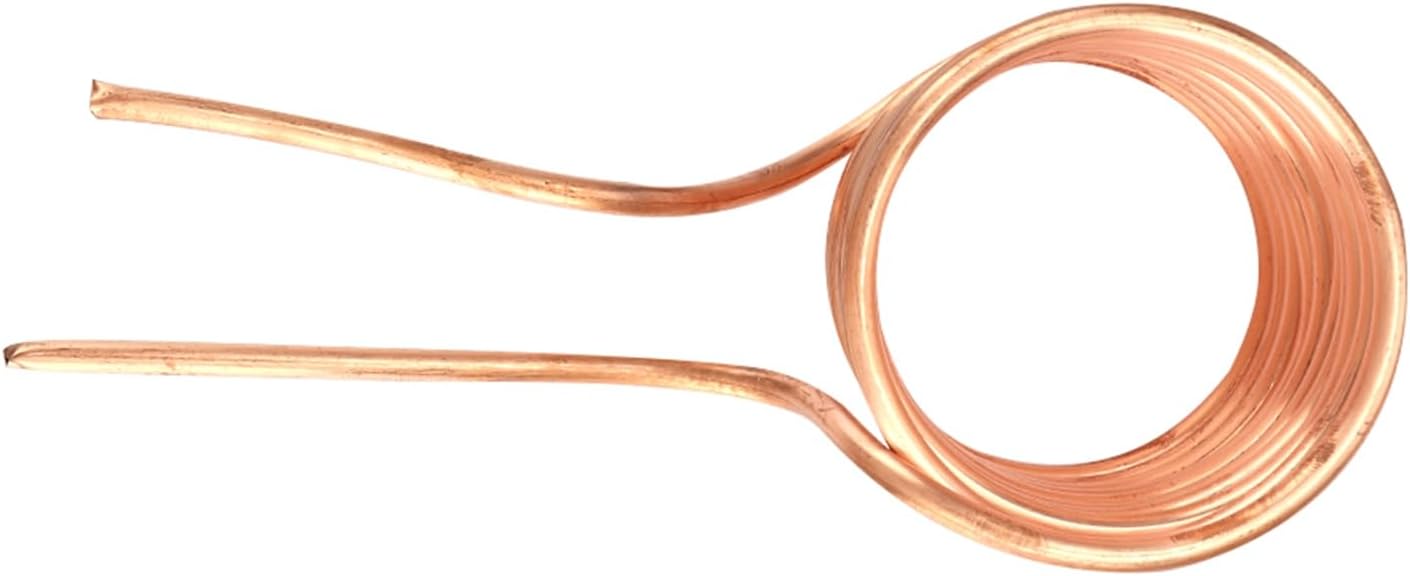
- 1 x Spiral Copper Tube (Induction Coil)
- 1 x Water Pump
- 1 x Graphite Crucible
- 1 x Water Pipe (Clear Tube)

Product Features
The Wendry ZVS 2500W Induction Heater boasts the following key features:
- High-quality PCB grade heating plate for stable performance.
- Power cord fully covered with a copper cover to enhance current and calorific value.
- Equipped with a large radiator and robust power supply for superior heat dissipation.
- Output terminal features three M4 copper columns in parallel for versatile connections, including high voltage packages.
- Utilizes 6 IRFP260 MOSFETs and 12 parallel resonant capacitors for high power and efficiency.
- Suitable for DIY heat treatments (tempering, annealing) of small parts.
- Capable of melting gold, silver, copper, aluminum, and other metals when used with a graphite crucible, providing even and rapid heating.
Setup
Component Identification


Assembly Steps
- Connect the Induction Coil: Attach the ends of the spiral copper tube (induction coil) to the two main output terminals on the PCB board. Ensure a tight and secure connection.
- Install Water Cooling System:
- Connect one end of the clear water pipe to the inlet of the water pump.
- Connect the other end of the water pipe to one of the cooling ports on the spiral copper tube.
- Connect a second piece of water pipe (not explicitly listed as included, but implied for a closed loop or return) from the other cooling port of the spiral copper tube back to a water reservoir (user-provided).
- Submerge the water pump in a suitable water reservoir (e.g., a bucket of water). Ensure the pump is fully submerged before operation.
Crucial: The water cooling system for the induction coil is essential for preventing overheating and damage to the coil and the main board. Never operate the induction heater without a properly functioning water cooling system.
- Connect Power to Water Pump: Connect the small power wires from the water pump to a suitable 12V DC power source. This can be a separate 12V adapter or a 12V output from your main power supply if available.
- Position the Crucible (if melting metals): If you intend to melt metals, place the graphite crucible inside the center of the spiral copper induction coil.
Power Supply Connection
The induction heater requires a robust DC power supply. Connect your power supply to the main input terminals of the PCB board. Observe polarity: positive (+) to positive, negative (-) to negative.
- Input Voltage: 12V-48V DC. For optimal performance and to achieve the rated 2500W power, a voltage above 36V is highly recommended.
- Current Requirement: Minimum 10A at 12V, 20A at 15V. For higher voltages and maximum power, the power supply must be capable of delivering up to 50A.
- Power Supply Quality: Use a stable, high-current power supply. Switching power supplies designed for LED strips or similar applications may not provide sufficient current stability for induction heating and can lead to issues or damage. Consider using a dedicated high-current laboratory power supply or a robust server power supply.

Operating Instructions
- Pre-Operation Check: Before turning on the main power, double-check all connections: induction coil, water pump, water pipes, and main power supply. Ensure the water pump is submerged and functioning.
- Power On: Turn on the power supply to the water pump first, ensuring water flow through the coil. Then, turn on the main power supply to the induction heater PCB.
- Heating Process:
- For heat treatment of small parts: Place the part within the center of the induction coil.
- For melting metals: Place the graphite crucible (with metal inside) within the center of the induction coil.
- Monitoring: Observe the heating process and the cooling system. The fans on the PCB should be running, and water should be circulating through the coil.
- Power Off: When heating is complete, first turn off the main power supply to the induction heater PCB. Allow the water pump to continue running for a few minutes to cool down the coil and board, then turn off the water pump power.
- Cool Down: Allow the heated material and coil to cool down completely before handling.
Maintenance
- Cleaning: Periodically clean the cooling fans and heatsinks on the PCB to ensure optimal airflow and heat dissipation. Use compressed air to remove dust.
- Water System: Regularly check the water pipes for kinks or blockages. Replace the water in the reservoir periodically to prevent algae growth or mineral buildup, which can reduce cooling efficiency.
- Connections: Inspect all electrical connections for tightness and signs of wear or corrosion. Re-tighten if necessary.
- Storage: Store the induction heater in a dry, cool place away from direct sunlight and excessive dust when not in use.
Troubleshooting
| Problem | Possible Cause | Solution |
|---|---|---|
| Unit does not power on. | No power from supply; incorrect wiring; faulty power supply. | Verify power supply is on and providing correct voltage/current. Check all wiring connections for proper polarity and tightness. Test power supply with another device if possible. |
| Insufficient heating or no heating. | Inadequate power supply; incorrect coil connection; material not suitable for induction heating. | Ensure power supply meets the minimum requirements (especially current). Verify the induction coil is securely connected. Confirm the material is ferromagnetic or conductive enough for induction. |
| Overheating of PCB or coil. | Cooling system not functioning; blocked airflow to fans/heatsinks; prolonged operation at maximum power without sufficient cooling. | Check water pump operation and water flow through the coil. Ensure fans on the PCB are spinning freely and heatsinks are clear of dust. Reduce operating time or power if necessary. |
| Power supply shuts down. | Power supply is overloaded or insufficient for the heater's demands. | This is a common issue with underpowered supplies. Ensure your power supply can deliver the required voltage (preferably 36V-48V) and current (up to 50A). A 1000W power supply at 36V only provides ~27A, which may be insufficient for peak demands. Upgrade to a more powerful and stable power supply if this occurs. |
Specifications
| Parameter | Value |
|---|---|
| Brand | Wendry |
| Model | Wendryx39gf4kc6n |
| Input Voltage | 12V-48V DC (Recommended above 36V) |
| Maximum Power | 2500W |
| Maximum Current | 50A |
| Pump Input Voltage | DC 12V |
| Special Features | Adjustable Temperature |
| Product Dimensions | 10D x 10W x 10H millimeters |
Warranty and Support
For warranty information or technical support, please refer to the seller's policies on the platform where the product was purchased. Keep your purchase receipt as proof of purchase. For general inquiries or assistance, you may contact Wendry customer service through the official channels provided by the retailer.