Snow Peak SD-641
Snow Peak Land Breeze Pro. 1 Dome Tent Instruction Manual
Model: SD-641
Brand: Snow Peak
Introduction
The Snow Peak Land Breeze Pro. 1 is an advanced dome tent designed for camping and hiking. It comfortably accommodates two people and is engineered for wind resistance and year-round weather conditions. Key features include a side vestibule entry, internal wall pockets for storage, and color-coordinated poles for simplified assembly. The Land Breeze series incorporates mesh skylights with zippered closures, advanced panels, and a mud skirt design to enhance air circulation and temperature control within the tent.
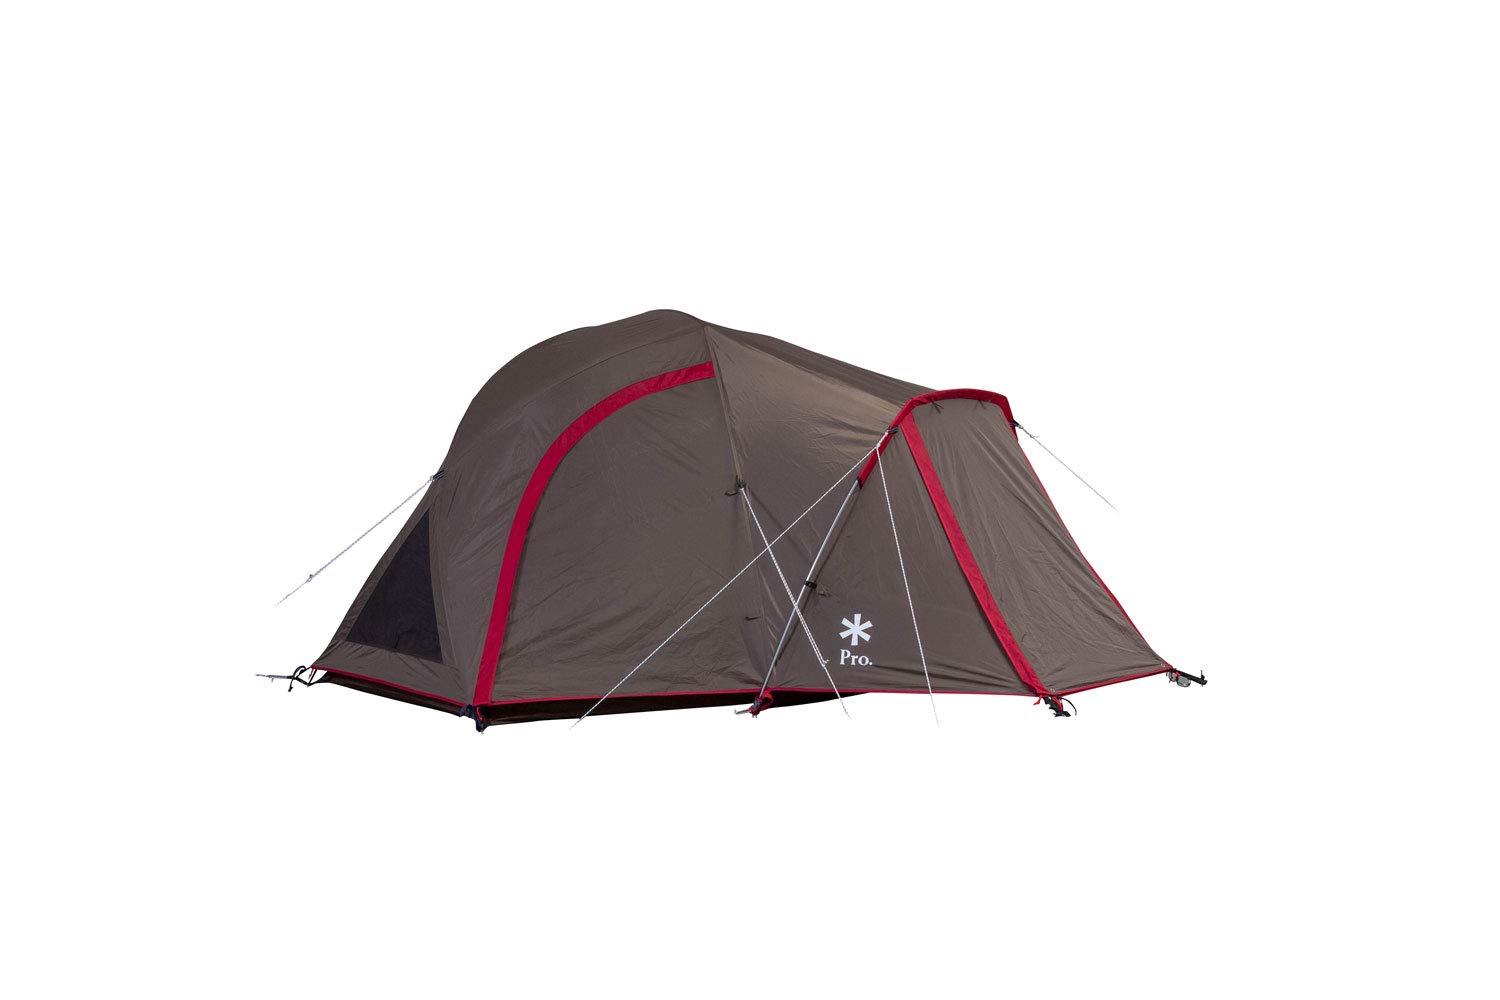
Image: The Snow Peak Land Breeze Pro. 1 tent, fully set up, showcasing its dome structure and vestibule.
Setup Instructions
Follow these steps for proper assembly of your Land Breeze Pro. 1 tent. For visual guidance, refer to the general dome tent setup video provided below.
Components Checklist:
- Outer Tent x1
- Inner Tent x1
- Tent Frame x1 (color-coordinated poles)
- Footprint x1 (optional, for additional ground protection)
- Guy-line x4
- Tent Peg x16
- Stuff Sack x1
Assembly Steps:
- Prepare the Site: Choose a flat, clear area for your tent.
- Spread Footprint: Lay the footprint on the ground where the tent will be pitched.
- Position Inner Tent: Place the inner tent directly over the footprint.
- Stake Inner Tent: Secure the four corners of the inner tent to the ground using tent pegs.
- Assemble Frame Poles: Connect the sections of the color-coordinated tent frame poles.
- Install Frame Poles: Insert the assembled frame poles into the designated sleeves or grommets of the inner tent.
- Clip Inner Tent: Attach the inner tent to the pole frame using the integrated clips and buckles. Hook the apex of the inner tent onto the pole frame.
- Insert Peak Short Pole: Insert the short pole at the peak of the tent to create the dome shape.
- Drape Outer Tent: Carefully place the outer tent (rainfly) over the inner tent, aligning the doors and vents.
- Extend Vestibule: Secure the side vestibule entry by staking it out.
- Adjust and Secure: Adjust all tent pegs and guy-lines to ensure the tent is taut and stable. Ensure vents are open for air circulation.
- Final Stakes: Stake the outer tent as needed for additional stability and weather protection.
Video: General dome tent setup guide. While this video features a different brand (OneTigris), the setup principles for a dome tent are similar and can provide helpful visual guidance for assembling your Snow Peak Land Breeze Pro. 1 tent.

Image: The tent with its vestibule extended, providing additional covered space.
Operating the Tent
The Land Breeze Pro. 1 is designed for user comfort and adaptability to various conditions.
Ventilation and Temperature Control:
- Mesh Skylights: The tent features mesh skylights with zippered closures. Open these for increased airflow in warm weather and close them for warmth or privacy.
- Advanced Panels and Mud Skirt: The design of the tent's panels and mud skirt promotes efficient air circulation, helping to regulate internal temperature and reduce condensation.
- Doors: The front and rear doors can be opened in good weather to maximize ventilation and coolness.
Entry and Storage:
- Side Vestibule Entry: Provides a covered area for gear storage or a sheltered entry point.
- Wall Pockets: Internal wall pockets are available for organizing small items and keeping them accessible.
- Multiple Hanging Points: The inner tent includes multiple hanging points for lamps or other accessories.

Image: Interior view of the tent, highlighting the spaciousness and mesh panels for ventilation.
Video: Overview of tent features, including ventilation and internal space. While this video features a different brand (OneTigris), it demonstrates common dome tent functionalities relevant to the Snow Peak Land Breeze Pro. 1.
Maintenance
Proper care and maintenance will extend the lifespan of your tent.
- Cleaning: The tent should be hand washed. Use mild soap and cold water. Do not use harsh detergents or bleach.
- Drying: Always ensure the tent is completely dry before packing it away to prevent mildew and damage to coatings. Air dry in a shaded area.
- Storage: Store the tent in a cool, dry place, away from direct sunlight and extreme temperatures.
- Inspection: Regularly inspect poles, zippers, seams, and fabric for any signs of wear or damage.
Troubleshooting
If you encounter issues with your tent, consider the following:
- Condensation: Ensure proper ventilation by opening mesh skylights and vents. Condensation is natural in certain conditions but can be minimized with good airflow.
- Stability Issues: Verify that all poles are correctly assembled and inserted, and all guy-lines and pegs are securely fastened and taut.
- Water Leakage: Check for any tears or punctures in the fabric. Ensure the rainfly is properly positioned and all zippers are fully closed. Seam sealant may be applied to worn seams if necessary.
Specifications
| Feature | Detail |
|---|---|
| Brand | Snow Peak |
| Model Number | SD-641 |
| Product Dimensions (L x W x H) | 106.8" x 93.6" x 55.2" (271.3cm x 237.7cm x 140.2cm) |
| Item Weight | 13.4 Pounds (6.08 kg) |
| Occupancy | 2 Person |
| Seasons | All Seasons |
| Material | Polyester (Rainfly: Polyester, Fabric Type: Mesh) |
| Pole Material Type | Aluminum |
| Water Resistance Technology | Polyurethane (PU) Coating |
| Water Resistance Level | Water Resistant (Is Waterproof: True) |
| Included Components | Mudguard (and other standard tent components) |
| Installation Type | Free Standing |
| Closure Type | Zipper |
| Product Care Instructions | Hand Wash |
| Assembly Required | Yes |

Image: Dimensional diagram of the Snow Peak Land Breeze Pro. 1 tent, indicating length, width, and height.
Warranty Information
The Snow Peak Land Breeze Pro. 1 tent is covered by a Snow Peak lifetime warranty. This warranty covers manufacturing defects and ensures the quality and durability of your product. For specific terms and conditions, please refer to the official Snow Peak website or contact customer support.
Customer Support
For further assistance, questions, or to report any issues with your Snow Peak Land Breeze Pro. 1 tent, please contact Snow Peak customer support through their official website or the retailer where the product was purchased.