
WindGallop 1606H / LD-1606S
Digital Car Tire Inflator User Manual
Model: 1606H / LD-1606S
Brand: WindGallop
Introduction
Thank you for purchasing the WindGallop Digital Car Tire Inflator. This portable air compressor is designed for quick and efficient inflation of car tires, bicycle tires, sports balls, and other inflatables. Featuring a digital pressure gauge, LED light, and automatic shut-off, it provides convenience and safety for various inflation needs. Please read this manual thoroughly before use to ensure proper operation and maintenance.
Safety Information
- Ensure the vehicle engine is running when using the inflator to avoid draining the car battery.
- Do not leave the inflator unattended during operation.
- Keep out of reach of children.
- Avoid prolonged continuous operation. Allow the device to cool down after 10-15 minutes of continuous use to prevent overheating.
- Do not expose the inflator to rain or wet conditions.
- Always check the recommended pressure for the item being inflated to prevent over-inflation.
Package Contents
- 1 x WindGallop Digital Car Tire Inflator (Model 1606H / LD-1606S)
- 3 x Additional Nozzles (for balls, bicycles, etc.)
- 1 x Spare Fuse
- 1 x User Manual

Image: The WindGallop Digital Car Tire Inflator with its included accessories: various nozzles and a spare fuse.
Product Overview
Familiarize yourself with the components and controls of your WindGallop tire inflator.

Image: Detailed diagram showing the digital LCD display, control buttons (-, M, +, ON/OFF, LED), 7 LED lamp beads, air hose, and additional nozzles.
- Digital LCD Display: Shows current and preset pressure values. Supports KPA, BAR, PSI, KG/CM².
- "-" Button: Decreases the preset pressure value.
- "M" Button: Switches between pressure reading units.
- "+" Button: Increases the preset pressure value.
- ON/OFF Button: Powers the inflator on or off.
- "LED" Button: Controls the built-in LED light modes.
- 7 LED Lamp Beads: Provides illumination and warning signals.
- Air Hose: Connects to the item being inflated.
- Power Cord (Cigarette Lighter): Connects to your vehicle's 12V DC outlet.
Setup and Operating Instructions
- Start Car Engine: Ensure your car engine is running to provide stable power to the inflator and prevent battery drain.
- Plug In: Insert the power connector into your vehicle's 12V cigarette lighter socket.
- Connect Air Hose: Connect the air hose nozzle tightly to the tire valve. Press the buckle to secure it. For other inflatables, attach the appropriate adapter first.
- Preset Tire Pressure: Use the "+" and "-" buttons to set your desired pressure value. Press the "M" button to cycle through units (PSI, BAR, KPA, KG/CM²).
- Start Inflation: Press the ON/OFF button to begin inflation. The inflator will automatically stop once the preset pressure is reached.
- Disconnect: Once inflation is complete, disconnect the air hose nozzle from the valve and pull the power plug from the socket.

Image: Visual guide demonstrating the six steps for operating the WindGallop tire inflator, from starting the car engine to disconnecting the device.
Demonstration Video
Video: A demonstration of the WindGallop portable air compressor in use, showing how to inflate a car tire and other items.
Inflation Types and Adapters
The WindGallop inflator comes with various adapters to suit different inflation needs:
- Car Tires: Standard nozzle for automobile tires.
- Bike Tires: Adapter for bicycle valves.
- Sports Balls: Needle adapter for basketballs, footballs, etc.
- Pool Toys/Air Mattresses: Cone adapter for larger inflatables.

Image: Visual representation of the inflator's versatility, showing its use for car tires, balloons, bicycle tires, and soccer balls, along with the corresponding adapters.
Built-in LED Light
The inflator is equipped with a bright LED light for convenience and safety, especially during nighttime use or roadside emergencies. Press the "LED" button to cycle through the modes:
- White Light Mode: For general illumination.
- Red Warning Light: For signaling caution.
- SOS Help Light: Flashing red light for emergency signaling.
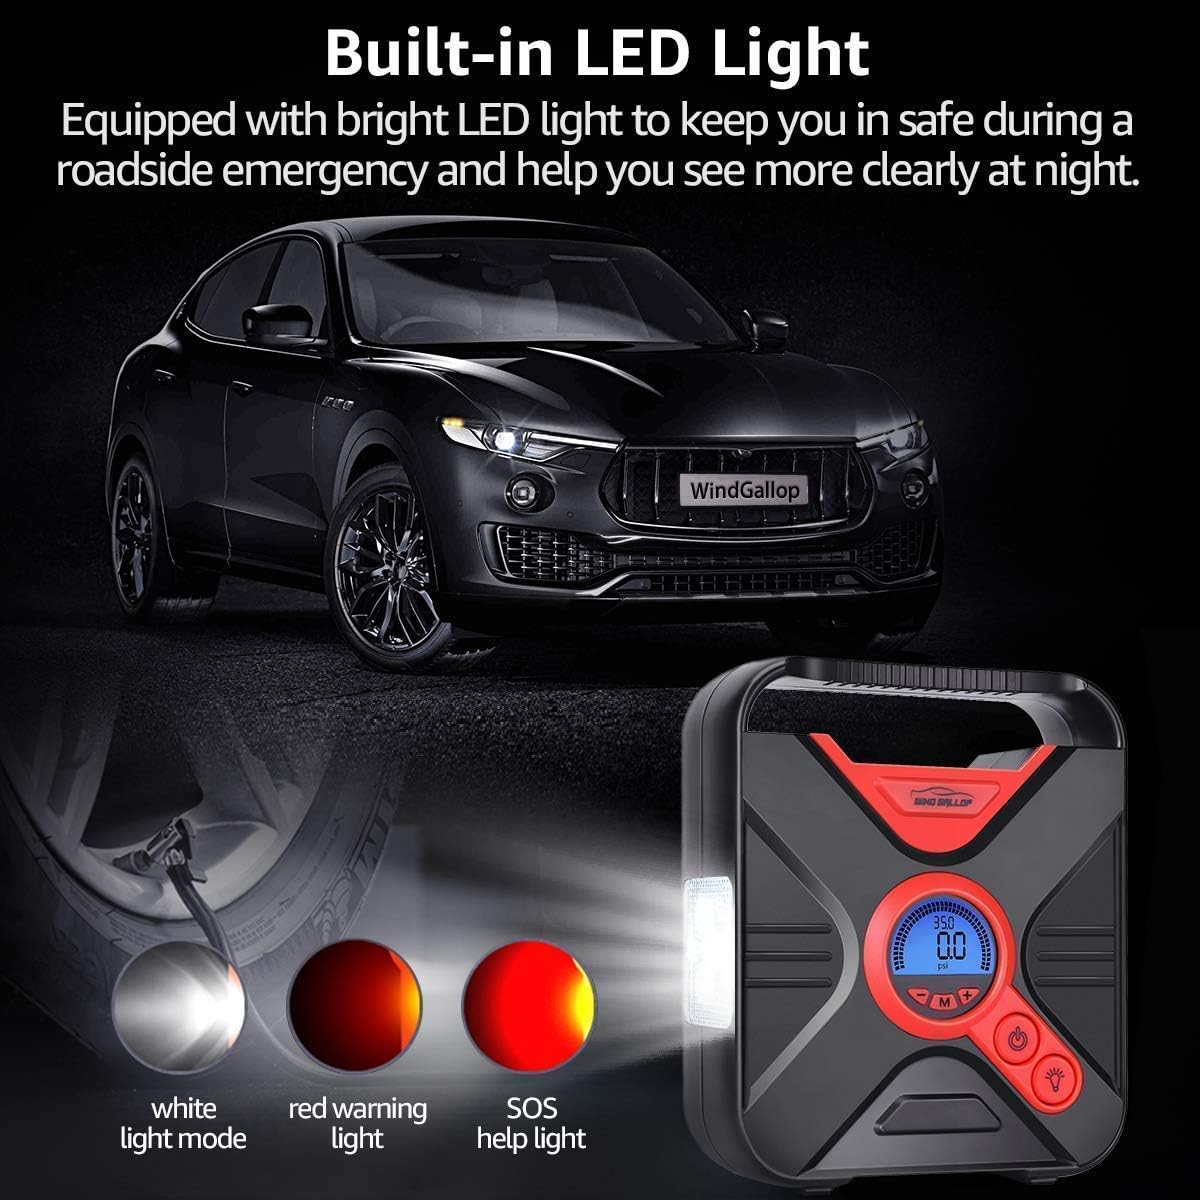
Image: Illustration of the three LED light modes: white illumination, red warning light, and SOS help light, demonstrating their appearance on the device.
Maintenance and Storage
- Cleaning: Wipe the device with a dry cloth. Do not use liquid cleaners.
- Storage: Store the inflator in a cool, dry place, away from direct sunlight and extreme temperatures. The 11ft long power cord and air hose can be neatly stored in the tailor-made grooves on the device for hassle-free storage.
- Fuse Replacement: If the device does not power on, check the fuse located in the cigarette lighter plug. Unscrew the nut to access and replace the fuse with the provided spare fuse.

Image: The compact design of the inflator, highlighting its dimensions and how the power cord and air hose can be neatly stored within the unit.
Troubleshooting
| Problem | Possible Cause | Solution |
|---|---|---|
| Inflator does not turn on. | No power from cigarette lighter socket; Blown fuse in plug. | Ensure car engine is running. Check cigarette lighter socket for power. Replace fuse in the plug (refer to Maintenance section). |
| Slow inflation. | Low voltage; Air hose not securely connected. | Ensure car engine is running. Check connection of air hose to valve. |
| Inaccurate pressure reading. | Loose connection; Unit needs recalibration (unlikely for digital). | Ensure air hose is tightly connected. Compare reading with a known accurate gauge. |
| Inflator overheats and shuts off. | Prolonged continuous use. | Allow the unit to cool down for 10-15 minutes before resuming use. |
Specifications
- Brand: WindGallop
- Model Name: 1606H / LD-1606S
- Voltage: 12 Volts DC
- Wattage: 90 watts
- Noise Level: 75 dB
- Power Source: Corded Electric (12V Car Cigarette Lighter)
- Hose Length: 16 Inches
- Product Dimensions: 3"L x 3"W x 8"H
- Item Weight: 2.1 Pounds
- Material: ABS
- Special Features: AC & DC Adaptable, LED Light, Automatic Shut-Off
Warranty and Support
This WindGallop product comes with a 2-year warranty from the date of purchase. For warranty claims, technical support, or any inquiries, please contact WindGallop customer service. Refer to the product packaging or the seller's information for contact details.
For further assistance, you may visit the official WindGallop store on Amazon: WindGallop Store
Related documents1606H / LD-1606S


Ask a question about this manual
Ask about setup, troubleshooting, compatibility, parts, safety, or missing instructions. Manuals+ will review the question and use this page’s manual context to help answer it.