Introduction
This manual provides detailed instructions for the safe and effective operation, setup, and maintenance of your Huepar 5011G Green Cross Line Laser Level. Please read this manual thoroughly before using the device to ensure optimal performance and safety.
Safety Instructions
WARNING: Avoid direct exposure of the laser beam to the eyes. The device is a Class 2 laser product according to IEC / EN60825-1 / 2014. It is permissible to use the device without additional safety precautions. Eye protection is generally ensured by aversion reactions and the blink reflex.
Always operate the laser level in a safe environment, away from children and unauthorized personnel. Do not attempt to modify or disassemble the device.
Package Contents
Verify that all items are present and in good condition upon unpacking:
- 1 x Huepar 5011G Green Cross Line Laser Level
- 1 x Type-C Charging Cable
- 1 x L-shaped Magnetic Pivoting Bracket
- 1 x Carrying Pouch
- 1 x Multilingual Instruction Manual
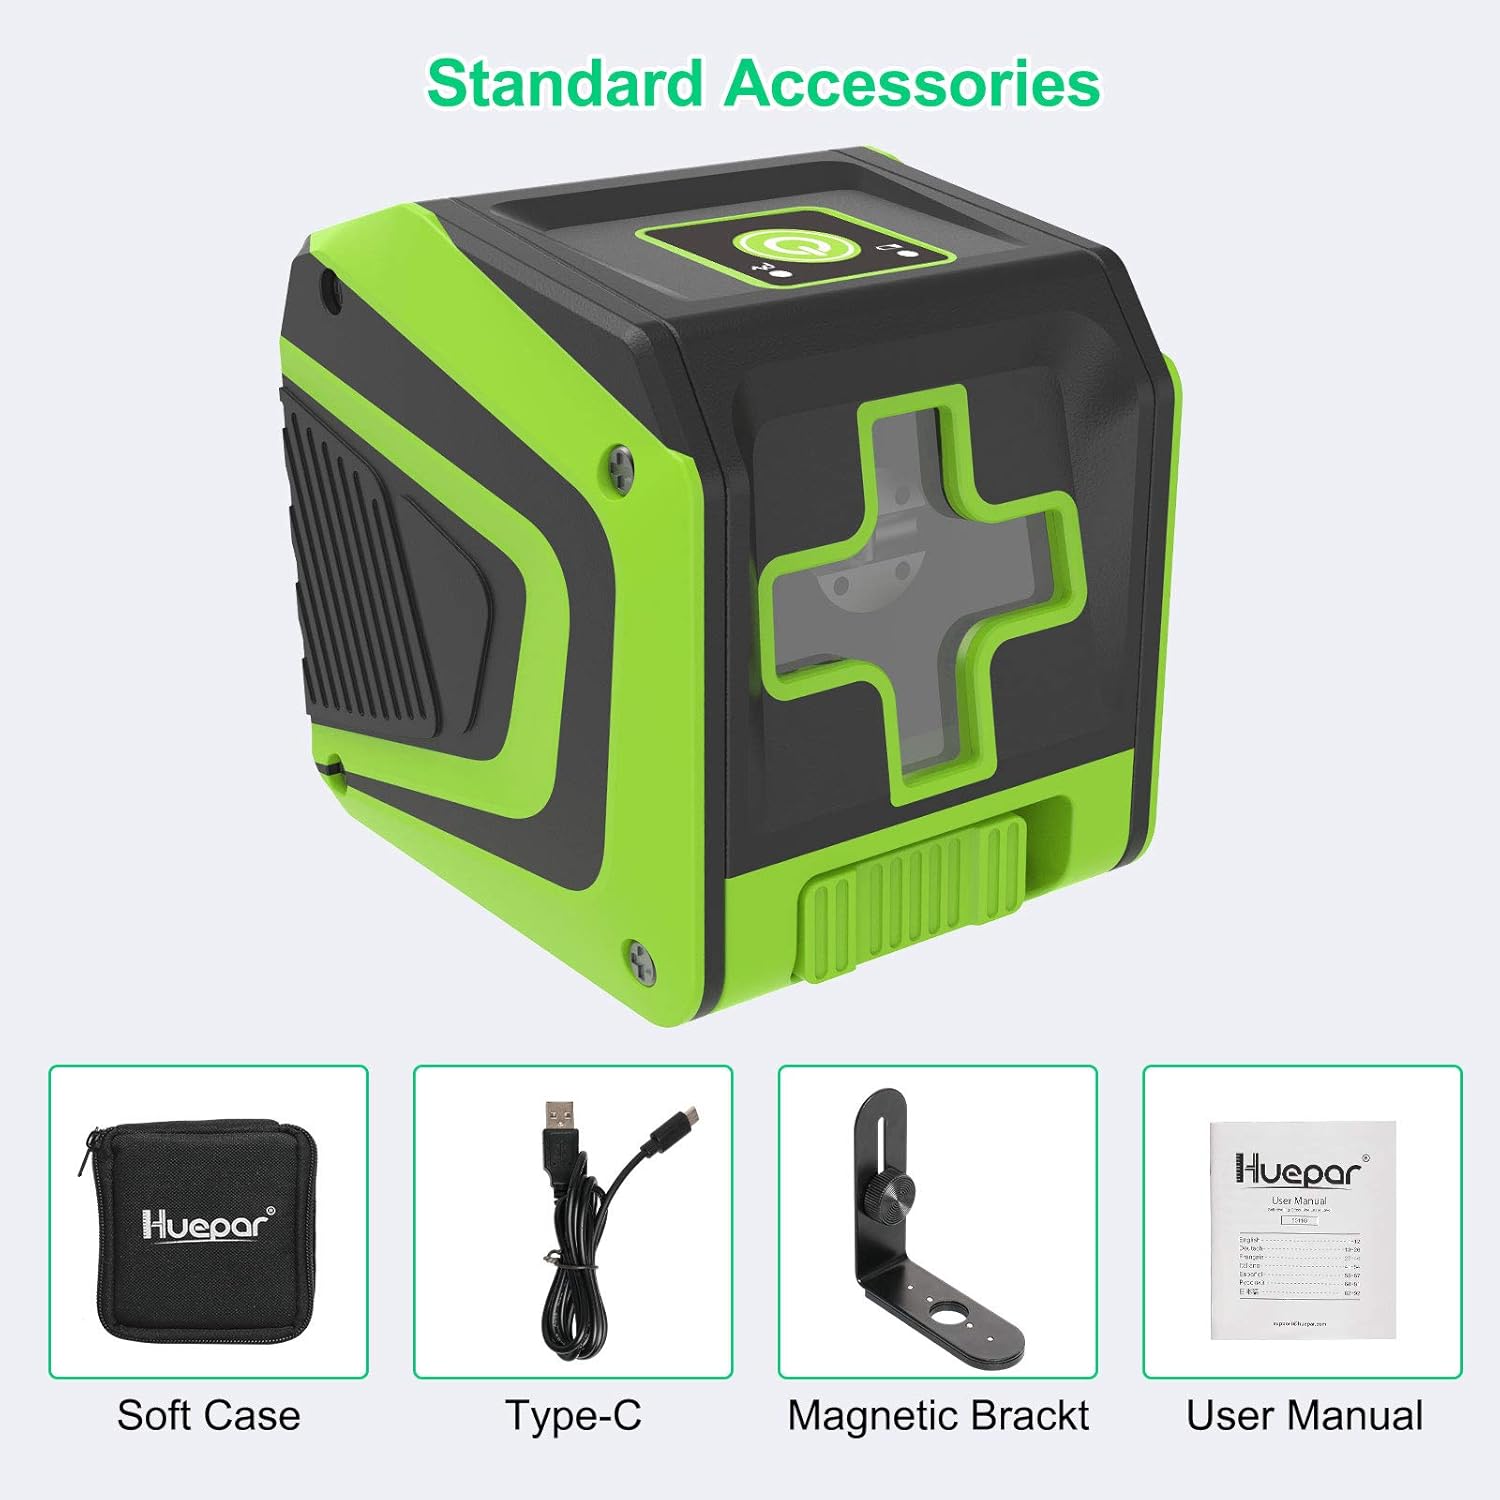
Image: Huepar 5011G laser level and its standard accessories: soft case, Type-C cable, magnetic bracket, and user manual.
Specifications
| Feature | Specification |
|---|---|
| Laser Beam | Green Beam |
| Projection | 2 Green Laser Lines |
| Laser Class | Class 2 (IEC / EN60825-1 / 2014), <1mW |
| Laser Wavelength | 505-520nm |
| Horizontal / Vertical Accuracy | ±3mm/10m |
| Self-leveling Range | 3.5°±0.5° |
| Leveling Time | 3 seconds |
| Working Distance | 25m (100 LUX), 50m with Huepar Line Laser Receiver (LR-5RG / LR-6RG) |
| Operating Time & Power Source | 10 hours with built-in 3.7V / 1500mAh Li-ion battery |
| Female Thread | 1/4"-20 |
| IP Rating | IP54 (Dustproof and Shockproof) |
| Service Temperature | -10℃ to +50℃ |
| Storage Temperature | -20℃ to +70℃ |
| Dimensions (L x W x H) | 8.5 x 6.5 x 8 cm |
| Weight | 360 Grams |

Image: Huepar 5011G laser level demonstrating its dustproof, shockproof, and waterproof capabilities (IP54 rated).
Setup
1. Initial Charging
Before first use, it is recommended to charge the laser level for more than 4 hours. The device is powered by a built-in 3.7V / 1500mAh Li-ion battery.
2. Charging Options
The Huepar 5011G features a Type-C charging port, allowing convenient charging via various sources such as a laptop, power bank, or car charger.

Image: Various charging methods for the Huepar 5011G laser level, including power bank, laptop, wall adapter, and car charger.
3. Mounting the Device
The laser tool is equipped with a 1/4"-20 female thread, allowing it to be securely attached to a tripod or other mounting bases for precise positioning.
The included L-shaped magnetic pivoting bracket can be adsorbed onto metal surfaces. It offers 360° free rotation and forward/backward adjustments within 3.5cm to accommodate various required angles.

Image: Huepar 5011G laser level mounted on a wall using its magnetic bracket, showing the 1/4-20 threaded mount and 360-degree rotation capability.
Operating Instructions
1. Self-leveling Mode
To activate the self-leveling mode, unlock the pendulum. The laser beam will automatically level itself. If the tool exceeds its self-leveling range of 3.5°±0.5°, the laser beam will flash continuously to indicate that it is out of level.
2. Manual Mode
To enter manual mode, lock the pendulum. This mode allows you to project laser lines at any desired angle, which is useful for tasks such as installing lighting fixtures, hanging pictures, or tiling walls/floors at an incline.
3. Pulse Mode
When switching to pulse mode, the laser beam will become slightly weaker. This mode helps to extend the working time and reduce eye fatigue. The outdoor pulse mode extends the laser's working range up to 50m when used with a Huepar Line Laser Receiver (e.g., LR-5RG / LR-6RG) in bright light conditions.

Image: Top: Self-leveling mode for precise horizontal and vertical alignment. Bottom: Manual mode for projecting lines at any angle.
4. Typical Applications
The Huepar 5011G is suitable for a variety of tasks requiring precise alignment:
- Hanging pictures and artwork
- Stair handrail installation
- Laying out floor or wall tiles
- Window and door construction

Image: Examples of the Huepar 5011G laser level in various applications.
Maintenance
To ensure the longevity and accuracy of your Huepar 5011G laser level, follow these maintenance guidelines:
- Cleaning: Regularly clean the laser windows and housing with a soft, damp cloth. Do not use harsh chemicals or abrasive cleaners.
- Storage: Store the device in its carrying pouch in a dry, cool place, away from direct sunlight and extreme temperatures.
- Battery Care: For optimal battery life, avoid fully discharging the battery frequently. Charge the device regularly, especially if storing for extended periods.
- Durability: The IP54 rating ensures the device is dustproof and splash-proof, allowing it to function reliably in challenging work conditions. However, avoid submerging the device in water.
Troubleshooting
If you encounter issues with your Huepar 5011G laser level, refer to the following common problems and solutions:
- Laser not turning on: Ensure the battery is sufficiently charged. Connect the Type-C charging cable and allow it to charge for a period. Check if the pendulum is unlocked for self-leveling mode or if the device is properly switched on.
- Laser beam flashing: In self-leveling mode, a flashing beam indicates the device is outside its self-leveling range (3.5°±0.5°). Reposition the laser level on a flatter surface.
- Inaccurate lines: Ensure the device is on a stable surface and within its self-leveling range. If using manual mode, verify the desired angle is set correctly.
- Weak laser beam: Check if the device is in pulse mode, which intentionally reduces beam intensity. For brighter conditions or longer distances, use a Huepar Line Laser Receiver.
If problems persist, contact Huepar customer support for further assistance.
Warranty and Support
Huepar products are designed for reliability and performance. For specific warranty details, please refer to the warranty card included with your product or visit the official Huepar website. Keep your purchase receipt as proof of purchase for warranty claims.
For technical support, service, or inquiries, please contact Huepar customer service through their official channels. Contact information can typically be found on the product packaging or the official Huepar website.