Introduction
The Toshiba E-Studio 2505AC is an A3/A4 color laser multifunction copier designed for office environments. This device integrates copy, print, and scan functionalities, along with automatic duplexing and network connectivity. It supports various paper sizes up to 12" x 18" (SRA3) and offers a standard paper input capacity of 1,200 sheets, expandable to 3,200 sheets with optional trays.
This manual provides essential information for the safe and efficient operation of your Toshiba E-Studio 2505AC. Please read it thoroughly before using the device.

Figure 1: Front view of the Toshiba E-Studio 2505AC multifunction copier. This image displays the main unit with its integrated control panel, automatic document feeder, and two standard paper trays.
Setup Instructions
1. Unpacking and Placement
- Carefully remove the copier from its packaging. Ensure all packing materials and protective tapes are removed.
- Place the copier on a stable, level surface with adequate ventilation.
- Ensure sufficient space around the unit for operation and maintenance access.
2. Power Connection
- Connect the provided power cord to the copier's power inlet and then to a grounded electrical outlet.
- The device requires 120 V, 12 Amps.
3. Network Connection (Optional)
- For network printing and scanning, connect an Ethernet cable from the copier's Ethernet port to your network router or switch.
- Refer to your network administrator for IP address configuration if required.
4. Driver Installation
Printer and scanner drivers are required for full functionality from a computer. These drivers can be downloaded from the official Toshiba support website.
5. Loading Paper
- Open the paper trays. The E-Studio 2505AC comes with two 550-sheet trays and a 100-sheet bypass tray.
- Load paper with the print side facing down (for most trays). Adjust the paper guides to fit the paper size.
- Supported paper sizes include Letter (8.5" x 11"), Legal (8.5" x 14"), Tabloid (11" x 17"), and SRA3 (12" x 18").
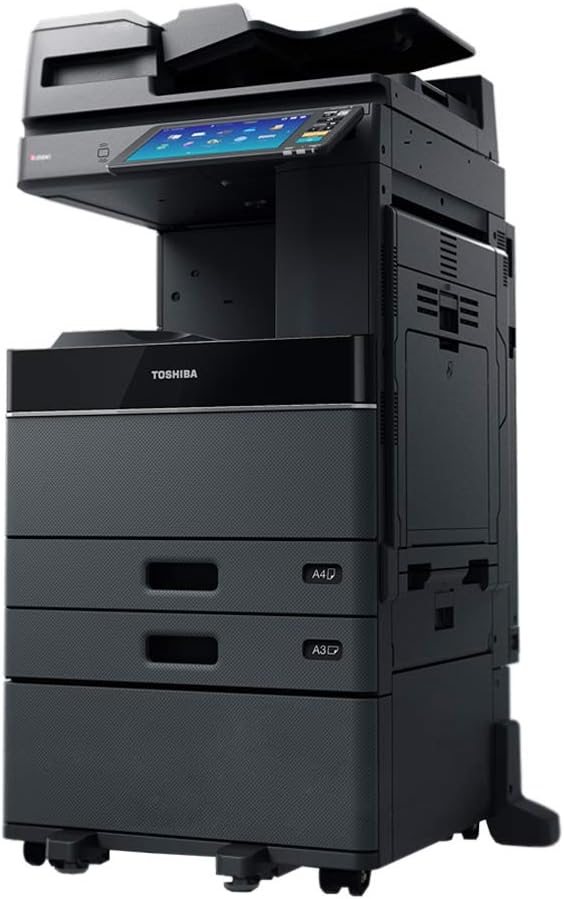
Figure 2: Side view of the Toshiba E-Studio 2505AC. This image highlights the side access panels and the configuration of the paper input trays.
Operating Instructions
The control panel features a touch screen interface for navigating functions.
1. Copying Documents
- Place the original document face-up in the Automatic Document Feeder (ADF) or face-down on the scanner glass.
- On the control panel, select the "Copy" function.
- Adjust settings such as quantity, color mode (color/monochrome), paper size, and duplex (two-sided) copying as needed.
- Press the "Start" button to begin copying.
2. Printing Documents
From a Computer (Network/USB)
- Ensure the copier is connected to the network or directly via USB to your computer.
- From your application, select "Print" and choose the Toshiba E-Studio 2505AC as your printer.
- Adjust print settings (e.g., number of copies, paper source, duplex printing) in the printer driver dialog.
- Confirm and send the print job.
From a USB Drive (Print-from-USB)
- Insert a USB flash drive containing printable files (e.g., PDF, JPEG) into the USB port on the copier.
- On the control panel, select the "Print from USB" option.
- Browse and select the desired file(s) to print.
- Adjust print settings and press "Start".
3. Scanning Documents
Scan-to-USB
- Place the original document in the ADF or on the scanner glass.
- Insert a USB flash drive into the USB port.
- On the control panel, select the "Scan" function, then choose "Scan to USB".
- Configure scan settings such as resolution, color mode, and file format (e.g., PDF, JPEG).
- Press "Start" to begin scanning. The scanned file will be saved to the USB drive.
Scan-to-Network (e.g., Scan-to-Email, Scan-to-Folder)
- Place the original document in the ADF or on the scanner glass.
- On the control panel, select the "Scan" function, then choose the desired network destination (e.g., "Scan to Email" or "Scan to Folder").
- Select the recipient or folder from the address book or enter the destination manually.
- Configure scan settings as required.
- Press "Start" to begin scanning.

Figure 3: Rear-side view of the Toshiba E-Studio 2505AC. This perspective shows the various connectivity ports, including Ethernet and USB, and provides a glimpse of the internal paper path.
Maintenance
1. Consumables Replacement
- The copier uses toner cartridges (black, cyan, magenta, yellow). The control panel will display alerts when toner levels are low.
- Refer to the on-screen instructions or the full service manual for specific steps on replacing toner cartridges and other consumables like imaging units.
2. Cleaning
- Exterior: Wipe the exterior surfaces with a soft, damp, lint-free cloth. Avoid abrasive cleaners.
- Scanner Glass: Regularly clean the scanner glass and the ADF glass strip with a soft cloth and a non-abrasive glass cleaner to prevent streaks on scanned or copied documents.
3. Clearing Paper Jams
- If a paper jam occurs, the control panel will display an error message and indicate the location of the jam.
- Follow the on-screen instructions to open the relevant covers and carefully remove the jammed paper. Ensure all torn pieces are removed.
- Close all covers securely after clearing the jam.
Troubleshooting
| Problem | Possible Cause / Solution |
|---|---|
| Device does not power on. | Check power cord connection to the device and the electrical outlet. Ensure the outlet is functional. |
| Paper jams frequently. | Ensure paper is loaded correctly and paper guides are adjusted. Use recommended paper types. Clean paper feed rollers if necessary. |
| Poor print/copy quality (streaks, faded prints). | Check toner levels. Clean scanner glass. Perform print head cleaning or calibration from the control panel settings. |
| Cannot print from computer. | Verify network connection (Ethernet cable). Ensure printer drivers are installed correctly. Check printer status on your computer. Restart both the computer and the copier. |
| Scan to USB not working. | Ensure USB drive is properly inserted and formatted correctly (FAT32 is common). Check if the USB drive has sufficient free space. |
For more complex issues, consult the full service manual or contact technical support.
Technical Specifications
| Feature | Detail |
|---|---|
| Model Name | Toshiba E-Studio 2505AC |
| Functions | Copy, Print, Scan, Auto Duplex, Network, Scan-to-USB, Print-from-USB |
| Print Speed (Color/B&W) | Up to 25 pages per minute (ppm) |
| Print Resolution (Max) | 1200 x 1200 dpi (Color), 3600 dpi (Black & White) |
| Copy Resolution (Max) | 1200 x 1200 dpi (Color/B&W) |
| Scanner Type | Sheetfed |
| Duplex Printing | Automatic |
| Standard Paper Input Capacity | 1,200 sheets (2 x 550-sheet trays + 100-sheet bypass) |
| Maximum Paper Input Capacity | 3,200 sheets (with options) |
| Supported Media Sizes | Statement, Letter (A4), Legal, Tabloid (A3), SRA3 (12" x 18") |
| Memory | 4 GB |
| Hard Disk | 320 GB |
| Connectivity | Ethernet, USB 2.0 |
| Electrical Requirements | 120 V, 12 Amps (1440 watts) |
| Dimensions (W x D x H) | Approx. 22.6" x 23" x 26.1" (57.4 cm x 58.4 cm x 66.3 cm) |
| Item Weight | 166 pounds (75.3 kg) |
Warranty and Support
Warranty Information
This Toshiba E-Studio 2505AC unit comes with a 30-Day Parts Warranty from the date of purchase. This warranty covers parts defects under normal use. For warranty claims, please contact your vendor.
Technical Support and Drivers
For technical assistance, additional documentation, or to download the latest drivers and software, please visit the official Toshiba support website. The manufacturer's website is the primary resource for comprehensive support materials.


