
DOUXURY The 2026 Latest Version
DOUXURY Wireless Reversing Camera System with 4.3" LCD Monitor
Model: The 2026 Latest Version
Introduction
This manual provides detailed instructions for the installation, operation, and maintenance of your DOUXURY Wireless Reversing Camera System. Designed for enhanced safety during driving and parking, this system features a 4.3-inch LCD monitor, a 170-degree wide-angle IP68 waterproof camera with night vision, suitable for various vehicles including cars, vans, and trucks. The wireless design ensures a stable signal and simplifies installation.
Safety Information
- Always ensure the system is installed securely to prevent obstruction of driver's view or vehicle controls.
- Disconnect vehicle battery before performing any wiring to avoid electrical shorts or damage.
- Do not attempt to disassemble or modify the camera or monitor. This may void the warranty and cause damage.
- The reversing camera system is an aid for safe driving and parking. Always check your surroundings directly before maneuvering.
- Ensure all cables are properly routed and secured to prevent interference with vehicle operation or damage from moving parts.
Package Contents
Verify that all items listed below are present in your package:

Image: All components included in the DOUXURY Wireless Reversing Camera System package, laid out for inspection.
- 4.3-inch LCD Monitor
- Wireless Reversing Camera
- Power Cord (for monitor, typically cigarette lighter adapter)
- Suction Cup Mount
- Bracket (for monitor)
- Antenna (for monitor)
- Installation Kits (e.g., T-Taps, adhesive pads)
- Instruction Manual
Setup and Installation
The DOUXURY Wireless Reversing Camera System is designed for easy installation with minimal wiring.
1. Camera Installation
- Mounting the Camera: Choose a suitable location at the rear of your vehicle, typically above the license plate. Ensure the camera has a clear, unobstructed view.
- Wiring the Camera: Connect the camera's power cable to your vehicle's reverse light circuit. The red wire connects to the positive (+) lead of the reverse light, and the black wire connects to a ground (-) point. This ensures the camera powers on automatically when reverse gear is engaged.
- Optional Front View: To use the camera as a front view camera, connect its power to a running light or accessory power source. Cut the green wire on the camera's cable to disable the mirror image function, providing a normal view.

Image: Detailed wiring diagram showing connections for the camera to the reverse light and ground, and the option to cut a green wire for front view functionality.
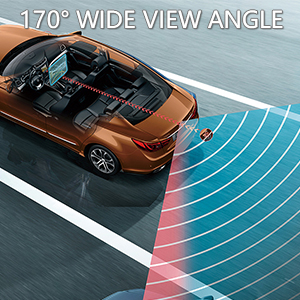

Image: Left: The camera's 170-degree wide-angle view. Right: The IP68 waterproof design of the camera, showing its durability.
2. Monitor Installation
- Mounting the Monitor: Attach the suction cup mount to a clean, smooth surface on your dashboard or windshield. Ensure the monitor does not obstruct your view of the road.
- Connecting Power: Plug the monitor's power cord into your vehicle's 12V cigarette lighter socket. The power cord typically includes an ON/OFF button for convenience.
- Attaching Antenna: Screw the provided antenna onto the monitor for optimal wireless signal reception.

Image: Examples of different monitor installation methods, including dashboard and windshield mounting options.

Image: Close-up of the cigarette lighter adapter used to power the monitor, highlighting its integrated ON/OFF button.
Operating Instructions
- Power On/Off: Press the ON/OFF button on the monitor's power cord to turn the system on or off.
- Automatic Activation: If the camera is wired to the reverse light, the monitor will automatically display the camera feed when you shift into reverse gear.
- Image Flip: The camera supports image flip functionality (normal or mirror view). This is typically controlled by a physical wire on the camera cable (e.g., cutting a green wire for normal view).
- Backup Guide Lines: The monitor displays adjustable backup guide lines to assist with parking. Refer to the monitor's specific button functions for adjusting these lines.
- Night Vision: The camera is equipped with night vision capabilities to provide clear images in low-light conditions.
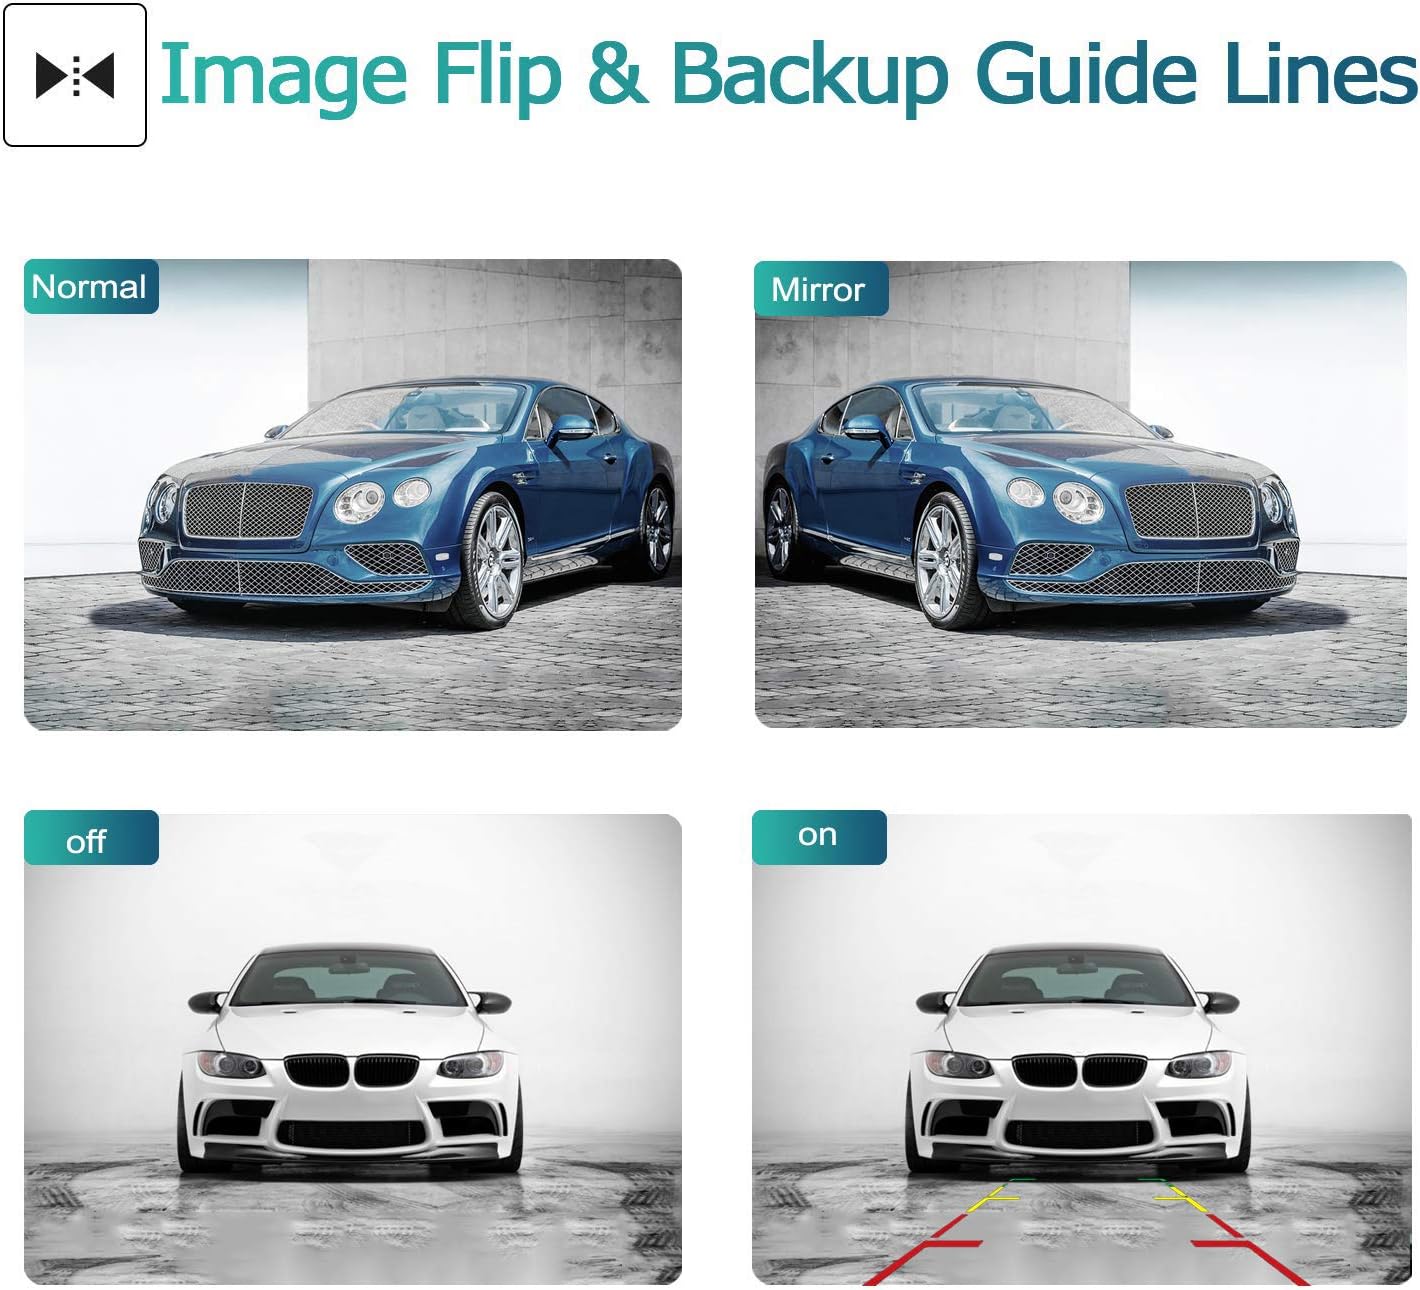
Image: Demonstration of the image flip function (normal vs. mirror) and the display of backup guide lines on the monitor.

Image: An example of the camera's night vision performance, showing a clear view in dark conditions.
Maintenance
- Cleaning: Regularly clean the camera lens and monitor screen with a soft, damp cloth. Avoid abrasive cleaners that may scratch surfaces.
- Cable Inspection: Periodically check all cables for signs of wear, fraying, or damage. Ensure connections remain secure.
- Mounting Security: Verify that the camera and monitor mounts are still firmly attached and not loose.
- Waterproofing: The camera is IP68 waterproof, but avoid directing high-pressure water jets directly at the camera for extended periods.
Troubleshooting
| Problem | Possible Cause | Solution |
|---|---|---|
| No image on monitor |
|
|
| Flickering or distorted image |
|
|
| Image is reversed (mirror image) when it should be normal | Green wire for image flip is not cut or incorrectly wired. | If using as a front camera, ensure the green wire on the camera cable is cut. |
Specifications
- Model Number: The 2026 Latest Version
- Part Number: D-Cam4.3Ana
- Screen Size: 4.3 inches
- Display Technology: LCD
- Screen Capture Resolution: 1080p
- Optical Sensor Technology: CMOS
- Field of View: 170 Degrees
- Real View Angle: 170 degrees
- Waterproof Rating: IP68 (Camera)
- Voltage: 12 Volts
- Installation Type: Surface Mount
- Item Weight: 515 Grams
- Wireless Signal Range: Up to 10m (vehicles), 100m (open areas)
Warranty and Support
DOUXURY provides comprehensive customer support for this product:
- Customer Service: 24-hour online customer service.
- Money-Back Guarantee: 60-day satisfaction money-back guarantee.
- Replacement Warranty: 12-month replacement warranty.
- Lifetime Support: Lifetime technical assistance.
- For any questions, dissatisfaction, or assistance, please contact DOUXURY customer support directly.
Ask a question about this manual
Ask about setup, troubleshooting, compatibility, parts, safety, or missing instructions. Manuals+ will review the question and use this page’s manual context to help answer it.