IDS Home USIOSAmz20190917MswzqA-1
Galaxy Tracker Telescope User Manual
Model: USIOSAmz20190917MswzqA-1
1. Introduction
Welcome to the world of astronomy with your new IDS Home Galaxy Tracker Telescope! This manual provides essential information for setting up, operating, and maintaining your telescope. Designed for beginners and young enthusiasts, this telescope offers a clear view of the Moon, planets, and bright star clusters, making space exploration accessible and exciting.
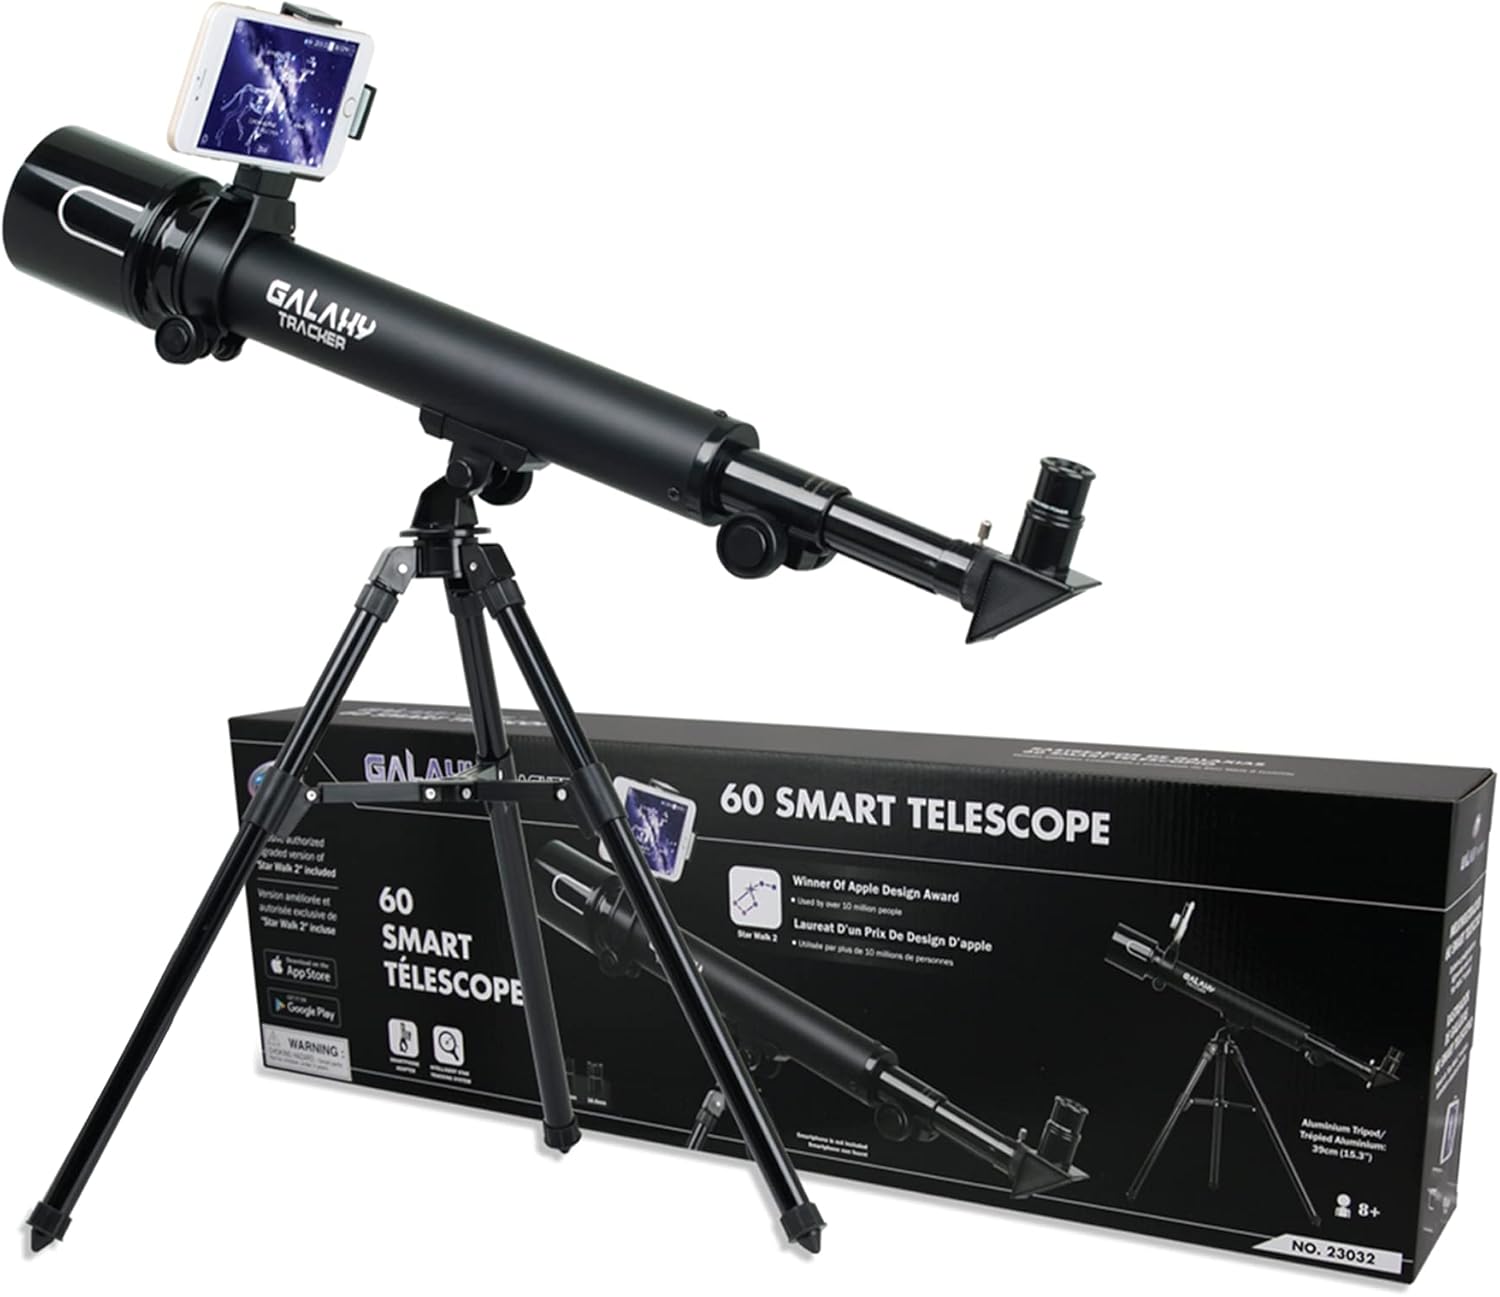
Image 1.1: The Galaxy Tracker Telescope and its packaging.
2. Safety Information
- NEVER look directly at the sun through the telescope or its finderscope. Doing so can cause immediate and irreversible eye damage, including blindness.
- Do not leave the telescope unsupervised, especially when children are present.
- Handle optical components with care to avoid scratches or damage.
- Ensure the tripod is stable on a flat, secure surface to prevent tipping.
3. Product Components
Familiarize yourself with the main parts of your Galaxy Tracker Telescope:
- Objective Lens Lid
- Objective Lens
- Lens Hood
- Telescope Tube
- Bracket
- Tripod Legs
- Focusing Tube Holder
- Focusing Tube
- Eyepiece (16.6MM, 8.3MM)
- Eyepiece Lid
- Focusing Knob
- Diagonal Mirror

Image 3.1: Illustration of the 50mm objective lens and its internal elements.
4. Setup Guide
The Galaxy Tracker Telescope is designed for quick and easy assembly without the need for tools. Follow these steps:
- Unpack Components: Carefully remove all parts from the box and backpack.
- Set Up Tripod: Extend the tripod legs to your desired height. Loosen the handle on the tripod head to adjust it to a flat position, then tighten to secure. Ensure the tripod is stable.
- Attach Telescope Tube: Place the telescope tube onto the tripod head and screw it securely into place.
- Insert Eyepiece: Remove the protective covers from the eyepiece. Insert the desired eyepiece (16.6MM or 8.3MM) into the focusing tube and secure it.
- Remove Objective Lens Cover: Take off the large cover from the front objective lens of the telescope.
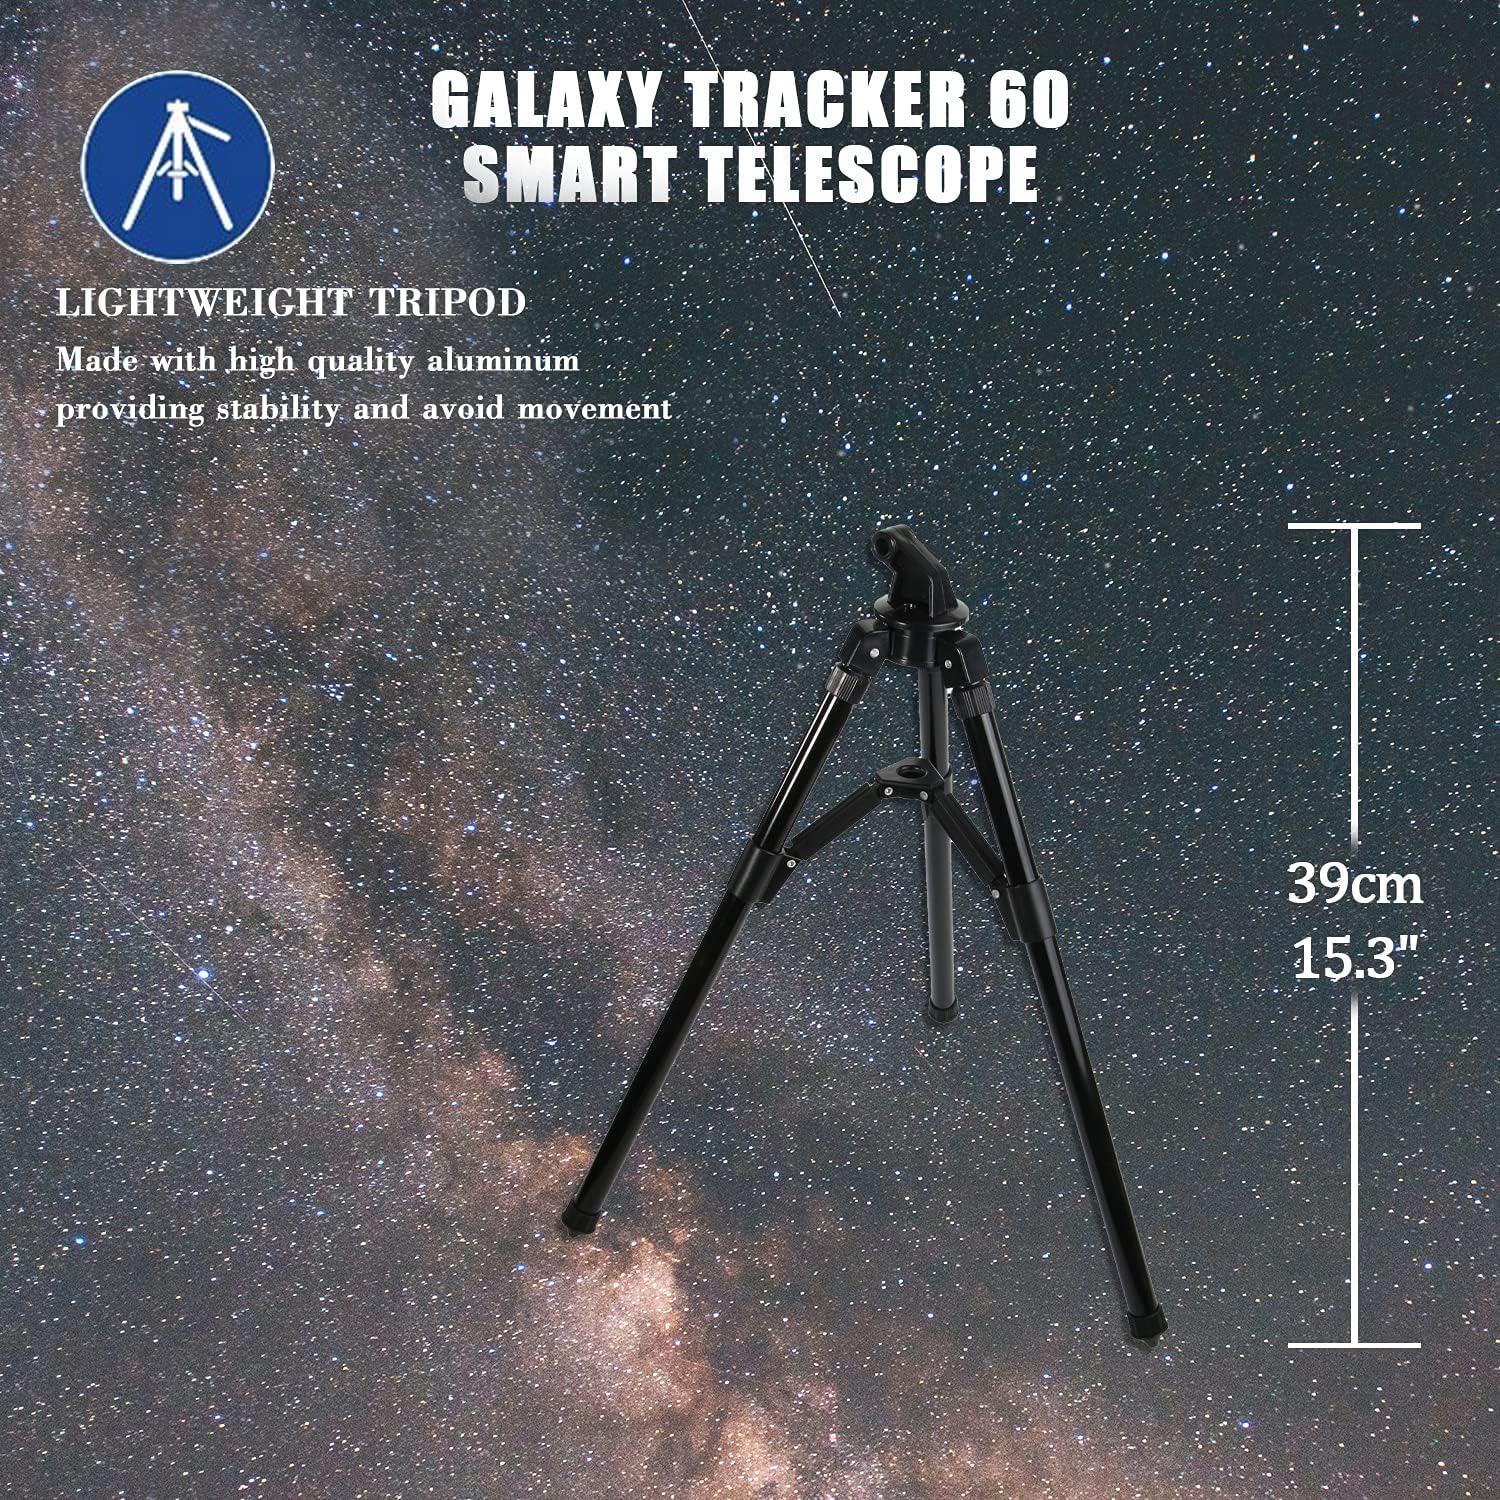
Image 4.1: The lightweight aluminum tripod, measuring 39cm (15.3 inches) in height.
5. Operating Instructions
5.1 Basic Observation
- Choose an Eyepiece: Start with the 16.6MM eyepiece for a wider field of view and easier object location. Once you've found your target, you can switch to the 8.3MM eyepiece for higher magnification.
- Aiming the Telescope: Gently move the telescope tube to point towards your desired celestial object.
- Focusing: Look through the eyepiece and slowly turn the focusing knob until the image appears sharp and clear.
- Magnification: The telescope offers 30x and 60x power. The 16.6MM eyepiece provides 30x magnification, and the 8.3MM eyepiece provides 60x magnification.

Image 5.1: Visual representation of 30x and 60x magnification for lunar observation.
5.2 Using the Star Walk 2 App
Your telescope is designed to integrate with the exclusive authorized upgraded version of the "STAR WALK 2" application, enhancing your stargazing experience. This app helps you identify celestial objects and learn more about them.
- Download the App: Search for "STAR WALK 2" in your device's app store (App Store for iOS or Google Play for Android) and download it.
- Mount Your Smartphone: Use the included smartphone adapter to securely attach your phone to the telescope.
- Launch and Explore: Open the Star Walk 2 app. It will use your phone's sensors to show you a real-time map of the night sky, helping you locate stars, planets, and constellations.

Image 5.2: The Star Walk 2 application, a complimentary full subscription version, for identifying celestial objects.

Image 5.3: The telescope with a smartphone attached, demonstrating the motion tracking feature of the Star Walk 2 app for beginners.
6. Maintenance
- Cleaning Lenses: Use a soft, lint-free cloth specifically designed for optical lenses to gently wipe away dust. For smudges, use a small amount of optical lens cleaning fluid on the cloth, not directly on the lens.
- Storage: When not in use, store the telescope in a dry, dust-free environment. Keep the objective lens cap and eyepiece caps on to protect the optics.
- Avoid Moisture: Do not expose the telescope to excessive moisture or extreme temperatures.
7. Troubleshooting
7.1 Blurry Image
- Ensure the focusing knob is adjusted correctly. Turn it slowly in both directions until the image is sharp.
- Check if the objective lens cap or eyepiece caps are fully removed.
- Verify that the eyepiece is fully inserted and secured.
7.2 Difficulty Finding Objects
- Start with the lower magnification eyepiece (16.6MM) for a wider field of view.
- Use the Star Walk 2 app to help locate celestial objects.
- Practice aiming the telescope during the day at distant terrestrial objects (e.g., a tree or building) to get accustomed to its movement.
7.3 Image is Upside Down or Reversed
- This is normal for astronomical telescopes. Most refractors produce an inverted image. For terrestrial viewing, a diagonal mirror or erecting prism can correct the image orientation.
8. Technical Specifications
| Feature | Specification |
|---|---|
| Power | 30x / 60x |
| Objective Lens Diameter | 50MM |
| Focal Length | 500MM |
| Eyepieces | 16.6MM, 8.3MM |
| Tripod Height | 39cm (15.3 inches) |
| Item Weight | 1.02 kg (2.25 Pounds) |
| Model Name | Galaxy Tracker |
| Telescope Mount Description | Altazimuth Mount |
| Focus Type | Manual Focus |
| Compatible Devices | Smartphone, Camera |
9. Warranty and Support
For information regarding warranty coverage, technical support, or replacement parts, please contact IDS Home customer service directly. Refer to the product packaging or the retailer's website for specific contact details.
Ask a question about this manual
Ask about setup, troubleshooting, compatibility, parts, safety, or missing instructions. Manuals+ will review the question and use this page’s manual context to help answer it.