1. Introduction
This manual provides detailed instructions for the installation, operation, and maintenance of the ASHATA Mini PCI-E 300Mbps Network Card, Model 112BNHMW. Please read this manual thoroughly before installation and use to ensure proper functionality and longevity of the product.
2. Product Overview
The ASHATA 112BNHMW is a high-performance Mini PCI-E wireless network card designed for seamless internet connectivity. It supports the LINK1000 series and offers a maximum connection speed of 300Mbps, adhering to 802.11B/G/N wireless protocols. Its robust design ensures reliable operation.

Image 2.1: ASHATA Mini PCI-E Network Card highlighting the Mini-PCI interface. This interface ensures compatibility with a wide range of devices.
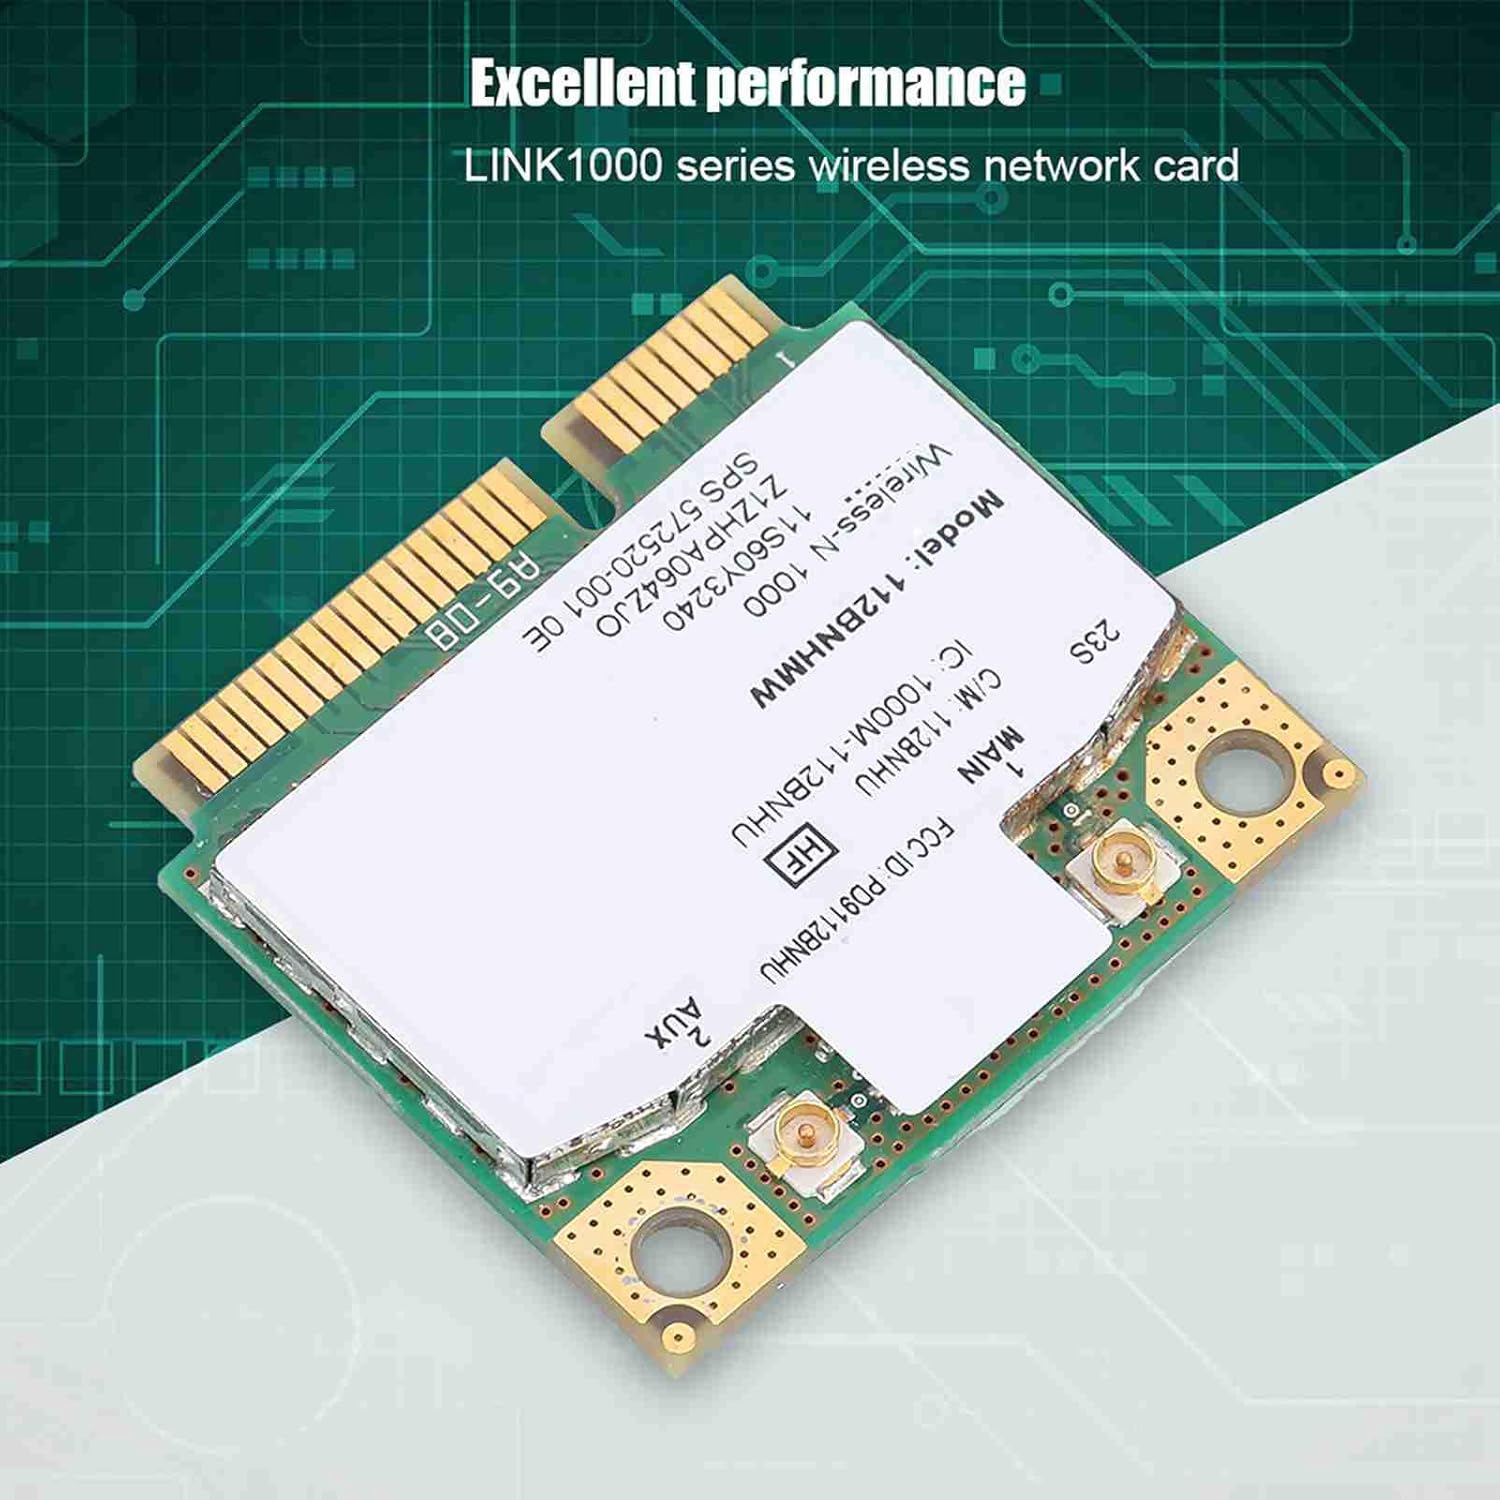
Image 2.2: The ASHATA Mini PCI-E Network Card, part of the LINK1000 series, known for its excellent performance.
3. Specifications
| Feature | Detail |
|---|---|
| Brand | ASHATA |
| Model Number | 112BNHMW (ASHATA92ut1irfh7) |
| Hardware Interface | Mini PCI-E |
| Data Transfer Rate | Up to 300 Mbps |
| Wireless Protocols | 802.11B/G/N (2.4GHz) |
| Item Weight | 0.01 Kilograms |
| UPC | 738583134071 |
4. Compatibility
This network card is designed for use with systems supporting the Mini PCI-E interface. It is compatible with:
- Operating Systems: Windows XP, Windows 7, Windows 8.
- Notebooks: Most notebooks from Lenovo and HP, including specific models like T420S, X220, and T520.
Important Note:
This card is generally not compatible with Windows 10. Please ensure your operating system is Windows XP, 7, or 8 for proper functionality. Compatibility with specific laptop models may vary; always verify your device's specifications before installation.
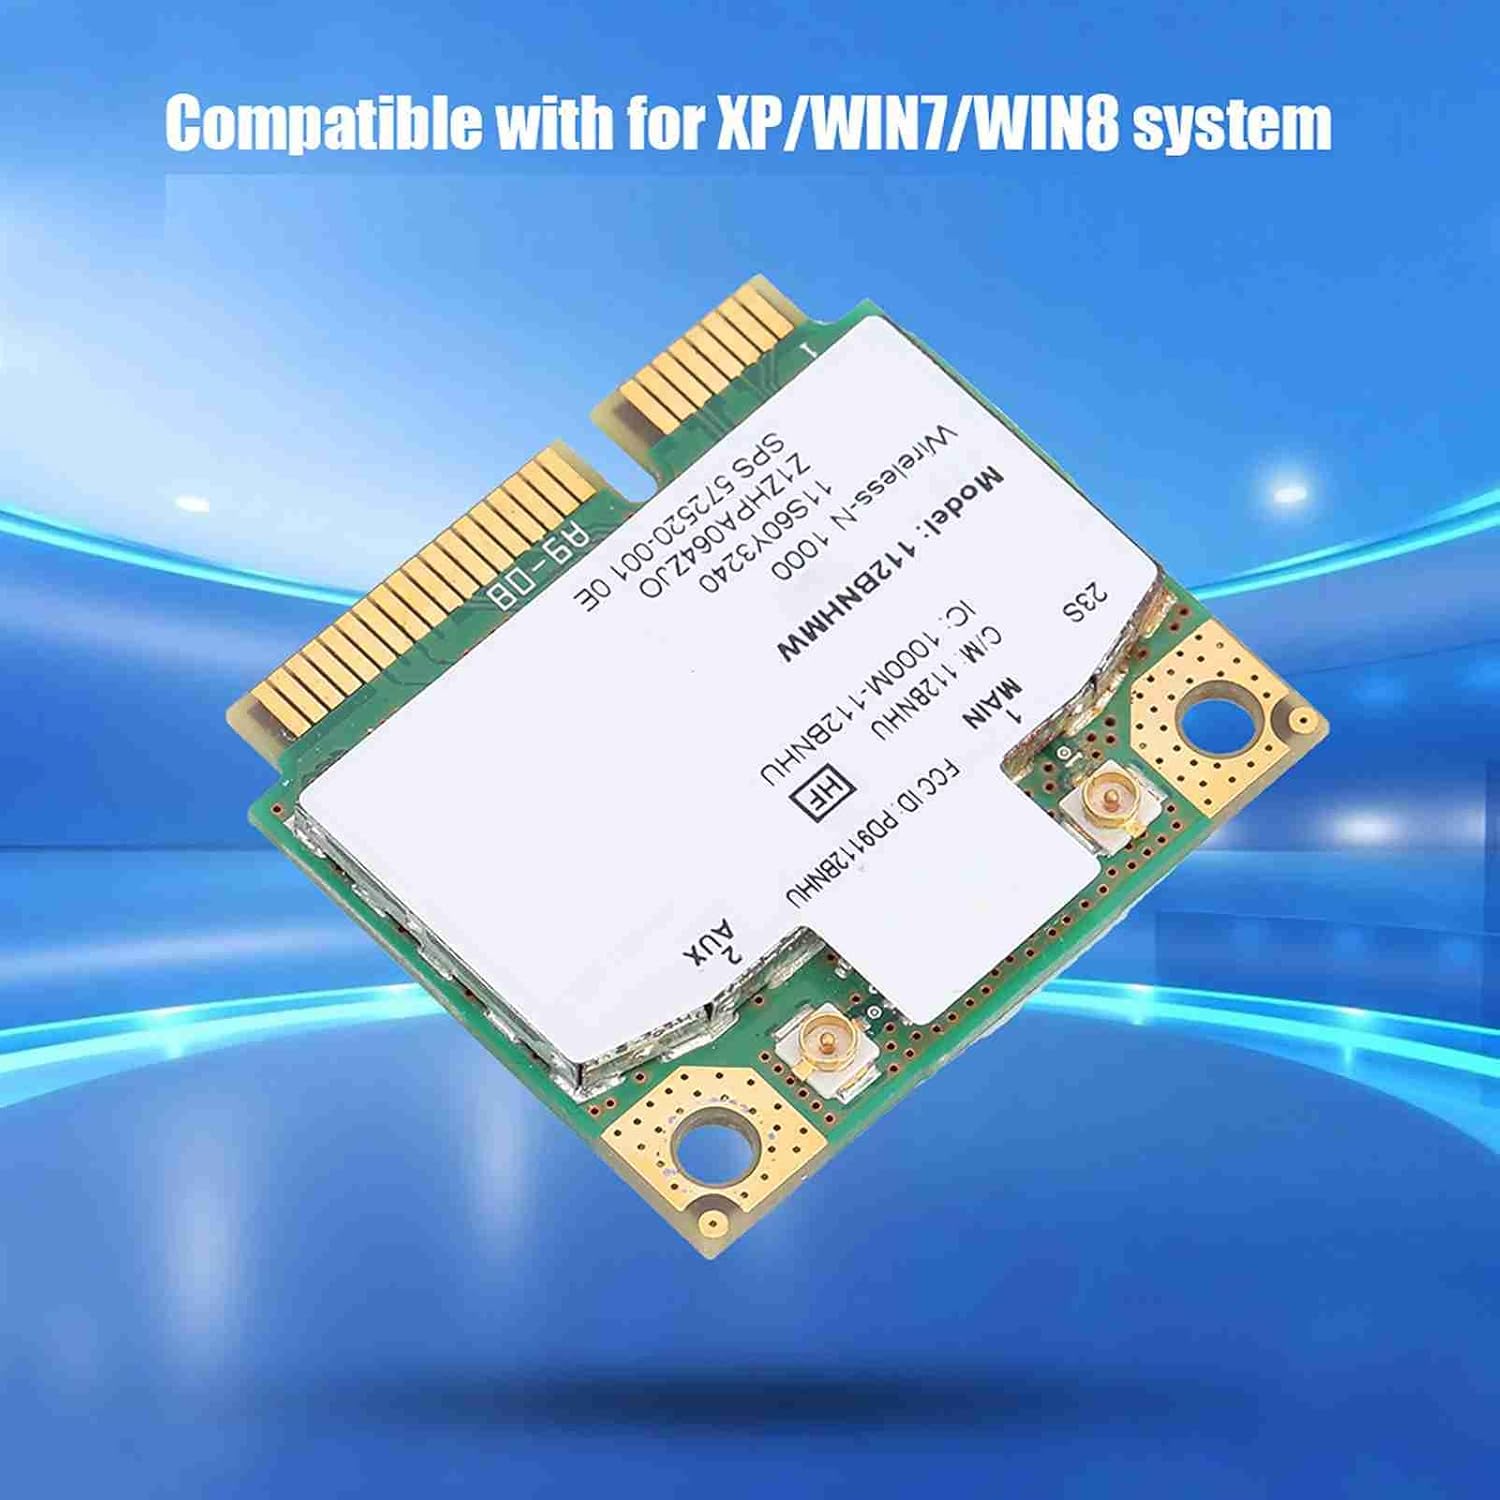
Image 4.1: The network card is compatible with Windows XP, 7, and 8 operating systems.
5. Setup and Installation
Disclaimer: Installation of internal computer components requires technical knowledge. If you are unsure, please consult a qualified technician. Ensure your device is powered off and disconnected from all power sources before proceeding.
- Prepare Your Device: Power down your laptop or desktop computer completely. Disconnect the power adapter and remove the battery (for laptops).
- Access the Mini PCI-E Slot: Depending on your device, you may need to remove the back panel or keyboard to access the internal components. Refer to your device's specific service manual for instructions on accessing the Mini PCI-E slot.
- Insert the Network Card: Carefully align the ASHATA 112BNHMW network card with the Mini PCI-E slot. Gently push the card into the slot until it is fully seated.
- Secure the Card: Once seated, secure the card with the provided screws (if applicable) or the existing retention mechanism.
- Connect Antennas (if applicable): If your device uses external antennas, carefully connect them to the MAIN and AUX ports on the network card. Ensure a secure connection.
- Reassemble Device: Carefully reassemble your computer, ensuring all panels and screws are replaced correctly.
- Power On and Install Drivers: Reconnect the battery and power adapter. Power on your computer. The operating system may automatically detect and install drivers. If not, you may need to download and install the appropriate drivers for the Intel LINK1000 series from your device manufacturer's website or Intel's support site.

Image 5.1: Front and back view of the ASHATA 112BNHMW network card, showing connection points and model information.
6. Operating Instructions
Once the ASHATA 112BNHMW network card is successfully installed and drivers are in place, your computer should detect available wireless networks.
- Enable Wireless: Ensure your computer's wireless function is enabled. This is often done via a physical switch, a function key combination (e.g., Fn + F5), or through software settings in your operating system.
- Connect to a Network:
- Open your operating system's network settings (e.g., "Network and Sharing Center" in Windows 7/8, "Connect to a network" in Windows XP).
- Select the desired Wi-Fi network from the list of available networks.
- Click "Connect" and enter the network security key (password) if prompted.
- Once connected, your computer will display a connected status, and you can access the internet.
- Monitor Connection: You can monitor your wireless connection status and signal strength through the network icon in your system tray.
7. Maintenance
The ASHATA 112BNHMW network card is designed for durability and requires minimal maintenance.
- Keep Drivers Updated: Periodically check for updated drivers from your laptop manufacturer's support website or Intel's official website to ensure optimal performance and security.
- Keep Device Clean: Ensure the internal components of your computer, including the network card, are free from dust and debris. Use compressed air to gently clean vents and internal areas if necessary.
- Avoid Physical Damage: Protect your computer from drops, impacts, and excessive heat, which can damage internal components.
8. Troubleshooting
If you encounter issues with your ASHATA 112BNHMW network card, refer to the following troubleshooting steps:
| Problem | Possible Cause | Solution |
|---|---|---|
| No Wi-Fi networks detected. |
|
|
| Slow connection speed. |
|
|
| Frequent disconnections. |
|
|
If these steps do not resolve the issue, please contact ASHATA customer support or consult a professional technician.
9. Warranty and Support
ASHATA products are manufactured with quality materials and undergo rigorous testing. For specific warranty information, please refer to the documentation included with your purchase or visit the official ASHATA website. For technical support, driver downloads, or further assistance, please contact ASHATA customer service through their official channels.
Manufacturer: ASHATA
Model: 112BNHMW
ASIN: B07ZXBC53D