1. Product Overview
The HP EliteDesk 800 G2 Business Desktop Mini Tower is a high-performance computing solution designed for business environments. This renewed product has undergone testing and certification to ensure it functions like new. It features an Intel Core i7 6700 processor, 32GB DDR4 RAM, and a 512GB SSD, running on Windows 11 Pro.

Image: Angled view of the HP EliteDesk 800 G2 Mini Tower desktop computer, showcasing its compact design.
2. Package Contents
Verify that all the following items are included in your package:
- HP EliteDesk 800 G2 Mini Tower Computer
- Power Cord
- USB Keyboard
- USB Mouse
- USB WIFI Adapter
- Warranty Instruction

Image: Included USB keyboard and mouse, essential peripherals for desktop operation.
3. Setup Guide
3.1. Unpacking
Carefully remove all components from the packaging. Retain the packaging materials for future transport or service needs.
3.2. Connecting Peripherals
Connect your monitor, keyboard, mouse, and other devices to the appropriate ports on the desktop.
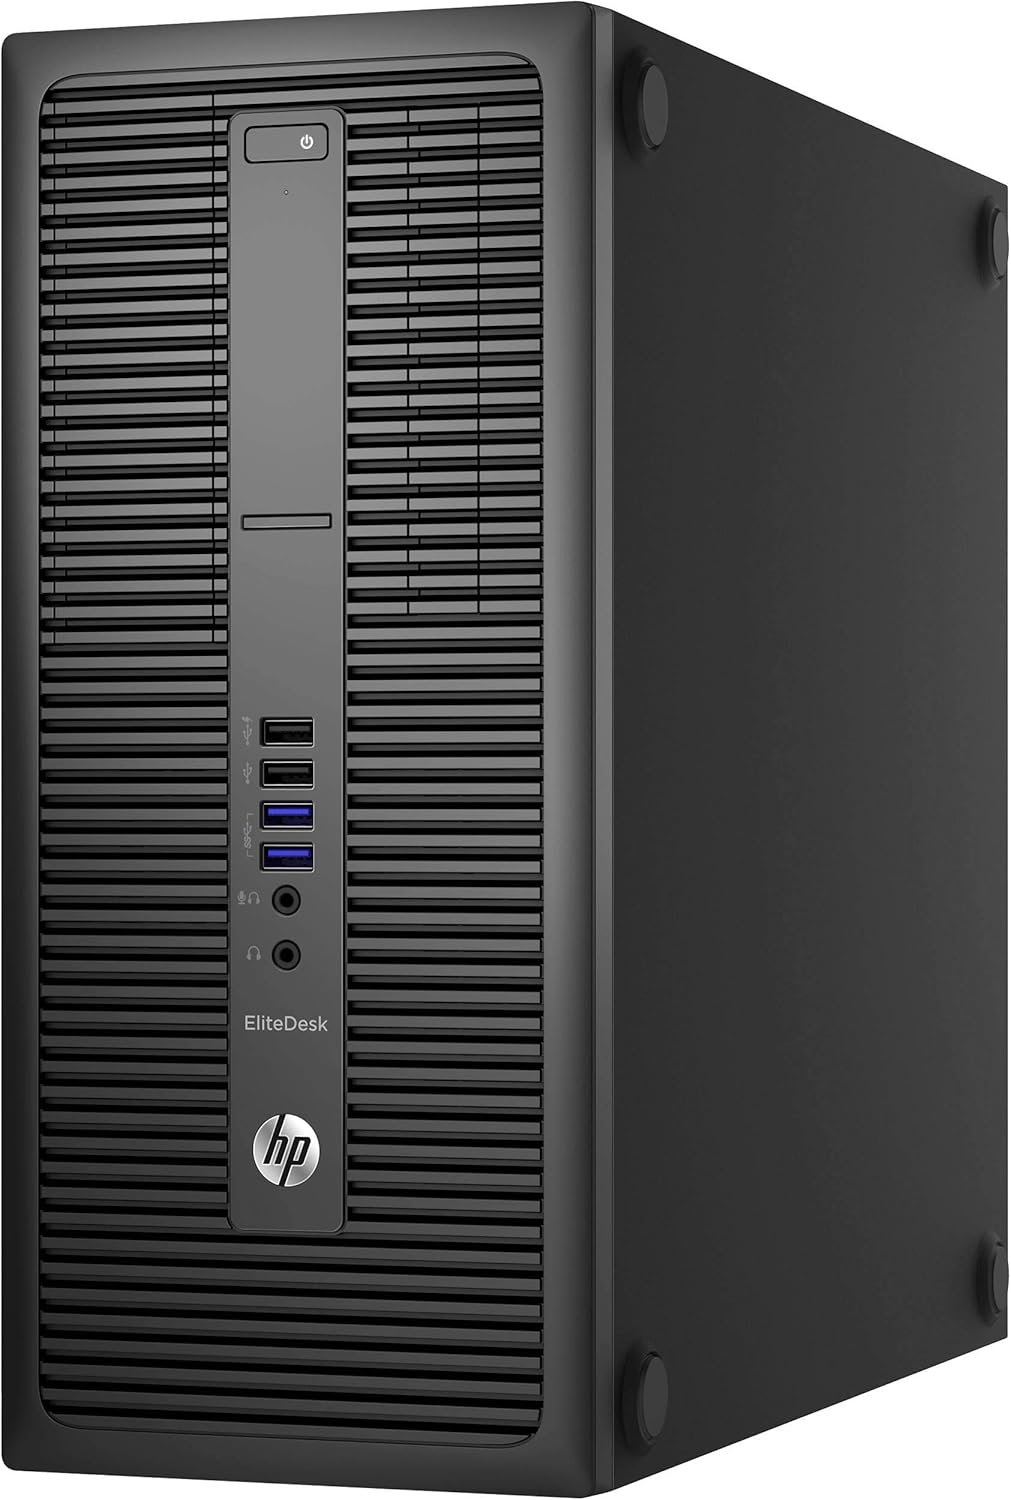
Image: Front panel of the HP EliteDesk 800 G2, showing the power button, optical drive bay, and front USB and audio ports.
- Power: Connect the power cord to the desktop's power input and then to a wall outlet.
- Monitor: Use a DisplayPort or VGA cable to connect your monitor to the corresponding port on the rear of the desktop.
- Keyboard & Mouse: Connect the USB keyboard and mouse to any available USB ports.
- Network: For wired connection, connect an Ethernet cable to the RJ-45 network connector. For wireless, plug in the provided USB WIFI adapter.
- Audio: Connect speakers or headphones to the audio output port.

Image: Rear panel of the HP EliteDesk 800 G2, highlighting various connectivity options including DisplayPort, VGA, USB 3.0, Ethernet, and audio ports.
3.3. Initial Power On
Press the power button located on the front of the desktop. The system will begin to boot up.
3.4. Operating System Setup
Follow the on-screen prompts to complete the Windows 11 Pro setup. This typically involves selecting language, region, accepting terms, and creating a user account.
4. Operating Your Desktop
4.1. Power On/Off
- To Power On: Press the power button on the front panel.
- To Shut Down: Click the Start button in Windows, then select Power > Shut down.
- To Restart: Click the Start button in Windows, then select Power > Restart.
4.2. Using USB Ports
The desktop features both USB 2.0 and USB 3.0 ports. USB 3.0 ports (often blue) offer faster data transfer speeds and are recommended for external hard drives or high-speed peripherals. Front USB 2.0 ports include a fast-charging option.
4.3. Audio Connections
Front panel includes a microphone/headphone combo jack and a dedicated headphone jack. The rear panel has a Line-Out connector for powered audio devices and a Line-In audio connector.
4.4. Display Connections
The desktop supports multiple displays via two DisplayPort connectors and one VGA connector on the rear panel.
4.5. Network Connectivity
Connect to a wired network using the RJ-45 Ethernet port. For wireless connectivity, ensure the USB WIFI adapter is installed and configured through Windows settings.
5. Maintenance
5.1. Cleaning
- Exterior: Use a soft, damp cloth to clean the exterior surfaces. Avoid abrasive cleaners.
- Vents: Periodically clean dust from the ventilation grilles using compressed air to ensure proper airflow and prevent overheating.
- Screen (if applicable): For connected monitors, use a screen-specific cleaner and a microfiber cloth.
5.2. Software Updates
Regularly check for and install operating system updates (Windows Update) and driver updates to maintain system stability and security.
5.3. Data Backup
It is recommended to regularly back up important data to an external drive or cloud storage to prevent data loss.
6. Troubleshooting
This section addresses common issues you might encounter.
- No Power: Ensure the power cord is securely connected to both the desktop and a working power outlet. Test the outlet with another device.
- No Display: Verify that the monitor is powered on and correctly connected to the desktop. Try a different display cable or monitor if available. Ensure the correct input source is selected on your monitor.
- Slow Performance: Close unnecessary applications. Check for background processes consuming high resources via Task Manager. Ensure sufficient free space on the SSD.
- Network Connectivity Issues: For wired connections, check the Ethernet cable and router status. For wireless, ensure the USB WIFI adapter is properly installed and drivers are up to date. Restart your router and modem.
- Peripheral Not Working: Ensure the keyboard, mouse, or other peripherals are correctly plugged into the appropriate USB ports. Try a different USB port.
7. Technical Specifications
| Feature | Specification |
|---|---|
| Processor | Intel Core i7-6700 (3.4 GHz, up to 4.0 GHz) |
| RAM | 32 GB DDR4 |
| Storage | 512 GB SSD |
| Graphics | Intel HD Graphics 530 (Dedicated) |
| Operating System | Windows 11 Pro 64 Bit |
| Wireless Type | 802.11ac (via USB adapter) |
| Front Ports | USB 2.0 (1x black), USB 2.0 Fast Charging (1x black), USB 3.0 (2x), Microphone/Headphone Combo, Headphone |
| Rear Ports | PS/2 Keyboard, PS/2 Mouse, DisplayPort (2x), VGA, USB 3.0 (4x), USB 3.0 with Wake from S4/S5 (2x), Line-Out, Line-In, Serial, RJ-45 Network |
| Dimensions (LxWxH) | 20 x 17.99 x 10 inches |
| Weight | 23.6 pounds |
8. Warranty and Support Information
8.1. Warranty
This Certified Refurbished product includes a minimum 90-day warranty. For specific terms and conditions, please refer to the warranty instruction document included in your package or contact the seller directly.
8.2. Technical Support
For technical assistance, troubleshooting beyond this manual, or warranty claims, please contact the seller from whom you purchased this product. You may also visit the official HP support website for general product documentation and drivers related to the EliteDesk 800 G2 series.