
1. Product Overview
The Diswoe Switch Pro Controller is a versatile wireless gaming controller designed for an enhanced gaming experience across multiple platforms. It offers universal compatibility with Nintendo Switch, Switch 2, Switch Lite, Switch OLED, Windows PC, and Android phones. Featuring Hall Effect joysticks, dual vibration motors, a 6-axis gyro sensor, and turbo functionality, this controller provides precise control and immersive feedback for a wide range of games. Its ergonomic design ensures comfort during extended play sessions, and a high-performance rechargeable battery offers long hours of uninterrupted gaming.

Figure 1: Front view of the Diswoe Switch Pro Controller.
2. Setup and Connection
2.1 Charging the Controller
Before first use, fully charge the controller. The controller features a built-in 550mAh rechargeable battery. Connect the controller to a standard USB Type-A wall charger using the provided USB-C cable. A full charge typically takes 2-3 hours and provides 6-8 hours of usage time.
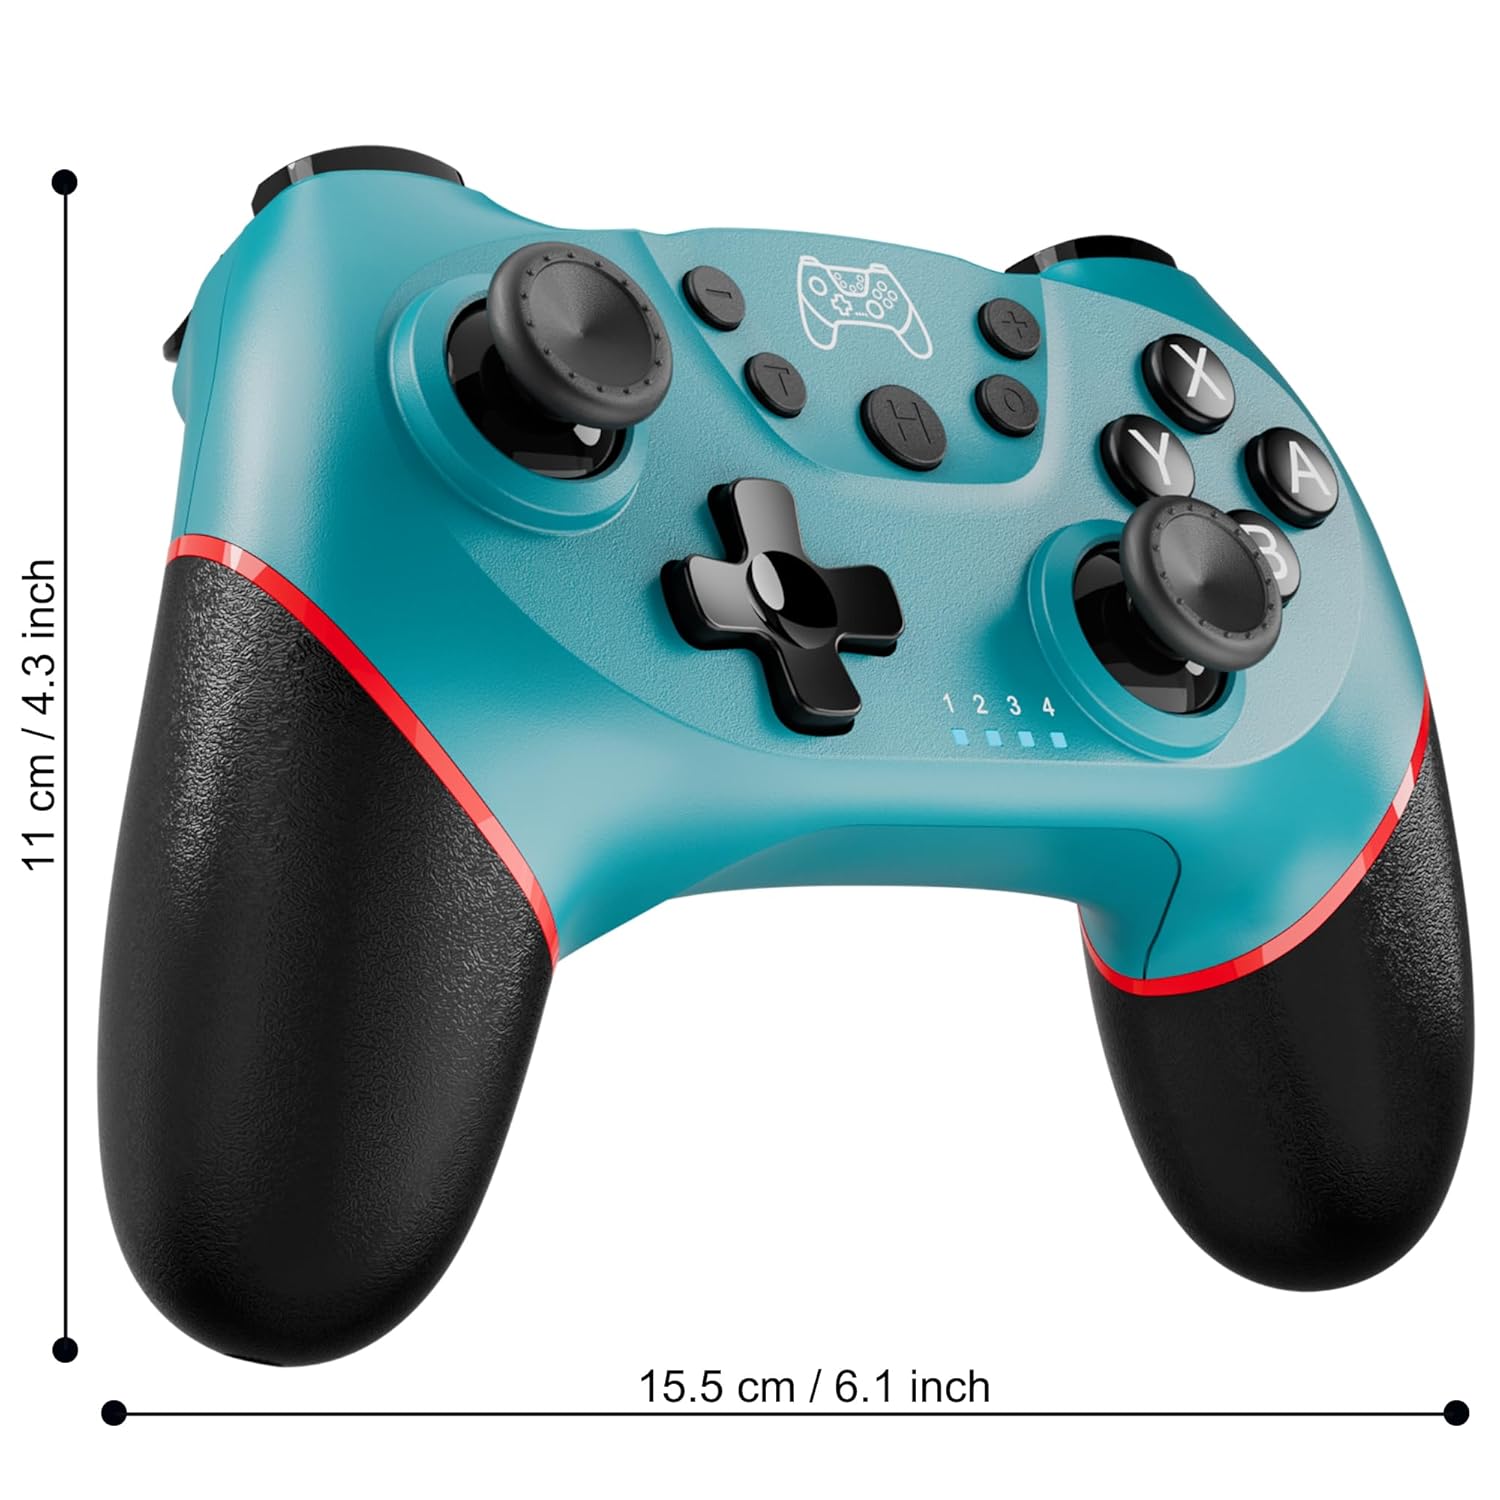
Figure 2: Charging the controller via USB-C port.
2.2 Wireless Bluetooth Connection (Nintendo Switch/Lite/OLED)
- Ensure your Nintendo Switch console is powered on and updated to the latest system version.
- From the HOME Menu, select Controllers > Change Grip/Order.
- On the Diswoe Pro Controller, press and hold the H (Home) button for 3-5 seconds until the player indicator lights begin to flash rapidly.
- Once the controller is successfully paired, the player indicator light(s) will remain solid.
- The controller provides a stable and reliable signal without delay or drop-off within 8 meters.

Figure 3: Controller pairing and one-button wake-up feature.
2.3 Wired Connection (PC)
The controller supports USB cable connection with PC. Simply connect the controller to your PC using the provided USB-C cable. No additional drivers are required for basic functionality.
NOTE: The controller does not support wake-up for Switch 2 or audio functions via wired connection.
3. Operating Instructions
3.1 Basic Controls
The controller features standard button layouts for intuitive gameplay:
- A/B/X/Y Buttons: Standard action buttons.
- D-Pad: Directional input.
- Left/Right Analog Sticks: For 360-degree movement and camera control.
- L/R/ZL/ZR Buttons: Shoulder and trigger buttons for various in-game actions.
- +/- Buttons: Plus and Minus buttons for menu navigation.
- Home Button (H): Returns to the console's HOME Menu.
- Screenshot Button: Captures screenshots during gameplay.

Figure 4: Detailed view of controller buttons.
3.2 Vibration Feedback
The controller is equipped with dual vibration motors that provide excellent haptic feedback, enhancing game immersion. The intensity of the vibration can be adjusted to suit your preference, offering three levels of vibration.
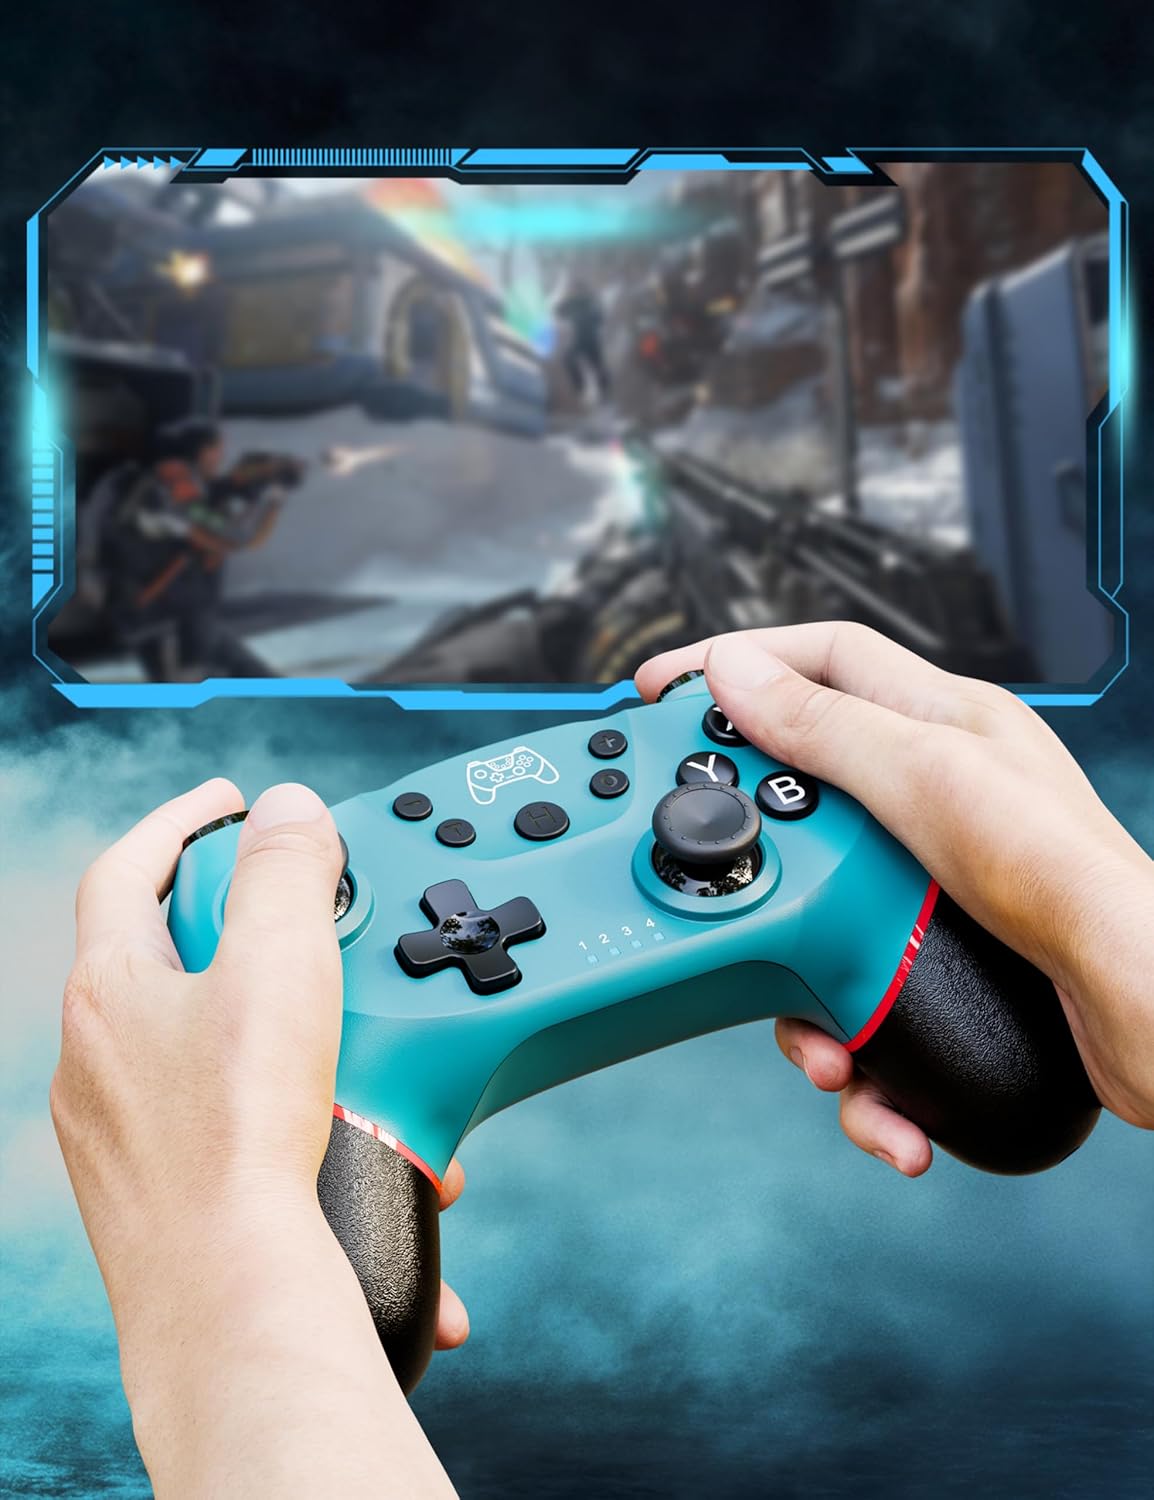
Figure 5: Illustration of adjustable vibration levels.
3.3 6-Axis Gyro Sensor
The integrated 6-axis gyro sensor allows the controller to detect its inclination and motion, providing quick and precise responses for motion-sensing games. This feature adds an extra layer of fun and control to compatible titles.

Figure 6: Controller with 6-axis gyro sensor in action.
3.4 Turbo Function
Activate the turbo function for rapid, continuous input of a button press. This is particularly useful in games requiring fast, repetitive actions. The controller supports three turbo speeds: 5 shots/s, 12 shots/s, and 20 shots/s.

Figure 7: Turbo speed settings on the controller.
3.5 Screenshot Function
Capture your favorite in-game moments instantly by pressing the dedicated screenshot button. This allows for easy sharing of your gameplay experiences.

Figure 8: Location of the screenshot button.
4. Maintenance
4.1 Cleaning
To maintain the controller's condition, wipe it regularly with a soft, dry cloth. Avoid using harsh chemicals or abrasive materials that could damage the surface.
4.2 Battery Care
- Avoid exposing the controller to extreme temperatures.
- Do not attempt to disassemble or replace the built-in battery.
- Charge the controller regularly, even if not in frequent use, to prolong battery life.
5. Troubleshooting
5.1 Controller Not Connecting/Pairing
- Ensure the controller is fully charged.
- Verify that the Nintendo Switch console is powered on and in the "Change Grip/Order" screen.
- Press and hold the H (Home) button on the controller for 3-5 seconds until the player indicator lights flash rapidly.
- If issues persist, try restarting both the controller and the console.
5.2 Input Lag or Disconnections
- Ensure the controller is within the 8-meter operating range of the console.
- Minimize interference from other wireless devices.
- Check for any physical obstructions between the controller and the console.
- Ensure the controller's battery is not critically low.
5.3 Joystick Drift
If you experience unintended movement from the analog sticks (joystick drift), try the following:
- Calibrate the joysticks through your Nintendo Switch system settings: System Settings > Controllers and Sensors > Calibrate Control Sticks.
- Ensure the controller's firmware is up to date (check the manufacturer's website for updates).
- Clean around the base of the joysticks with compressed air to remove any debris.
6. Product Specifications
| Feature | Detail |
|---|---|
| Model Number | ET16801 |
| Brand | Diswoe |
| Compatibility | Nintendo Switch/Switch 2/Switch Lite/Switch OLED, Windows PC, Android Phone |
| Connectivity | Wireless Bluetooth, Wired USB-C |
| Battery Capacity | 550mAh Lithium Ion (included) |
| Charging Time | Approx. 2-3 hours |
| Usage Time | Approx. 6-8 hours |
| Special Features | Dual Vibration Motors, 6-Axis Gyro Sensor, Turbo Function, Screenshot Button |
| Item Weight | 9.9 ounces |
| Package Dimensions | 6.42 x 4.76 x 2.6 inches |
| Date First Available | December 11, 2019 |
7. Warranty Information
Specific warranty details for the Diswoe Switch Pro Controller are typically provided with the product packaging or available on the official Diswoe website. Please refer to these resources for comprehensive warranty terms and conditions.
8. Customer Support
For further assistance, technical support, or inquiries regarding your Diswoe Switch Pro Controller, please visit the official Diswoe website or contact their customer service department. Contact information can usually be found on the product packaging or the brand's official online presence.