Introduction
The Saramonic SoundBird T3 is an advanced professional shotgun microphone designed to deliver clear, broadcast-quality audio. It features a robust all-brass construction, an internal rechargeable Li-Ion battery for extended operation, and versatile power options including external phantom power. Its compact 11.1-inch length makes it suitable for various applications, including camera mounting, boom pole use, or stand placement.
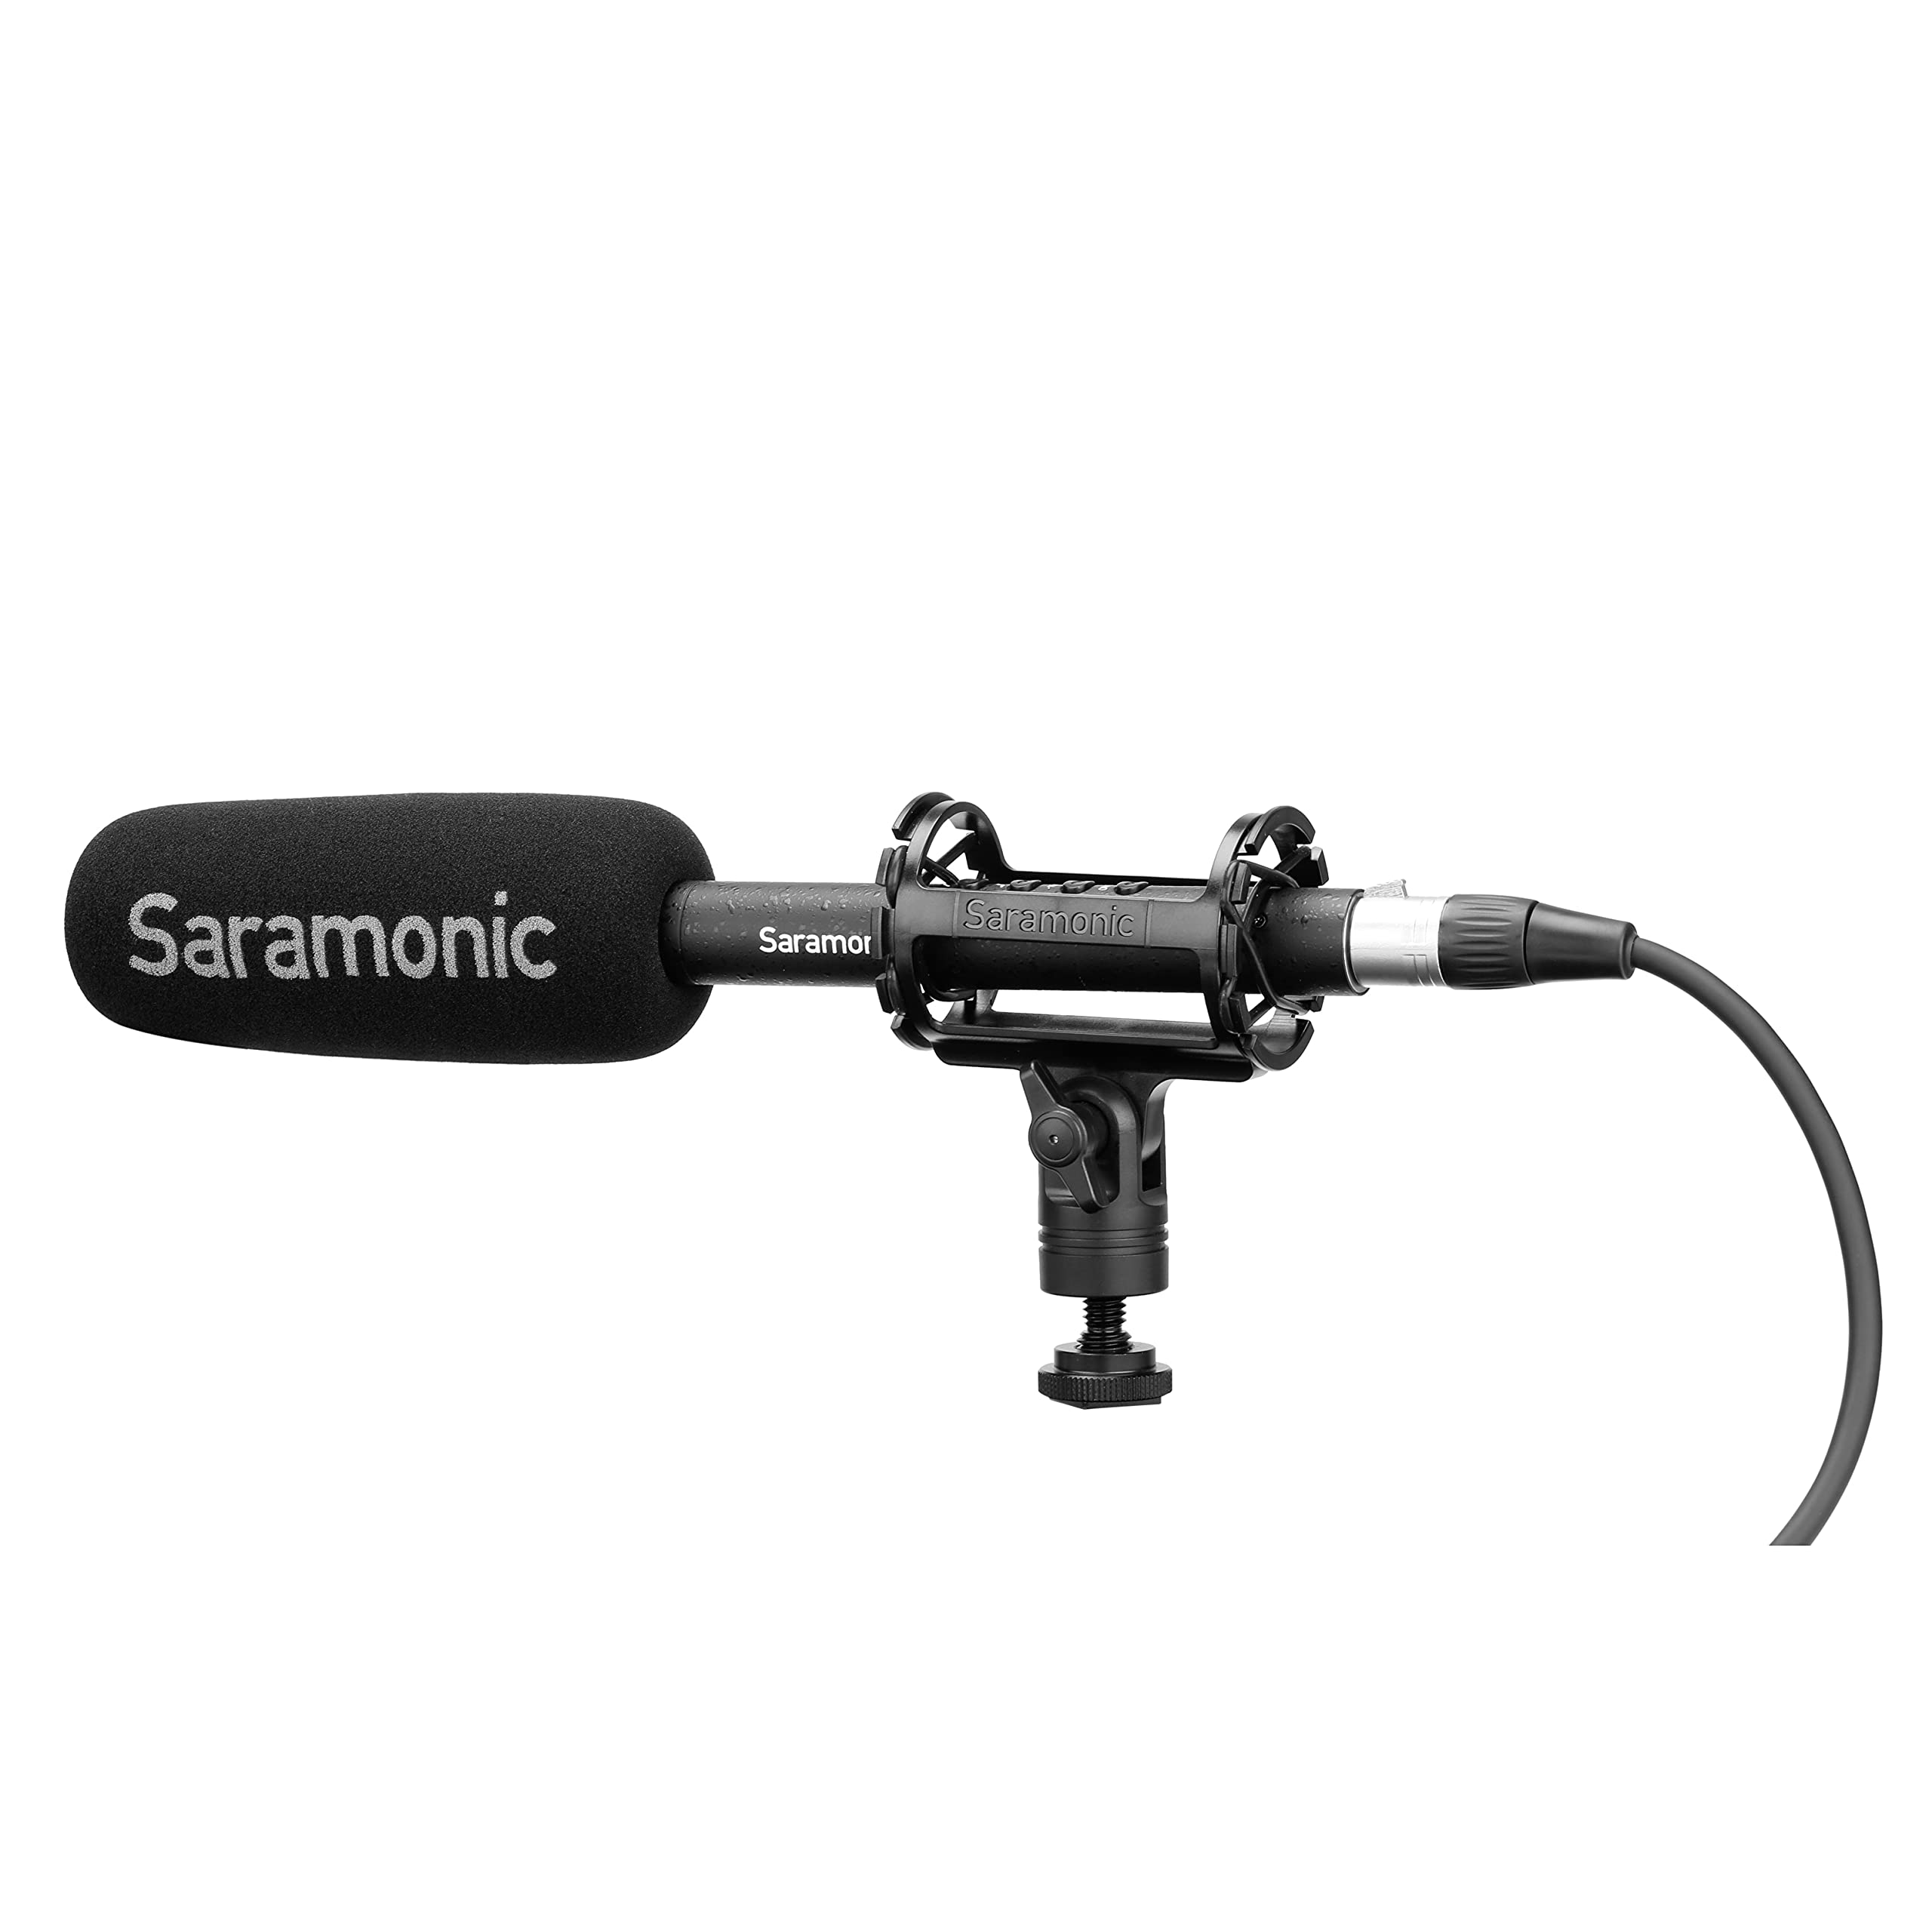
Image: The Saramonic SoundBird T3 microphone with its shock mount, foam windscreen, and cables, presented in its hard-shell travel case.
Package Contents
Verify that all items listed below are included in your package:
- 1 x SoundBird T3 Shotgun Microphone
- 1 x SR-SMC2 Premium Adjustable Shock Mount
- 1 x Mic Clip Stand Mount
- 1 x Hard-Shell Travel Case
- 1 x Microphone Storage Pouch
- 1 x Foam Windscreen
- 1 x 2’ (61cm) Female to Male XLR Cable
- 1 x MicroUSB to USB-A Charging Cable
- 1 x Reusable Cable Strap
- 1 x User Manual (this document)
- 1 x Warranty Card
Setup Instructions
- Mounting the Microphone:
- For camera or boom pole use, attach the SoundBird T3 to the SR-SMC2 Premium Adjustable Shock Mount. This mount helps isolate the microphone from vibrations and handling noise.
- For stand mounting, use the provided Mic Clip Stand Mount.
- Connecting the Microphone:
- Connect the microphone to your recording device (camera, audio recorder, mixer) using the supplied 2’ (61cm) Female to Male XLR Cable. Ensure a secure connection.
- Powering the Microphone:
- The SoundBird T3 can be powered by its internal rechargeable Li-Ion battery or by external 48V phantom power from your recording device.
- To use the internal battery, press the illuminated On/Off button. The button's color indicates the power source and battery level.
- If your device provides phantom power, the microphone will automatically switch to phantom power when connected, conserving the internal battery.
- Charging the Internal Battery:
- Use the MicroUSB to USB-A Charging Cable to charge the internal Li-Ion battery. Connect the MicroUSB end to the microphone and the USB-A end to a compatible USB power source.
- A full charge provides up to 150 hours of operation.
- Attaching the Foam Windscreen:
- Slide the foam windscreen over the microphone head to reduce wind noise and plosives during recording.
Operating Instructions
The SoundBird T3 features illuminated buttons for various audio adjustments:
- On/Off Button: Press to power the microphone on or off. The illumination indicates power status and battery level.
- Green: Sufficient battery/Phantom power.
- Yellow: Low battery.
- Red: Very low battery, recharge soon.
- Low-Cut Filter: Activates a low-cut filter to reduce unwanted low-frequency sounds such as rumble from air conditioners, traffic, or footsteps. Press the button to toggle this feature.
- High-Boost: Engages a high-frequency boost. This feature is useful for restoring high frequencies that may be attenuated by wind protection (like the foam windscreen) and can enhance vocal intelligibility. Press the button to toggle this feature.
- -10dB Pad: Applies a -10dB attenuation pad. Use this setting when recording very loud sound sources to prevent distortion and clipping. Press the button to toggle this feature.
Maintenance
- Keep the microphone clean and free from dust. Use a soft, dry cloth for cleaning.
- Avoid exposing the microphone to extreme temperatures, humidity, or direct sunlight.
- Store the microphone in its hard-shell travel case when not in use to protect it from physical damage.
- Regularly check cables for wear and tear. Replace damaged cables to ensure optimal performance.
Troubleshooting
| Problem | Possible Cause | Solution |
|---|---|---|
| No sound output |
|
|
| Distorted or clipped audio |
|
|
| Excessive low-frequency noise (rumble) |
|
|
| Muffled sound with windscreen |
|
|
Specifications
| Feature | Detail |
|---|---|
| Brand | Saramonic |
| Model Name | T3 |
| Model Number | SOUNDBIRDT3 |
| Connectivity Technology | XLR |
| Connector Type | XLR |
| Polar Pattern | Unidirectional (Cardioid) |
| Frequency Response | 75 Hz |
| Signal-to-Noise Ratio | 78 dB |
| Audible Noise | 10 Decibels |
| Item Dimensions (L x W x H) | 11.1 x 0.87 x 0.87 inches |
| Item Weight | 0.53 Pounds |
| Microphone Form Factor | Shotgun |
| Power Source | Battery Powered (1 Lithium Ion battery included) / Phantom Power |
| Battery Life | Up to 150 hours (internal Li-Ion battery) |
| Enclosure Material | Brass |
| Compatible Devices | Camera |
Warranty and Support
The Saramonic SoundBird T3 microphone comes with a 2 Year Limited Warranty.
For technical support, service, or warranty claims, please contact Saramonic customer service through their official website or the retailer where the product was purchased. Please retain your proof of purchase for warranty validation.