
1. Introduction
This manual provides essential information for the safe and efficient installation, operation, and maintenance of your Marsrock 2000W Grid Tie Inverter with Power Limiter. Please read this manual thoroughly before installation and retain it for future reference.
Safety Precautions
- Ensure all electrical connections are made by qualified personnel.
- Do not connect the positive and negative DC input terminals in reverse.
- Verify that the inverter's AC output voltage matches your local grid voltage (240V AC for US standard 2-phase grid).
- Always disconnect power before performing any maintenance or wiring.
- Operate the inverter within the specified temperature range of -20°C to +50°C.
2. What's in the Box
Upon unpacking, please ensure all the following items are present:
- Marsrock 2000W Grid Tie Inverter Body
- Setup Toolkit
- Instruction Manual (this document)
- Limiter Sensor
- AC Output Cable

Image: Unboxing the Marsrock 2000W Grid Tie Inverter, showing the main unit, cables, and accessories.
3. Specifications
| Feature | Detail |
|---|---|
| Model Name | PV2000W48V240 |
| Wattage | 2000 watts |
| Power Source | Solar Powered |
| Recommended Uses | Home Solar Power Systems |
| DC Input Range | 45-90V DC (Startup voltage: 49V) |
| AC Output | 240V AC (US Standard 2 Phase Grid) |
| Solar Panel Requirements | Min. 1000W, Voc 76-90V (uniform specifications mandatory) |
| Battery Compatibility | 60V or 72V batteries |
| MPPT Efficiency | Up to 99% |
| Product Dimensions | 7.72 x 3.46 x 17.09 inches |
| Item Weight | 11.9 pounds |
| Operating Temperature | -20°C to +50°C |
4. Setup
4.1 Physical Installation
Mount the inverter in a well-ventilated area, away from direct sunlight and moisture. Ensure sufficient clearance around the unit for proper airflow.

Image: Marsrock 2000W Grid Tie Inverter showing its physical dimensions.
4.2 Electrical Connections
Follow these steps for connecting your inverter:
- DC Input (Solar Panels): Connect your solar panels to the DC INPUT terminals (PV+ and PV-). Ensure the total wattage and voltage (Voc 76-90V) of your solar panels are within the inverter's specifications.
- AC Output (Grid Connection): Connect the inverter's AC OUT port to your 240V AC electrical grid. This inverter is designed for US standard 2-phase grids.
- Limiter Sensor Connection: Connect the provided limiter sensor to the designated port on the inverter. This feature prevents energy feedback into the grid.
- Battery Connection (Optional): If using batteries (60V or 72V), connect them to the dedicated battery terminals. A circuit breaker is crucial for safety when deploying battery power.
- WiFi Module (Optional): For remote monitoring, connect the optional WiFi module to the 'Remote' port.

Image: Close-up of the DC Input terminals (PV+ and PV-) on the inverter.
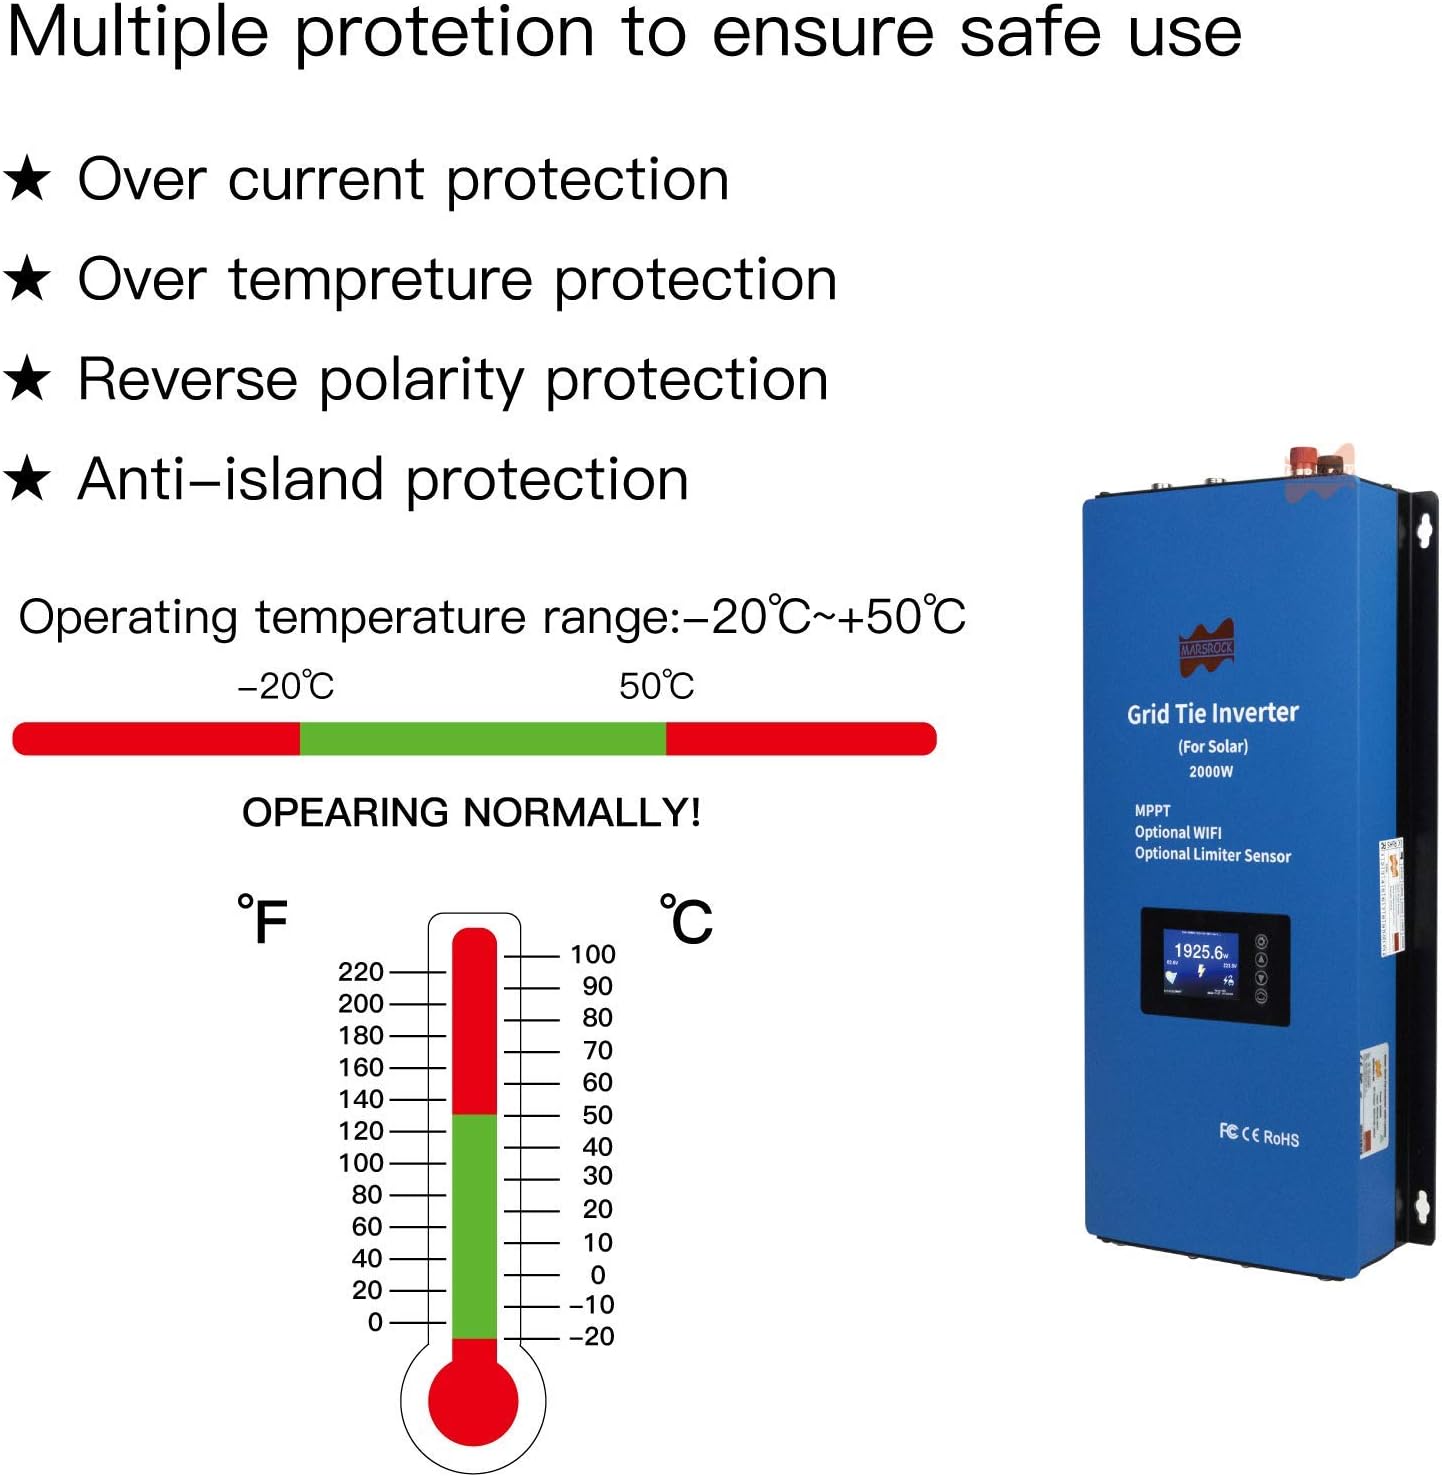
Image: View of the AC Output port and dual cooling fans on the inverter.

Image: The limiter sensor with its connection cable, used to prevent excess power from being fed back to the grid.

Image: The inverter with an attached WiFi module, demonstrating remote monitoring capabilities via a computer and mobile devices.
4.3 Wiring Diagram Example

Image: A typical wiring diagram showing the connection of solar panels, the inverter, the limiter sensor, and the home grid.
4.4 Setup Video
Video: This video demonstrates the unboxing, port introduction, and connection steps for a grid-tie inverter with power limiter, similar to the Marsrock 2000W model.
5. Operating Instructions
5.1 Powering On
After all connections are securely made, switch on the DC input from your solar panels or battery, then switch on the AC output to the grid. The inverter's LCD display will illuminate, showing operational data.
5.2 LCD Display Functions
The LCD display provides real-time information and allows for configuration. Use the buttons next to the screen to navigate through menus and adjust settings.

Image: Detailed view of the inverter's LCD screen and navigation buttons, illustrating various display modes like grid waveform, energy menu, clock, date, power view, and error reporting.
- Power View: Displays current power generation (Watts), voltage, and other key metrics.
- Energy Menu: Provides historical data on energy production.
- Settings: Allows adjustment of parameters such as battery type, discharge limits, and other operational modes.
5.3 Limiting Functionality
The inverter's limiting function ensures that only the necessary power is supplied to your loads, preventing unwanted energy export to the grid. This can help optimize electricity expenses by utilizing generated power directly.
6. Maintenance
- Regular Cleaning: Keep the inverter's exterior clean and free from dust and debris to ensure proper heat dissipation.
- Check Connections: Periodically inspect all electrical connections for tightness and signs of corrosion.
- Monitor Performance: Regularly check the LCD display or remote monitoring system for any unusual readings or error messages.
- Ventilation: Ensure the installation area remains well-ventilated to prevent overheating.
7. Troubleshooting
If you encounter issues, refer to the following common problems and solutions:
| Problem | Possible Cause | Solution |
|---|---|---|
| Inverter not powering on | No DC input from solar panels/battery; AC output not connected to grid; Power switch off. | Check solar panel connections and output; Ensure AC output is connected; Verify power switch is ON. |
| Low power output | Insufficient sunlight; Dirty solar panels; Incorrect solar panel voltage/wattage. | Ensure panels are clean and receiving full sun; Verify panel specifications match inverter requirements. |
| Error message on LCD | Internal fault; Connection issue. | Refer to the inverter's specific error code list (if available on device or in full manual); Contact technical support. |
8. Warranty and Support
Marsrock provides comprehensive technical support to ensure seamless operation of your inverter. Should any issues arise during its use, we encourage immediate contact for prompt and professional assistance.
For technical support, please refer to the contact information provided with your product documentation or visit the official Marsrock website.