1. Important Safeguards
Please read all safety instructions before operating your Keurig K-Cafe Special Edition Coffee Maker. Keep this manual for future reference.
- Do not immerse the brewer, frother base, or plug in water or other liquids.
- Ensure the brewer is placed on a stable, level surface.
- Supervise children when the appliance is in use.
- Unplug the brewer when not in use or before cleaning.
- Do not operate any appliance with a damaged cord or plug.
2. Components Overview
Familiarize yourself with the parts of your Keurig K-Cafe Special Edition Coffee Maker.
- Water Reservoir: Holds water for brewing. Features a 60oz capacity.
- K-Cup Pod Holder: Where K-Cup pods are inserted.
- Brew Head: Contains the needle that punctures the K-Cup pod.
- Drip Tray: Collects drips and can be removed to accommodate taller mugs.
- Control Panel: Buttons for power, brew size, strong brew, shot, latte, and cappuccino.
- Milk Frother: Detachable unit for frothing fresh milk.

Image: The Keurig K-Cafe Special Edition Coffee Maker, showcasing its main unit, milk frother, a cup of black coffee, and two milk-based specialty beverages.

Image: The Keurig K-Cafe Special Edition Coffee Maker, highlighting its 'Certified Refurbished' status and model name.
3. Setup and First Use
3.1 Unpacking and Initial Rinse
- Remove all packaging materials and tape from the brewer.
- Place the brewer upright on a stable, level surface.
- Wash the water reservoir and lid with warm, soapy water, then rinse thoroughly.
- Hand wash the milk frother, lid, and whisk. The frother cup is dishwasher safe.
3.2 Filling the Water Reservoir
- Remove the water reservoir lid.
- Fill the reservoir with fresh, filtered water up to the MAX fill line. Do not overfill.
- Replace the reservoir lid.

Image: The Keurig K-Cafe Special Edition Coffee Maker highlighting its 60oz removable water reservoir.
3.3 Cleansing Brew (First Use)
Perform a cleansing brew to prepare the brewer for use.
- Plug the brewer into a grounded outlet. The power button will flash.
- Press the power button. The brewer will begin heating.
- Place a large mug (at least 12oz) on the drip tray.
- Lift and lower the handle to open and close the K-Cup pod holder. Do not insert a K-Cup pod.
- Select the 12oz brew size. The brew button will flash.
- Press the brew button to start the cleansing brew. Hot water will dispense.
- Once complete, discard the hot water. The brewer is now ready for use.
4. Operating Instructions
4.1 Brewing Coffee, Tea, or Cocoa
- Ensure the brewer is powered on and has sufficient water.
- Place a mug on the drip tray.
- Lift the handle and insert a K-Cup pod into the K-Cup pod holder. Lower the handle firmly.
- Select your desired brew size (6, 8, 10, or 12oz).
- For a bolder cup, press the STRONG BREW button before selecting your brew size.
- Press the flashing brew button to start brewing.
- Once brewing is complete, lift the handle to eject the used K-Cup pod.

Image: An overview of the Keurig K-Cafe's key features, including its ability to make coffee, lattes, and cappuccinos, the coffee shot function, dishwasher-safe frother, strong brew option, and four available cup sizes.

Image: A diagram illustrating the internal mechanism of a K-Cup pod, showing how hot water saturates coffee grounds to extract flavor.
4.2 Making Lattes and Cappuccinos
The K-Cafe allows you to create specialty coffeehouse beverages.
- Brew a Coffee Shot:
- Insert any K-Cup pod into the brewer.
- Place a large mug under the brew head.
- Press the SHOT button. This will brew a concentrated shot of coffee.
- Froth Milk:
- Fill the milk frother with fresh milk (skim, soy, or almond recommended) to the indicated fill lines.
- Place the frother lid on securely.
- Place the frother on its base.
- Select LATTE for hot frothed milk or CAPP for a denser, hot froth. For cold frothed milk, select COLD.
- Press the selected button to start frothing. The light will turn off when complete.
- Combine and Enjoy: Pour the frothed milk over your coffee shot.

Image: A person pouring frothed milk from the Keurig K-Cafe frother into a cup of brewed coffee, demonstrating the creation of a specialty beverage.

Image: A visual guide showing three simple steps to prepare a latte or cappuccino: brewing a coffee shot, frothing milk, and combining them for enjoyment.

Image: The Keurig K-Cafe in operation, showing a K-Cup pod inserted for brewing and the milk frother preparing milk for a latte.
5. Maintenance and Cleaning
5.1 Daily Cleaning
- Drip Tray: Remove and empty the drip tray. Wash with warm, soapy water and rinse thoroughly.
- K-Cup Pod Holder: Remove the K-Cup pod holder and rinse under running water.
- Water Reservoir: Empty any remaining water and wipe the interior with a damp cloth.
5.2 Cleaning the Milk Frother
The milk frother is designed for easy cleaning.
- The frother cup, lid, and whisk are dishwasher safe (top rack only).
- Alternatively, hand wash with warm, soapy water and rinse thoroughly.
- Wipe the frother base with a damp cloth; do not immerse in water.
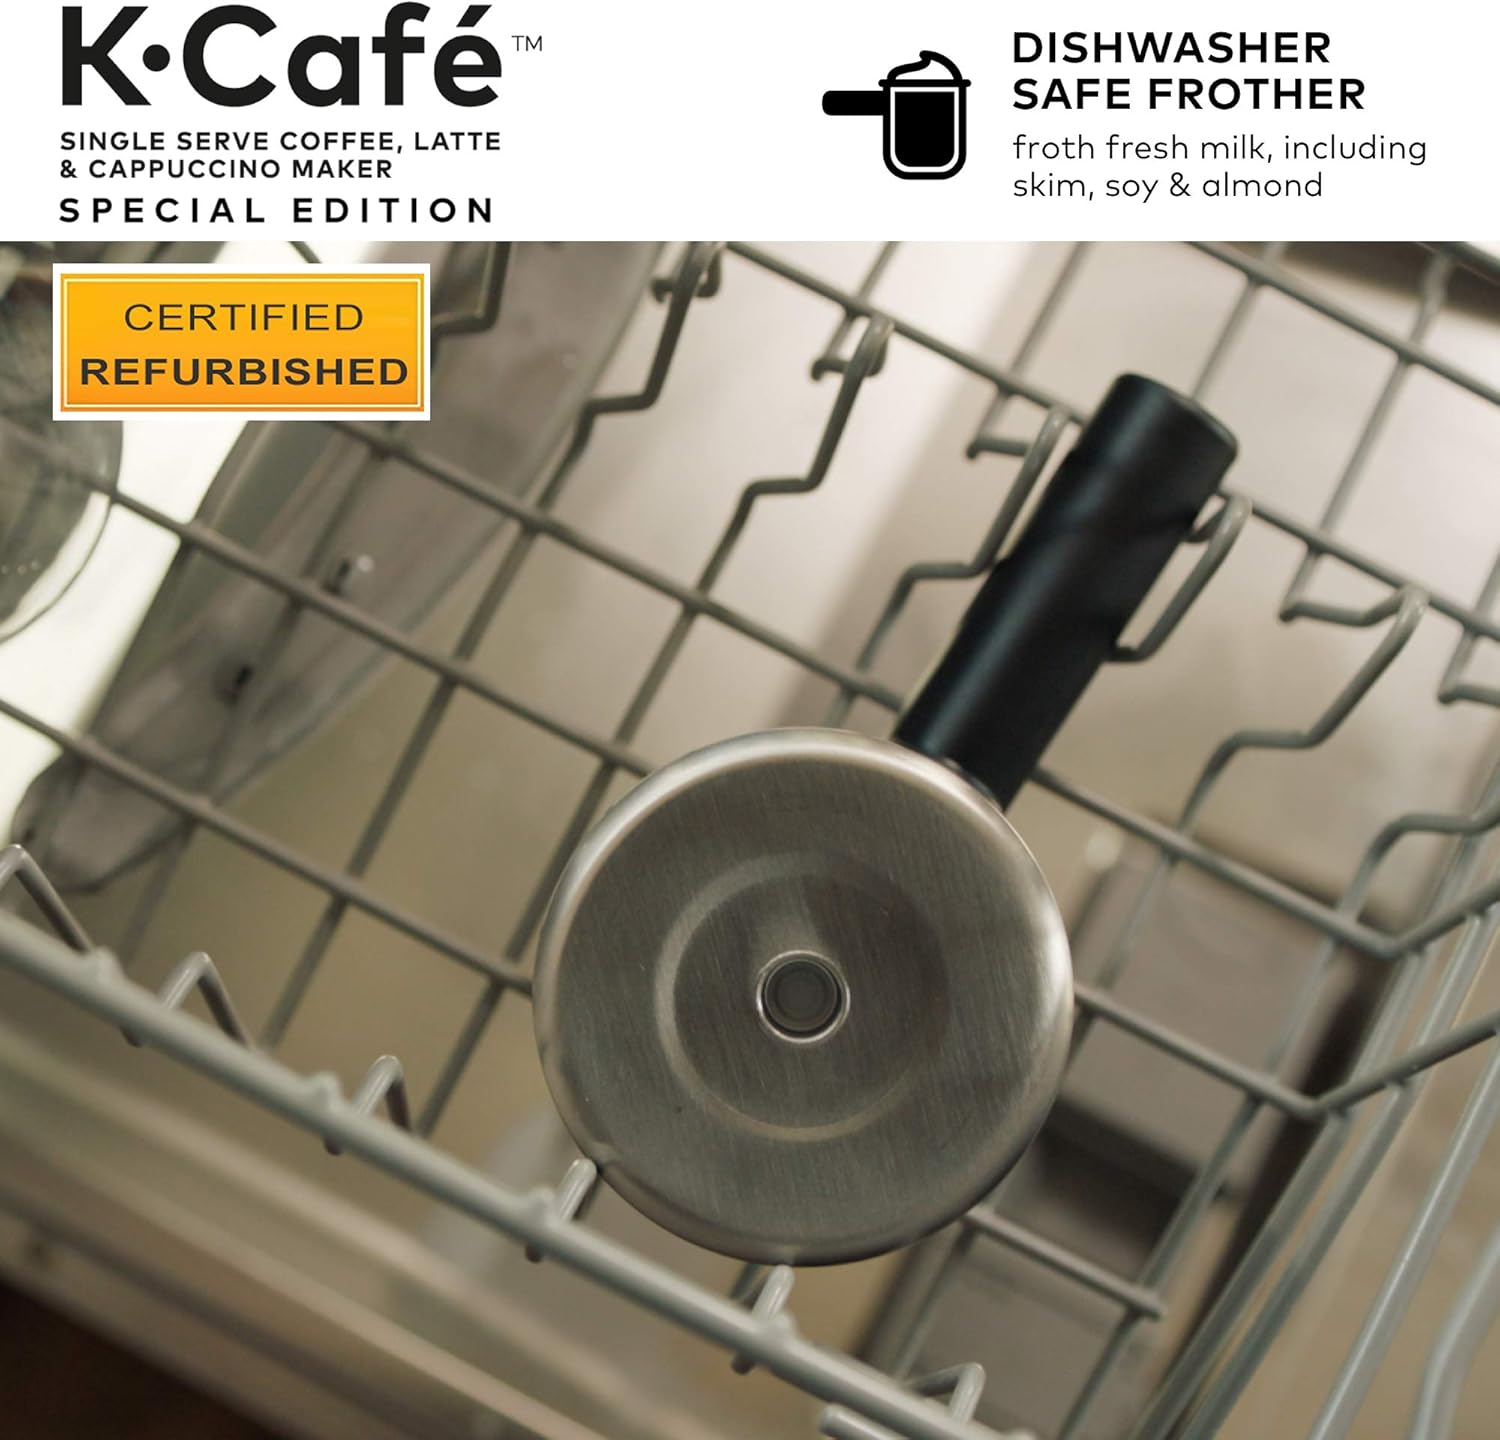
Image: The Keurig K-Cafe milk frother cup positioned on the top rack of a dishwasher, demonstrating its dishwasher-safe feature.
5.3 Descaling
Over time, calcium deposits (scale) can build up in your brewer. Descaling helps maintain performance. Follow Keurig's official descaling solution instructions or use a vinegar solution (1 part white vinegar to 1 part water).
- Empty the water reservoir.
- Pour the descaling solution into the reservoir.
- Perform multiple cleansing brews (without a K-Cup pod) until the reservoir is empty.
- Rinse the reservoir and fill with fresh water.
- Perform several more cleansing brews with fresh water to remove any residual solution.
6. Troubleshooting
If you encounter issues with your Keurig K-Cafe, refer to the following common problems and solutions.
| Problem | Possible Cause | Solution |
|---|---|---|
| Brewer not turning on | No power, loose plug | Ensure brewer is plugged into a working outlet. Check circuit breaker. |
| No water dispensing | Low water level, air bubble, clogged needle | Fill water reservoir. Perform a cleansing brew. Clean the K-Cup pod holder needle. |
| Weak coffee | Incorrect brew size, K-Cup pod issue | Select a smaller brew size. Use the Strong Brew option. Ensure K-Cup pod is fresh. |
| Frother not working | Not on base correctly, dirty, wrong milk type | Ensure frother is securely on its base. Clean frother thoroughly. Use fresh, cold milk. |
| Coffee grounds in cup | Puncture needle issue, K-Cup pod defect | Clean the K-Cup pod holder and exit needle. Try a different K-Cup pod. |
7. Specifications
Detailed technical specifications for the Keurig K-Cafe Special Edition Coffee Maker.
| Feature | Detail |
|---|---|
| Brand | Keurig |
| Model Name | K-Café |
| Coffee Maker Type | Espresso Machine (Single Serve) |
| Color | Special Edition (Nickel Finish) |
| Special Feature | Programmable |
| Operation Mode | Fully Automatic |
| Coffee Input Type | K-Cup Pods |
| Cup Sizes | 6, 8, 10, and 12 oz |
| Water Reservoir Capacity | 60 oz (Removable) |
| Frother | Dishwasher Safe Milk Frother |
| Voltage | 120 Volts |
| Item Weight | 12 pounds |
| Product Dimensions | 11.7 x 15.3 x 12.5 inches |
| Human Interface Input | Buttons |
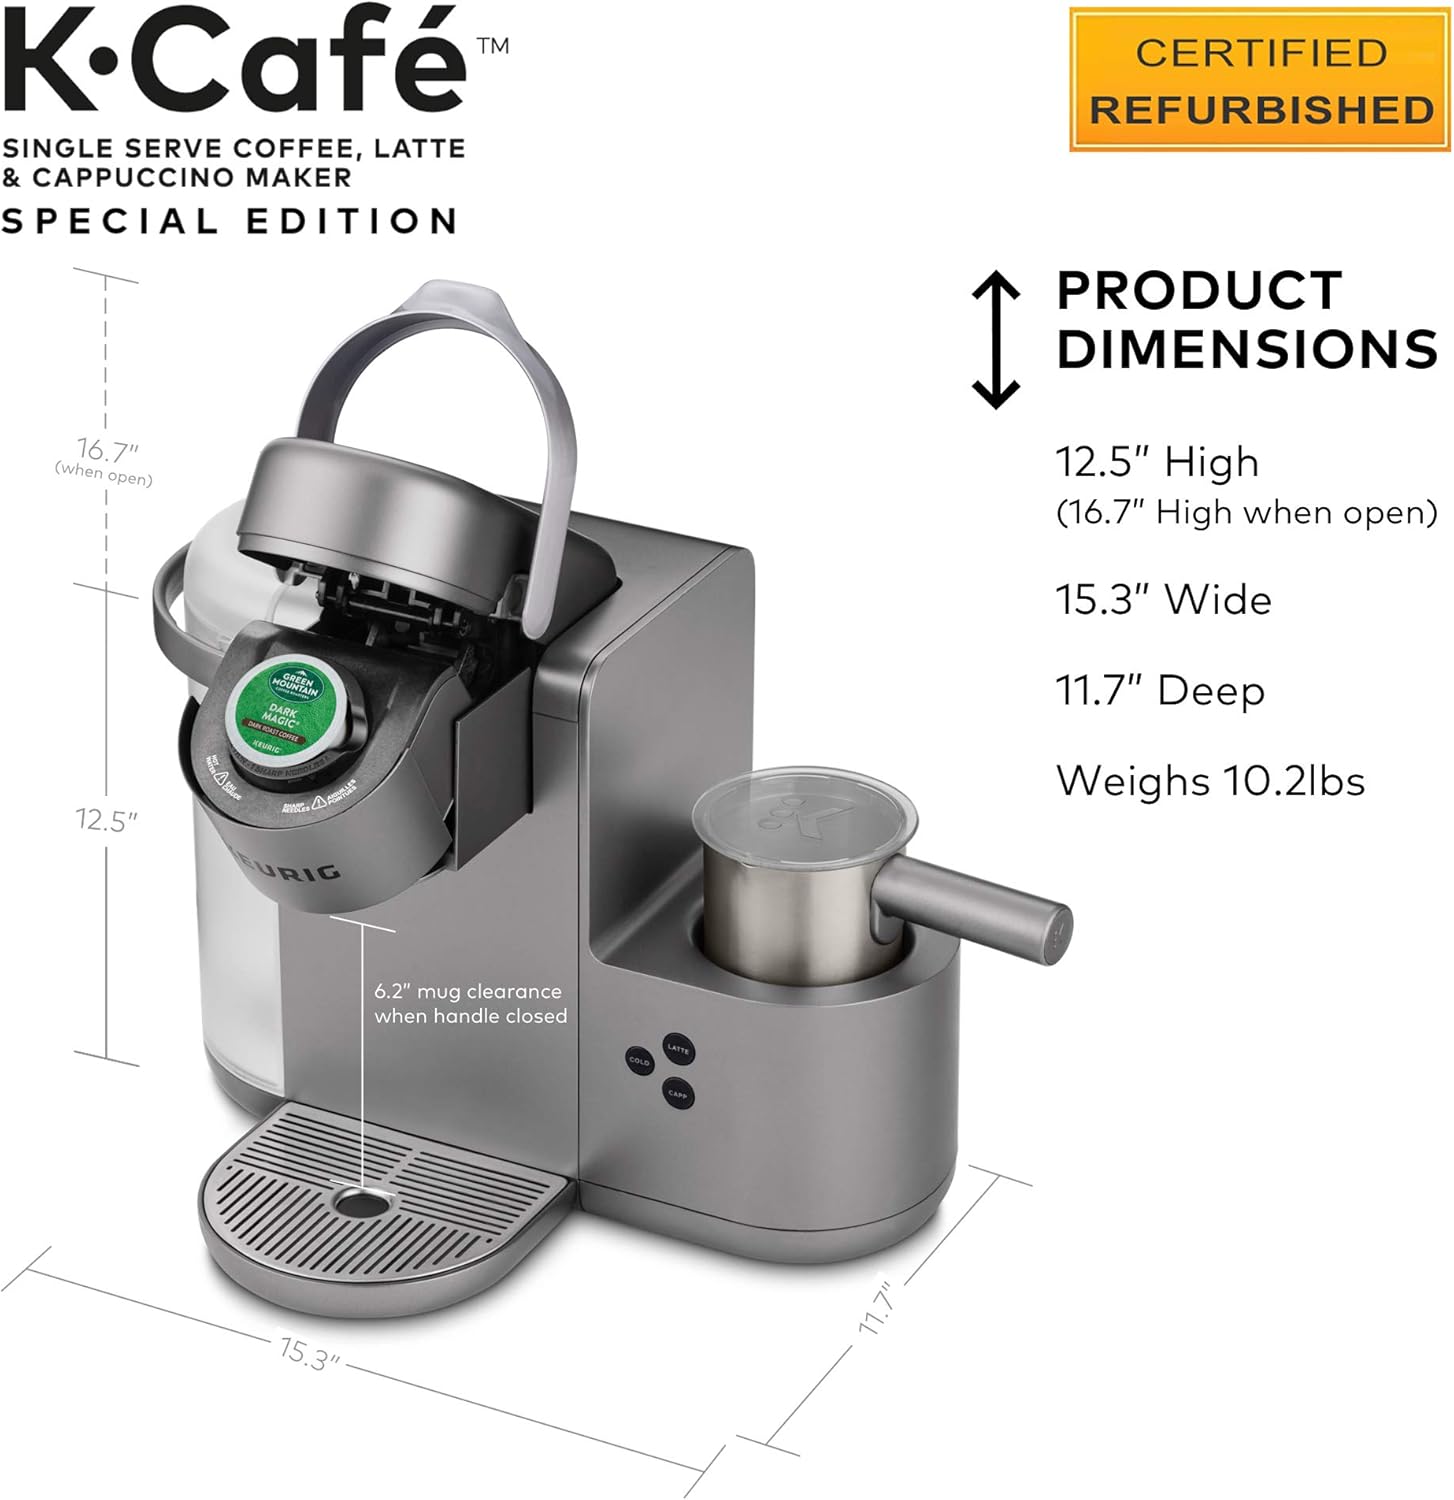
Image: The Keurig K-Cafe Special Edition Coffee Maker with its dimensions clearly marked, including height, width, depth, and mug clearance.
8. Warranty and Support
For warranty information and customer support, please refer to the official Keurig website or contact Keurig customer service directly. This product is a Certified Refurbished unit, and while it performs like new, packaging may not include a physical Use and Care Guide or water filter handle. Specific warranty terms for refurbished products may vary.
Keurig Customer Service: Visit www.keurig.com/support for assistance, FAQs, and contact options.