CLP Amadora Ergonomic Office Chair
Instruction Manual - Model 310491
Brand: CLP
1. Introduction
Thank you for choosing the CLP Amadora Ergonomic Office Chair. This manual provides essential information for the safe assembly, operation, maintenance, and troubleshooting of your new office chair. Please read this manual thoroughly before assembly and retain it for future reference.

Image: Front view of the assembled CLP Amadora office chair, showcasing its design and faux leather upholstery.

Image: Side view of the assembled CLP Amadora office chair, highlighting the backrest curve and armrests.
2. Safety Information
- Ensure all components are present and undamaged before assembly. Do not use if any parts are missing or damaged.
- Assemble the chair on a soft, clean surface to prevent scratches.
- Do not stand on the chair.
- Do not exceed the maximum weight capacity of 120 kg (265 lbs).
- Keep children away from the assembly area. Small parts can be a choking hazard.
- Periodically check all bolts and screws for tightness. Retighten if necessary.
3. Package Contents
Verify that all the following components are included in your package:
- Backrest (1)
- Seat (1)
- Armrests (2)
- Gas Lift Cylinder (1)
- Star Base (1)
- Casters (5)
- Mechanism Plate (1)
- Hardware Pack (screws, washers, Allen key)
4. Setup and Assembly
Follow these steps to assemble your CLP Amadora office chair:
- Attach Casters to Star Base: Insert each of the five casters into the holes at the end of each leg of the star base. Push firmly until they click into place.
- Insert Gas Lift: Place the gas lift cylinder into the center hole of the assembled star base.
- Attach Mechanism Plate to Seat: Align the mechanism plate with the pre-drilled holes on the underside of the seat. Ensure the lever is on the right side when facing the front of the seat. Secure with screws provided in the hardware pack.
- Attach Armrests: Secure the armrests to the sides of the seat using the provided screws. Ensure they are oriented correctly.
- Attach Backrest: Connect the backrest to the armrests and the seat using the remaining screws. Ensure all connections are tight.
- Connect Seat to Gas Lift: Carefully place the assembled seat onto the gas lift cylinder, ensuring the tapered end of the gas lift fits securely into the mechanism plate.

Image: Rear view of the chair, illustrating the connection points for the backrest and armrests during assembly.
5. Operating Instructions
5.1. Height Adjustment
To adjust the seat height, pull the lever located under the right side of the seat upwards. While holding the lever, stand up to raise the seat or remain seated and apply pressure to lower it. Release the lever to lock the height in position.

Image: Illustration of the gas lift cylinder and height adjustment function.
5.2. Swivel Function
The chair seat is designed to swivel 360 degrees, allowing for easy movement and access to different areas of your workspace without needing to reposition the entire chair.
5.3. Mobility (Casters)
The five light casters on the star base ensure smooth mobility across various floor types, including hard floors and carpets. This allows for effortless movement around your desk area.

Image: Detail of the chair's casters, designed for smooth movement.

Image: Illustration demonstrating the swivel capability of the casters.
5.4. Ergonomic Design
The chair features a slightly curved backrest and padded armrests, designed to provide ergonomic support and enhance comfort during prolonged use.

Image: Diagram showing how the chair supports ergonomic posture.
6. Maintenance
6.1. Cleaning
For general cleaning of the faux leather upholstery, use a soft, damp cloth with mild soap. Avoid harsh chemicals or abrasive cleaners, as these can damage the material. Wipe dry immediately after cleaning.
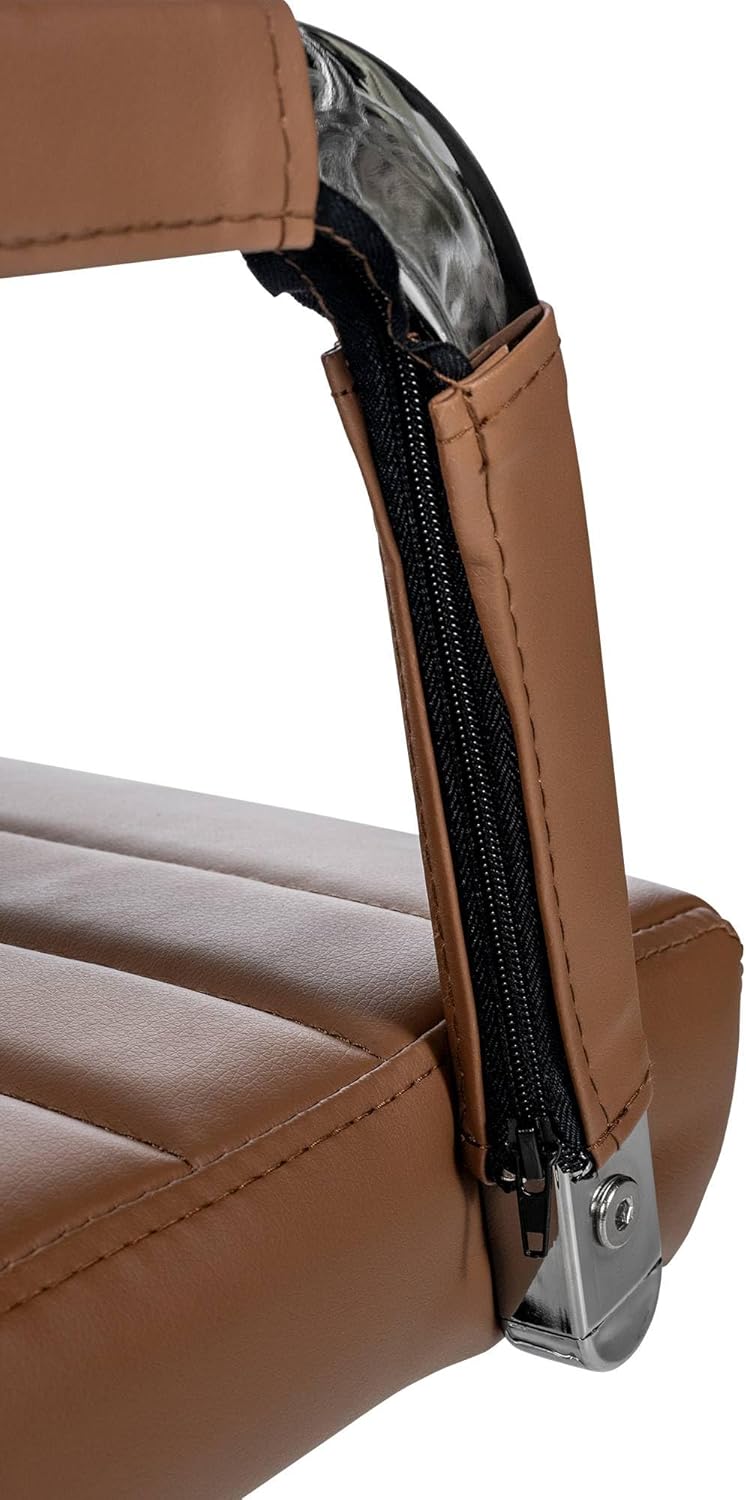
Image: Detail of the armrest, showing the faux leather upholstery.
6.2. General Care
- Avoid prolonged exposure to direct sunlight to prevent fading and material degradation.
- Keep sharp objects away from the upholstery to prevent punctures or tears.
- Regularly check and tighten all screws and bolts to ensure stability and safety.
7. Troubleshooting
7.1. Chair Does Not Adjust Height
- Ensure the gas lift lever is fully engaged.
- Check if the gas lift cylinder is properly seated in the mechanism plate and star base.
7.2. Chair Wobbles
- Verify that all assembly screws are securely tightened.
- Ensure the casters are fully inserted into the star base.
7.3. Casters Not Rolling Smoothly
- Check for any debris (hair, lint) caught in the caster wheels and remove them.
- Ensure casters are properly installed.
8. Specifications
| Brand | CLP |
| Model Number | 310491 |
| Material | Faux Leather, Chrome-plated metal frame |
| Color | Light Brown |
| Total Height | 98 - 106 cm (adjustable) |
| Total Width | 51 cm |
| Total Depth | 63 cm |
| Seat Height | 43 - 51 cm (adjustable) |
| Seat Surface (W x D) | 46 x 49 cm |
| Backrest Height | 58 cm |
| Armrest Height | 19 cm |
| Maximum Load Capacity | 120 kg (265 lbs) |
| Item Weight | 11 kg (24.25 lbs) |
| Special Features | Ergonomic design, Height adjustable, 360° Swivel, Padded, Casters |

Image: Detailed dimensions of the CLP Amadora office chair.

Image: Graphic representation of the chair's 120 kg maximum load capacity.
9. Warranty Information
This product comes with a standard manufacturer's warranty against defects in materials and workmanship. Please refer to your purchase documentation or contact customer support for specific warranty terms and conditions.
10. Customer Support
For further assistance, questions, or to report any issues, please contact CLP customer support through the retailer where you purchased the product or visit the official CLP website for contact details.
Please have your model number (310491) and purchase date ready when contacting support.