
1. Introduction
Thank you for choosing the WindGallop Portable Tire Inflator LD-1689. This device is designed for convenient and efficient inflation of various items, including car tires, motorcycle tires, bicycle tires, and sports balls. Featuring a powerful 90-watt motor, a 7800mAh built-in battery, and a maximum pressure of 150 PSI, it offers fast inflation and automatic shut-off for precise pressure control. Its compact design and LED display make it an essential tool for on-the-go tire maintenance.
2. Important Safety Warnings
Please read and understand all safety instructions before use to prevent injury or damage.
- This product is not designed for large trucks or vehicles with high-pressure tires.
- Do not leave the inflator unattended during operation.
- Avoid continuous operation for more than 10 minutes. Allow the device to cool down for at least 20 minutes after each 10-minute use to prevent overheating.
- Ensure the air hose is securely connected to the valve stem before inflation to prevent air leakage.
- Keep out of reach of children.
- Do not expose the device to rain or moisture.
- The air hose may become hot during use. Handle with care.

Image: A page from the instruction manual showing safety warnings in multiple languages and a diagram of the product.
3. Package Contents
Verify that all items are present in the package:
- WindGallop Portable Tire Inflator LD-1689
- Inflatable tube (air hose)
- 4 x Various inflation nozzles/accessories (e.g., needle valve for balls, cone adapters)
- Type-C charging cable
- Storage bag
- Instruction manual

Image: The WindGallop portable tire inflator shown with its air hose, various nozzles, and charging cable.
4. Product Overview
Familiarize yourself with the components of your WindGallop Portable Tire Inflator:
- Digital LED Display: Shows real-time pressure, preset pressure, battery level, and selected mode.
- Control Buttons: Power button, mode selection button, and pressure adjustment buttons (+/-).
- Air Hose Connection Port: Where the inflatable tube connects.
- LED Light: Located on the top for illumination.
- Type-C Charging Port: For recharging the internal battery.
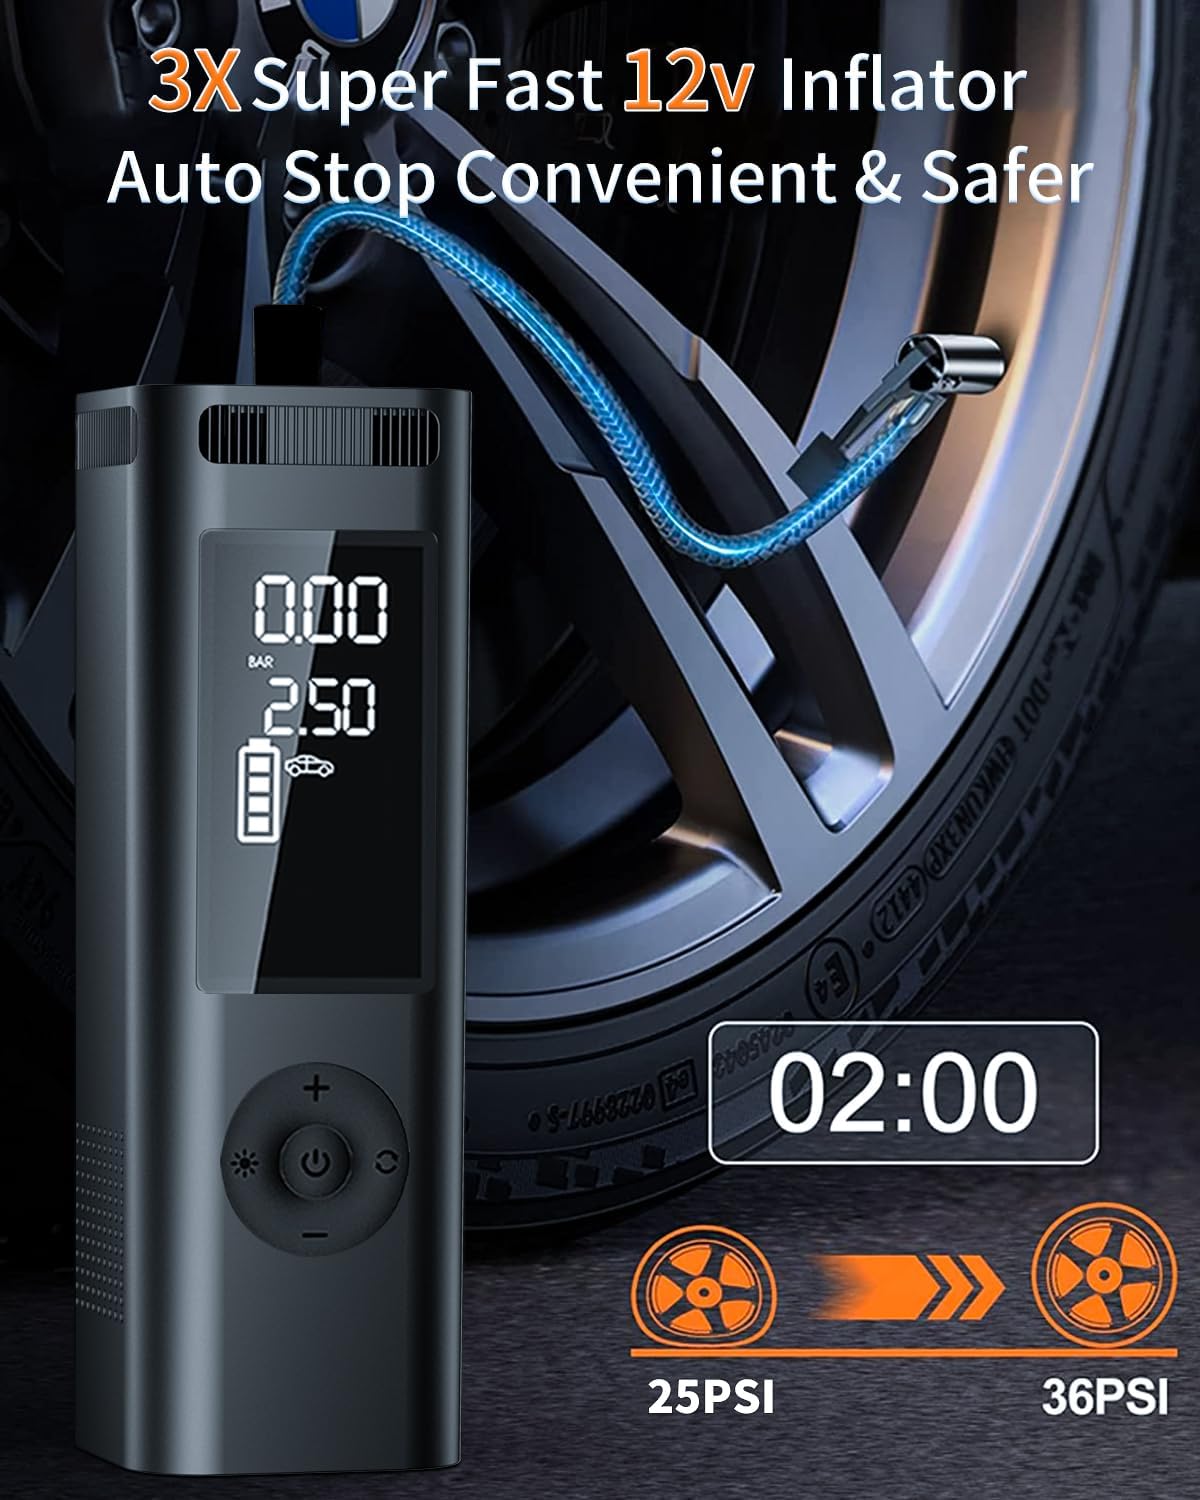
Image: A detailed view of the inflator's digital screen displaying pressure readings and battery status, along with the control buttons.
5. Setup and Initial Use
5.1 Charging the Device
Before first use, fully charge the tire inflator. Connect the provided Type-C charging cable to the charging port on the device and to a suitable USB power adapter (not included). The battery indicator on the LED display will show charging progress. A full charge typically takes 2-4 hours.

Image: The portable tire inflator connected via USB-C, illustrating its charging capability and potential use as a power bank, alongside its lighting functions.
5.2 Attaching the Air Hose and Nozzle
- Screw the inflatable tube (air hose) securely onto the air hose connection port of the inflator.
- Select the appropriate nozzle for the item you wish to inflate. For car and motorcycle tires, the standard Schrader valve connector on the air hose is typically used. For bicycles or balls, attach the corresponding adapter to the air hose.
6. Operating Instructions
6.1 Powering On and Connecting
- Press and hold the power button (Power Button) to turn on the inflator. The LED display will illuminate.
- Connect the air hose securely to the valve stem of the item you intend to inflate. The display will show the current pressure reading.

Image: The portable inflator connected to a car tire, demonstrating its use for tire inflation with a timer and pressure display.
6.2 Selecting Inflation Mode and Pressure Unit
- Press the mode selection button (Mode Button) to cycle through the 5 preset inflation modes: Car, Motorcycle, Bike, Ball, and Custom. Each mode has a default pressure value.
- To change the pressure unit (PSI, BAR, KPA, kg/cm²), press and hold the mode selection button (Mode Button) for a few seconds.

Image: The inflator's display showing different preset modes and pressure units for cars, motorcycles, bicycles, and balls, highlighting its versatility.
6.3 Setting Desired Pressure
After selecting a mode, use the + and - buttons to adjust the target pressure. The display will show the preset value. Refer to your vehicle's manual or the item's specifications for recommended pressure levels.
6.4 Starting and Stopping Inflation
- Once the desired pressure is set, press the power button (Power Button) to start inflation. The inflator will begin pumping air, and the real-time pressure will be displayed.
- The inflator will automatically stop when the preset pressure is reached.
- To manually stop inflation at any time, press the power button (Power Button) again.
- Carefully disconnect the air hose from the valve stem.

Image: A three-step visual guide demonstrating how to connect the inflator, select a mode, and start inflation.
6.5 Using the LED Light
Press the light button (Light Button) to turn on the LED light. Press again to cycle through different light modes (e.g., steady light, flashing, SOS). This feature is useful for nighttime use or emergencies.
7. Maintenance
- Cleaning: Wipe the device with a soft, dry cloth. Do not use harsh chemicals or abrasive cleaners.
- Storage: Store the inflator and its accessories in the provided storage bag in a cool, dry place, away from direct sunlight and extreme temperatures.
- Battery Care: To prolong battery life, charge the device at least once every three months, even if not in use.
8. Troubleshooting
| Problem | Possible Cause | Solution |
|---|---|---|
| Inflator does not turn on. | Low battery or no charge. | Charge the device fully using the Type-C cable. |
| No air is being pumped. | Air hose not securely connected; nozzle blocked; incorrect mode selected. | Ensure all connections are tight. Check for obstructions in the nozzle. Verify the correct inflation mode is selected. |
| Device overheats and shuts off. | Continuous operation for too long. | Allow the inflator to cool down for at least 20 minutes before resuming use. Avoid continuous operation exceeding 10 minutes. |
| Inaccurate pressure reading. | Loose connection to valve stem. | Ensure the air hose is tightly screwed onto the valve stem. |
9. Specifications
- Model: LD-1689
- Maximum Pressure: 150 PSI
- Battery Capacity: 7800mAh (3 x 2600mAh Lithium Ion batteries)
- Rated Power: 90 Watts
- Voltage: 12 Volts (DC)
- Charging Interface: Type-C
- Noise Level: 75 dB
- Special Features: Cordless, LED Light, Portable, Automatic Stop
- Dimensions: Approximately 170mm x 64mm x 46mm

Image: The portable inflator emphasizing its cordless operation, ease of use, and compact size compared to traditional corded compressors.
10. Warranty and Support
WindGallop provides a one-year guarantee from the date of purchase for this product. If you encounter any issues or require assistance, please contact our customer service team.
Contact Information:
- Manufacturer: Dongguan Lingdu Industrial Co., Ltd.
- Email: windgallop@163.com
- Manufacturer Address: No. 5 Yongchang Road, Dongshan, Qishi Town, Dongguan City, Guangdong Province, China
For UK and EU customers, please refer to the specific representative contact details provided on the product packaging or included documentation for localized support.

Image: The product packaging displaying manufacturer details and contact information for UK and EU representatives.