Introduction
Welcome to your Mudder Mini Replacement Light Bulbs manual. These bulbs are designed for replacing burnt-out incandescent bulbs in Christmas tree lights, wreaths, and garlands. Please read these instructions carefully before use to ensure proper installation and safe operation.
Safety Information
- Always unplug the light set from the power source before replacing any bulbs.
- Do not attempt to replace bulbs while the light set is powered on.
- Ensure replacement bulbs match the voltage and wattage specifications of your existing light string to prevent overheating or damage.
- Keep bulbs out of reach of children.
- Handle glass bulbs with care to avoid breakage.
Package Contents
- 50 x Mudder 2.5V 0.17A 0.425W Incandescent Mini Replacement Light Bulbs (Green/Clear)
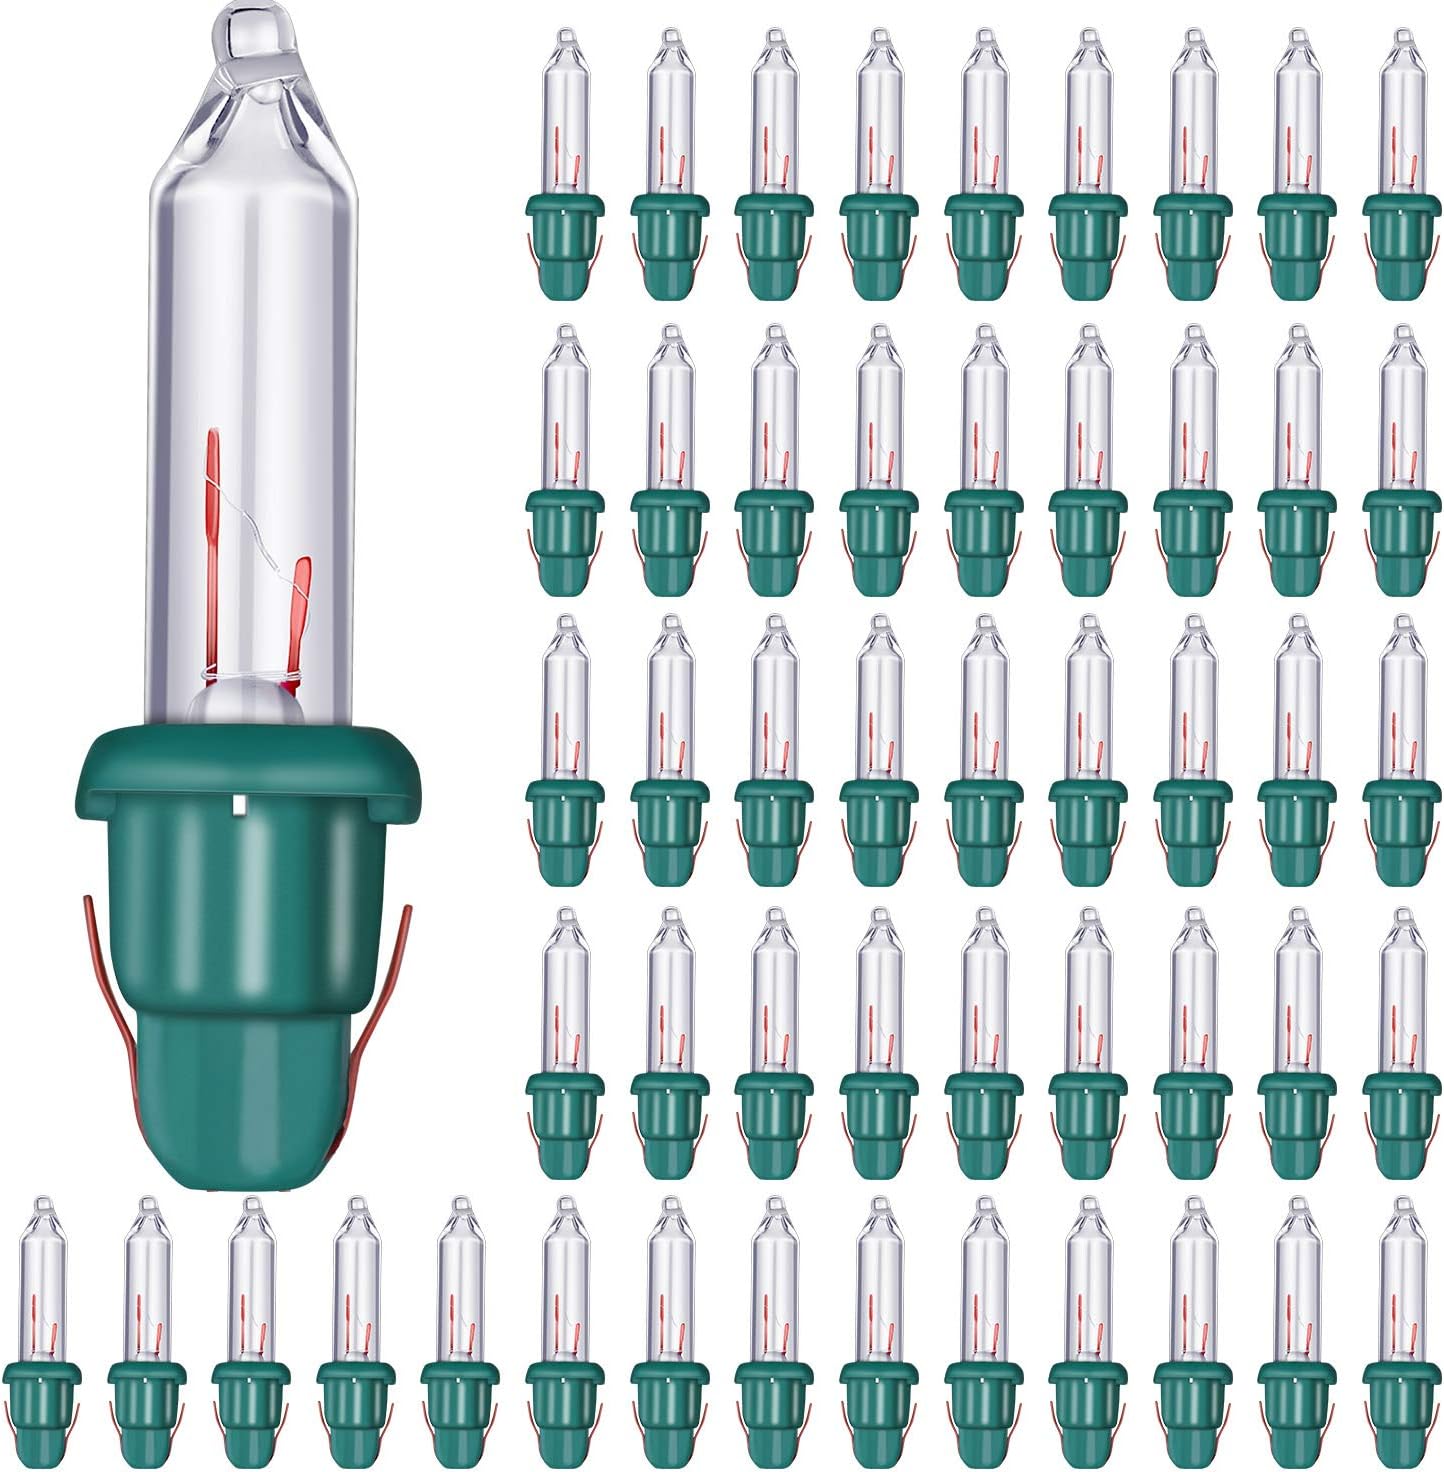
Image: A pack of 50 Mudder mini replacement light bulbs, featuring clear glass bulbs with green plastic bases.
Specifications
| Feature | Detail |
|---|---|
| Brand | Mudder |
| Light Type | Incandescent |
| Voltage | 2.5 Volts |
| Wattage | 0.425 Watts |
| Ampere | 0.17 Ampere |
| Bulb Length | 1.06 inch (2.7 cm) |
| Bulb Diameter | 0.2 inch (0.5 cm) |
| Base Length | 0.43 inch (1.1 cm) |
| Base Width (inserted part) | 0.3 inch (0.6 cm) |
| Material | Plastic, Copper, Glass |
| Usage | Indoor/Outdoor (as per original light string rating) |

Image: Detailed measurements of the bulb and its green base, indicating dimensions in centimeters and inches.
Setup and Installation
Identifying Correct Bulb Specifications
Before replacing bulbs, verify the voltage and wattage of your light string. This information is typically found on a tag near the plug or on the light string itself. It is crucial to match these specifications to prevent overheating or damage to your light set.
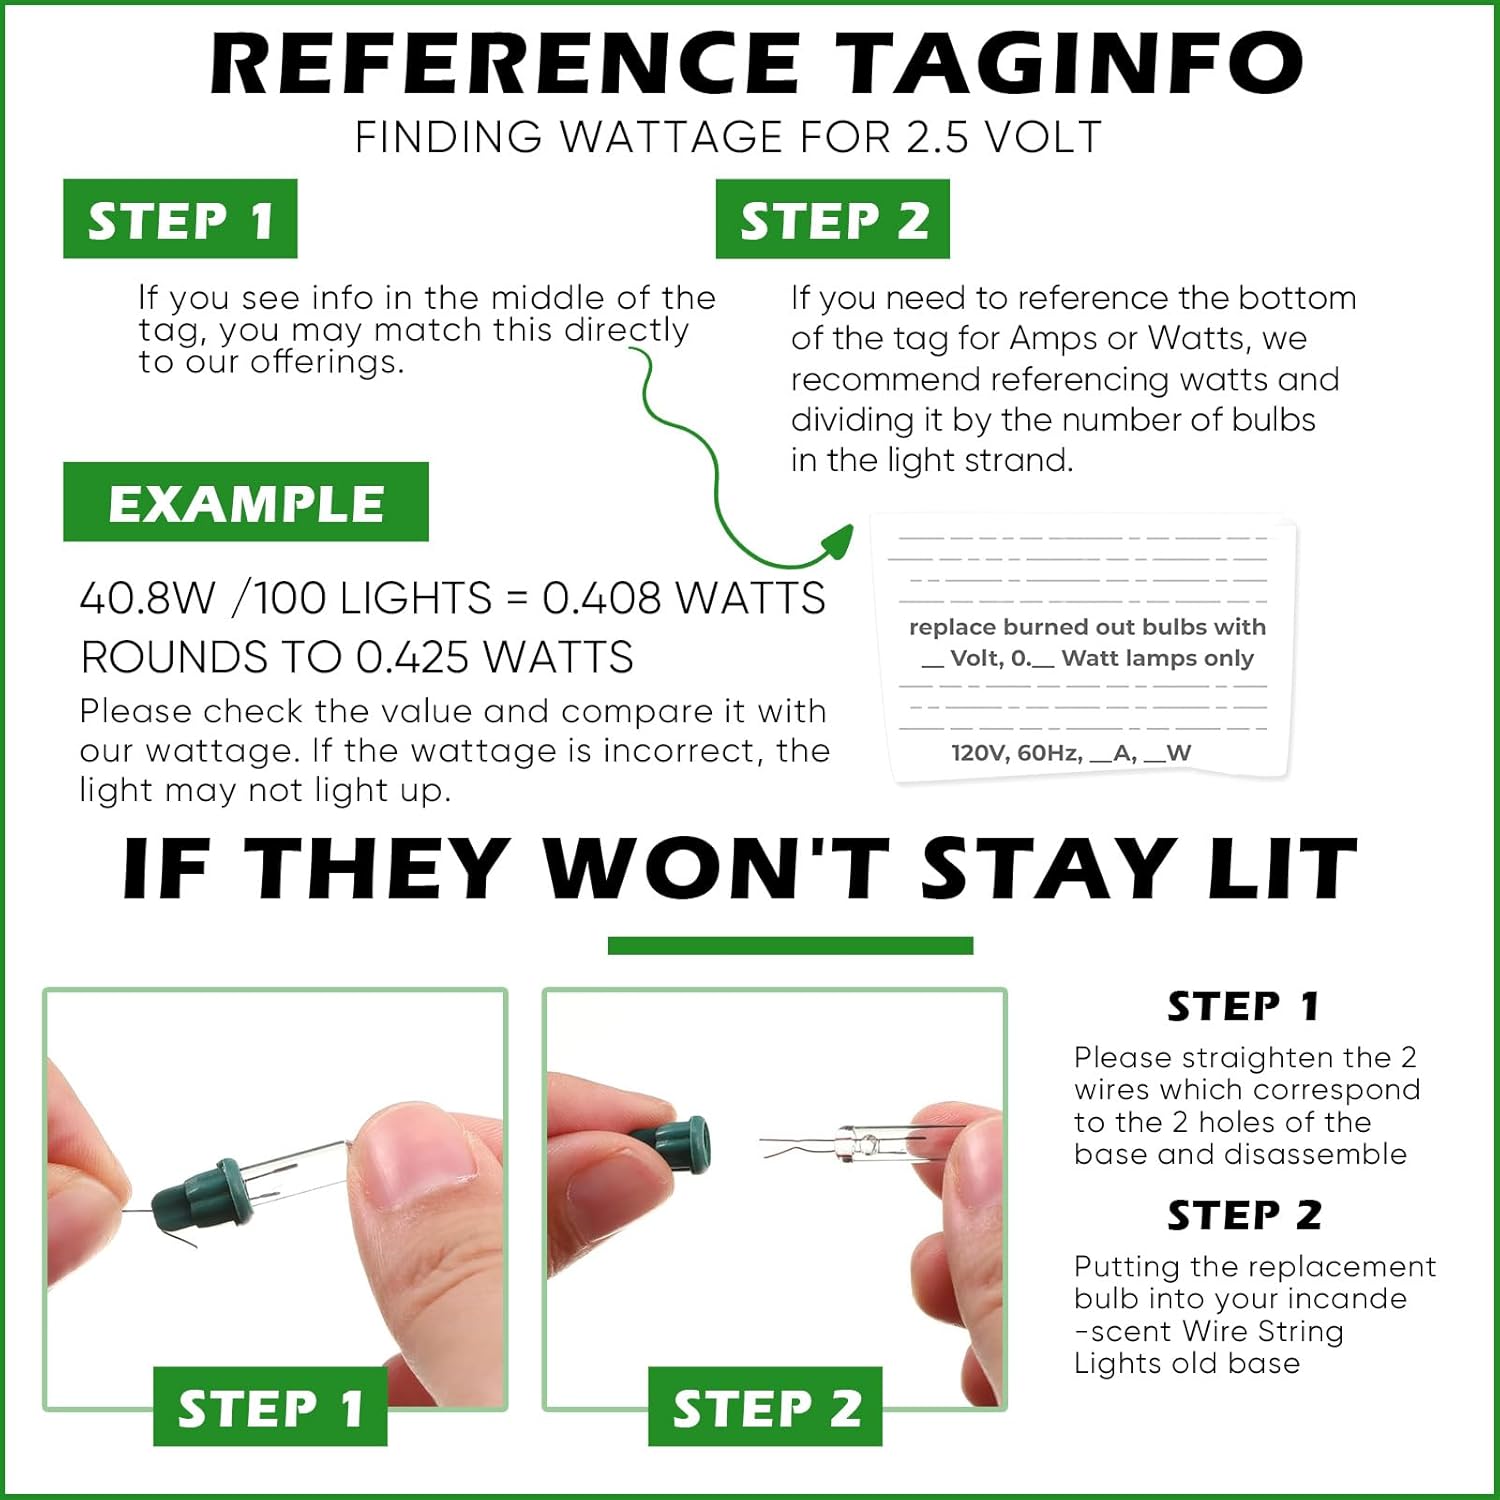
Image: A guide on referencing the wattage from a light string's tag, showing an example calculation for 2.5V bulbs.
Replacing a Bulb
- Unplug the Light Set: Ensure the light string is completely unplugged from any power source.
- Remove the Old Bulb: Gently pull out the broken or burnt-out bulb from its base. Discard the old bulb and its base.
- Prepare the New Bulb: Check that the two wires of the new bulb are properly positioned on either side of the base. Ensure they do not cross or touch each other.
- Insert the New Bulb: Insert the new replacement bulb into the empty socket at a right angle. Push it in completely until it is securely seated.
- Test: Plug the light set back into a power source to confirm the new bulb illuminates correctly.

Image: Step-by-step visual guide on straightening bulb wires and inserting a new bulb into an old base if the new base doesn't fit.
Important Considerations:
- If the plastic housing of the new bulb does not match your light string, carefully remove the glass bulb from its new base and insert it into your original plastic housing. Ensure the wires are correctly positioned.
- If bulbs do not stay lit, ensure the wires are straight and fully inserted into the base, and that the base is firmly seated in the socket.
Video: A demonstration by Honoson showing the process of replacing incandescent mini light bulbs, including handling the bulbs and bases.
Operating Instructions
These replacement bulbs are designed to function identically to the original incandescent bulbs in your Christmas light strings. Once installed correctly, they will illuminate when the light string is powered on.
The bulbs are dimmable if your light string and power source support dimming functionality.

Image: A close-up of a single Mudder replacement bulb integrated into a lit Christmas tree, demonstrating its operational appearance.
Maintenance
- Storage: Store unused replacement bulbs in a cool, dry place, away from direct sunlight and moisture.
- Cleaning: If necessary, gently wipe the glass bulbs with a dry, soft cloth. Do not use liquid cleaners.
- Prompt Replacement: To reduce the risk of overheating and ensure the longevity of your light string, replace burnt-out lamps promptly.
Troubleshooting
Bulb Does Not Light Up
- Check Power: Ensure the light string is securely plugged into a working power outlet.
- Verify Installation: Confirm the bulb is fully inserted into its base and the base is firmly seated in the light string socket. Ensure the two wires of the bulb are not crossed or touching.
- Correct Specifications: Double-check that the replacement bulb's voltage and wattage match the requirements of your light string. Incorrect specifications can prevent the bulb from lighting or cause damage.
- Check Other Bulbs: In series-connected light strings, one burnt-out bulb can cause a section or the entire string to go out. Replace all burnt-out bulbs.

Image: Correct wire placement in a bulb base, indicated by a green checkmark.

Image: Incorrect wire placement in a bulb base, indicated by a red 'X', showing wires crossed or not properly seated.
Bulb is Dim
- Wattage Mismatch: If the replacement bulb has a lower wattage than the original, it may appear dimmer. Ensure you are using bulbs with the correct wattage (0.425W for this model).
- Voltage Fluctuation: Inconsistent power supply can affect brightness.
Bulb Does Not Fit Securely
- Base Compatibility: While these bulbs come with a standard base, some light strings may have slightly different base designs. If the new base does not fit, carefully remove the glass bulb from its new base and insert it into your original plastic housing.
- Wire Alignment: Ensure the wires are straight and properly aligned when inserting the bulb into the base or socket.
Warranty and Support
For warranty information or customer support, please refer to the product packaging or contact Mudder customer service directly through their official website or the retailer where the product was purchased. Please have your product model number (Mudder 2.5V 0.17A 0.425W Incandescent Mini Replacement Light Bulbs) and purchase details available.