Introduction
The Palram Greenhouse Heater is designed to provide efficient and controlled heating for your greenhouse, ensuring optimal growing conditions for your plants. With a powerful 2400W output and digital thermostat control, it helps maintain a stable temperature, protecting your plants from cold weather. This manual provides essential information for safe operation, setup, and maintenance.
Safety Instructions
Please read and understand all safety instructions before operating this appliance. Failure to follow these instructions may result in electric shock, fire, or serious injury.
- Always ensure the heater is connected to a properly grounded electrical outlet.
- Do not operate the heater with a damaged cord or plug. If the cord is damaged, it must be replaced by the manufacturer, its service agent, or similarly qualified persons to avoid a hazard.
- Do not immerse the heater or its electrical components in water. The heater unit has an IPX4 rating, meaning it is protected against splashing water from any direction. The external temperature sensor has an IP65 rating, offering protection against dust and low-pressure water jets.
- Maintain a minimum clearance of 1 meter (3 feet) around the heater to ensure proper ventilation and prevent fire hazards.
- Do not use the heater near flammable liquids, gases, or materials.
- Always unplug the heater before cleaning or performing any maintenance.
- This appliance is not intended for use by persons (including children) with reduced physical, sensory or mental capabilities, or lack of experience and knowledge, unless they have been given supervision or instruction concerning use of the appliance by a person responsible for their safety.
- The heater is equipped with an automatic safety cutoff that will switch off the unit in case of overheating. The unit will reset once it has cooled down.
Package Contents
Verify that all components are present and undamaged upon unpacking:
- Palram Greenhouse Heater Unit
- Digital Thermostat Controller
- External Temperature Sensor with 1.5m cable
- Instruction Manual (this document)

Image: Main heater unit with the digital thermostat and external temperature sensor.
Setup
Follow these steps to set up your Palram Greenhouse Heater:
- Placement: Place the heater on a stable, level surface in your greenhouse. Ensure it is not directly exposed to water spray and maintains the recommended clearance from walls, plants, and other objects.
- Connect Thermostat: Plug the heater's power cord into the output socket of the digital thermostat controller.
- Connect Temperature Sensor: Plug the external temperature sensor into the designated port on the digital thermostat controller.
- Position Sensor: Position the external temperature sensor in the greenhouse where you want to measure the ambient temperature. Avoid placing it in direct sunlight or near heat sources that could skew readings. The 1.5m cable allows for flexible placement.
- Power Connection: Plug the digital thermostat controller's power cord into a grounded 240V electrical outlet.

Image: Detailed view of the digital thermostat connections for the heater and temperature sensor.

Image: Example of the digital thermostat and temperature sensor placement within a greenhouse environment.
Operating Instructions
The Palram Greenhouse Heater offers both heating and ventilating functions, controlled via the unit and the digital thermostat.
Heater Unit Controls
The heater unit features two rotary knobs:
- Power Selector: This knob allows you to select the heating power output. Options typically include Off (0), Fan Only (fan symbol), and two heating levels (e.g., 1.5kW and 2.4kW).
- Thermostat Dial (Internal): This dial sets the desired temperature for the heater's internal thermostat. When using the external digital thermostat, set this dial to its maximum setting to allow the external thermostat to control the heating cycle.

Image: The two control knobs on top of the heater unit for power selection and internal temperature setting.
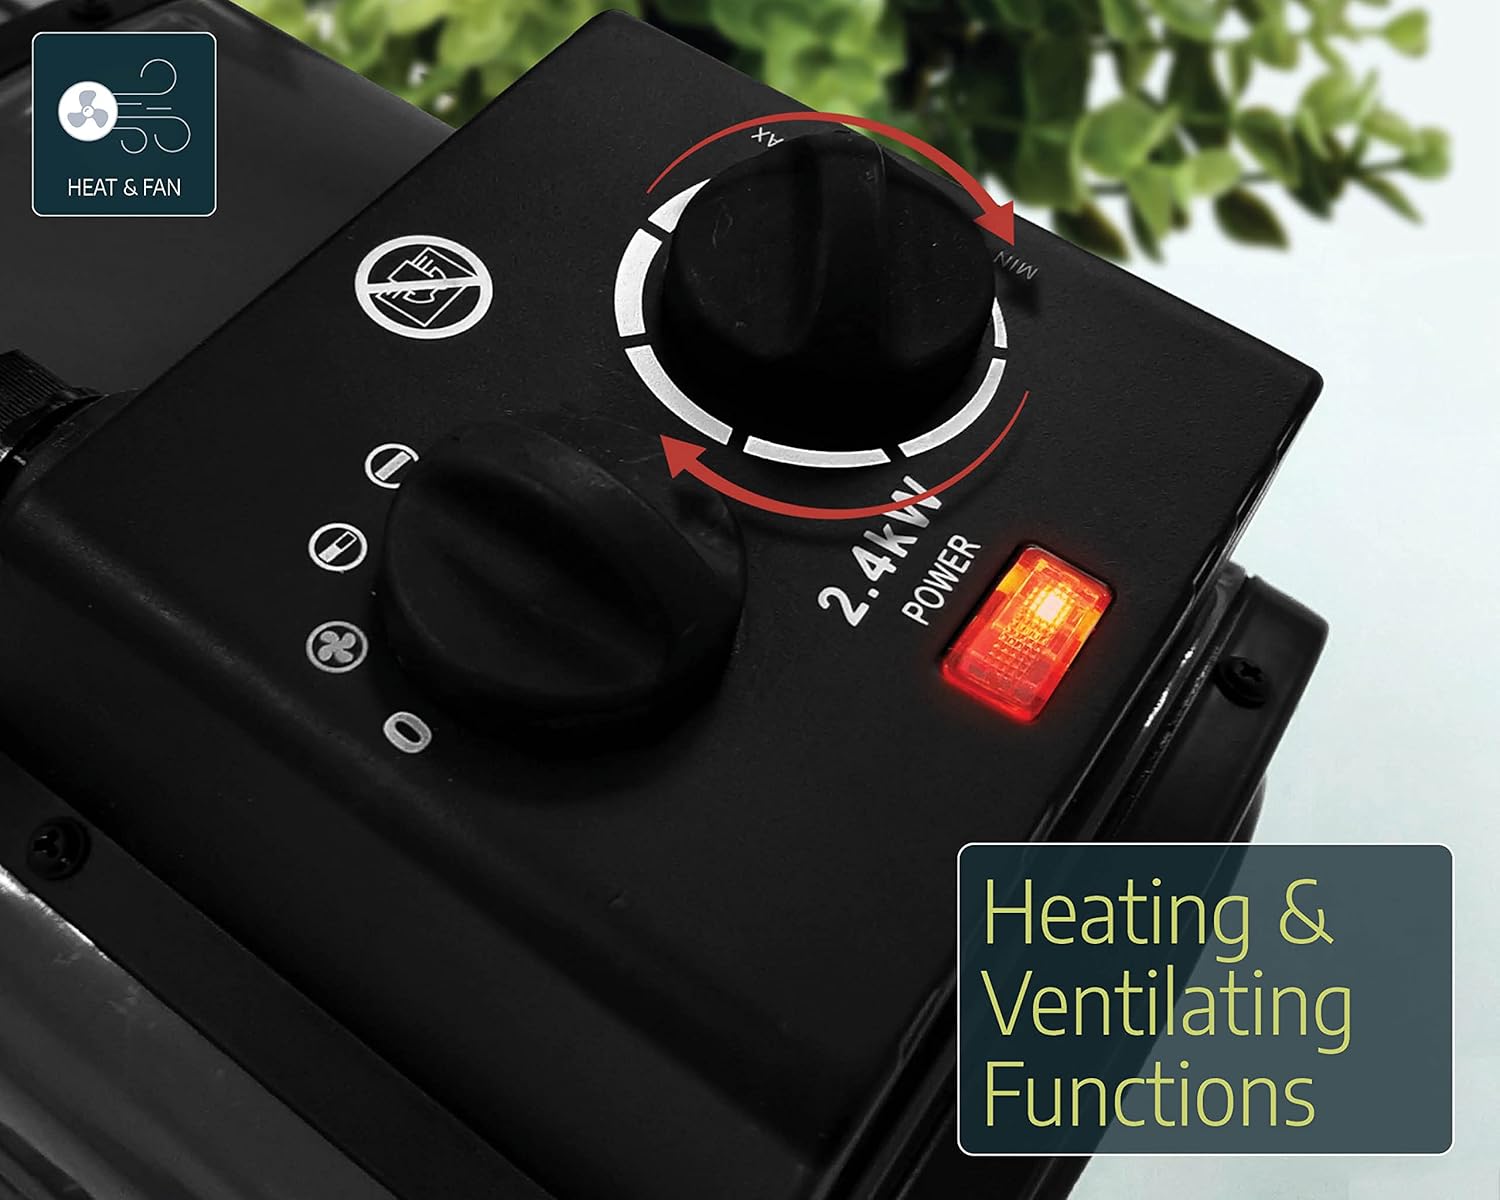
Image: The heater unit indicating its dual functionality for heating and ventilation.
Digital Thermostat Controller
The digital thermostat provides precise temperature control for your greenhouse.
- Power On: Ensure the thermostat is plugged into the main power supply and the heater is connected to the thermostat's output.
- Set Desired Temperature (SV): Use the 'SET' button and arrow keys (up/down) on the digital thermostat to adjust the desired temperature (Set Value, SV). The display will show the current temperature (Process Value, PV) and the set temperature (SV).
- Heating/Cooling Mode: The thermostat can be configured for heating or cooling. For greenhouse heating, ensure it is set to heating mode. Refer to the thermostat's specific manual for detailed mode configuration.
- Operation: The heater will automatically turn on when the ambient temperature (PV) drops below your set temperature (SV) and turn off when the temperature reaches or exceeds the SV.
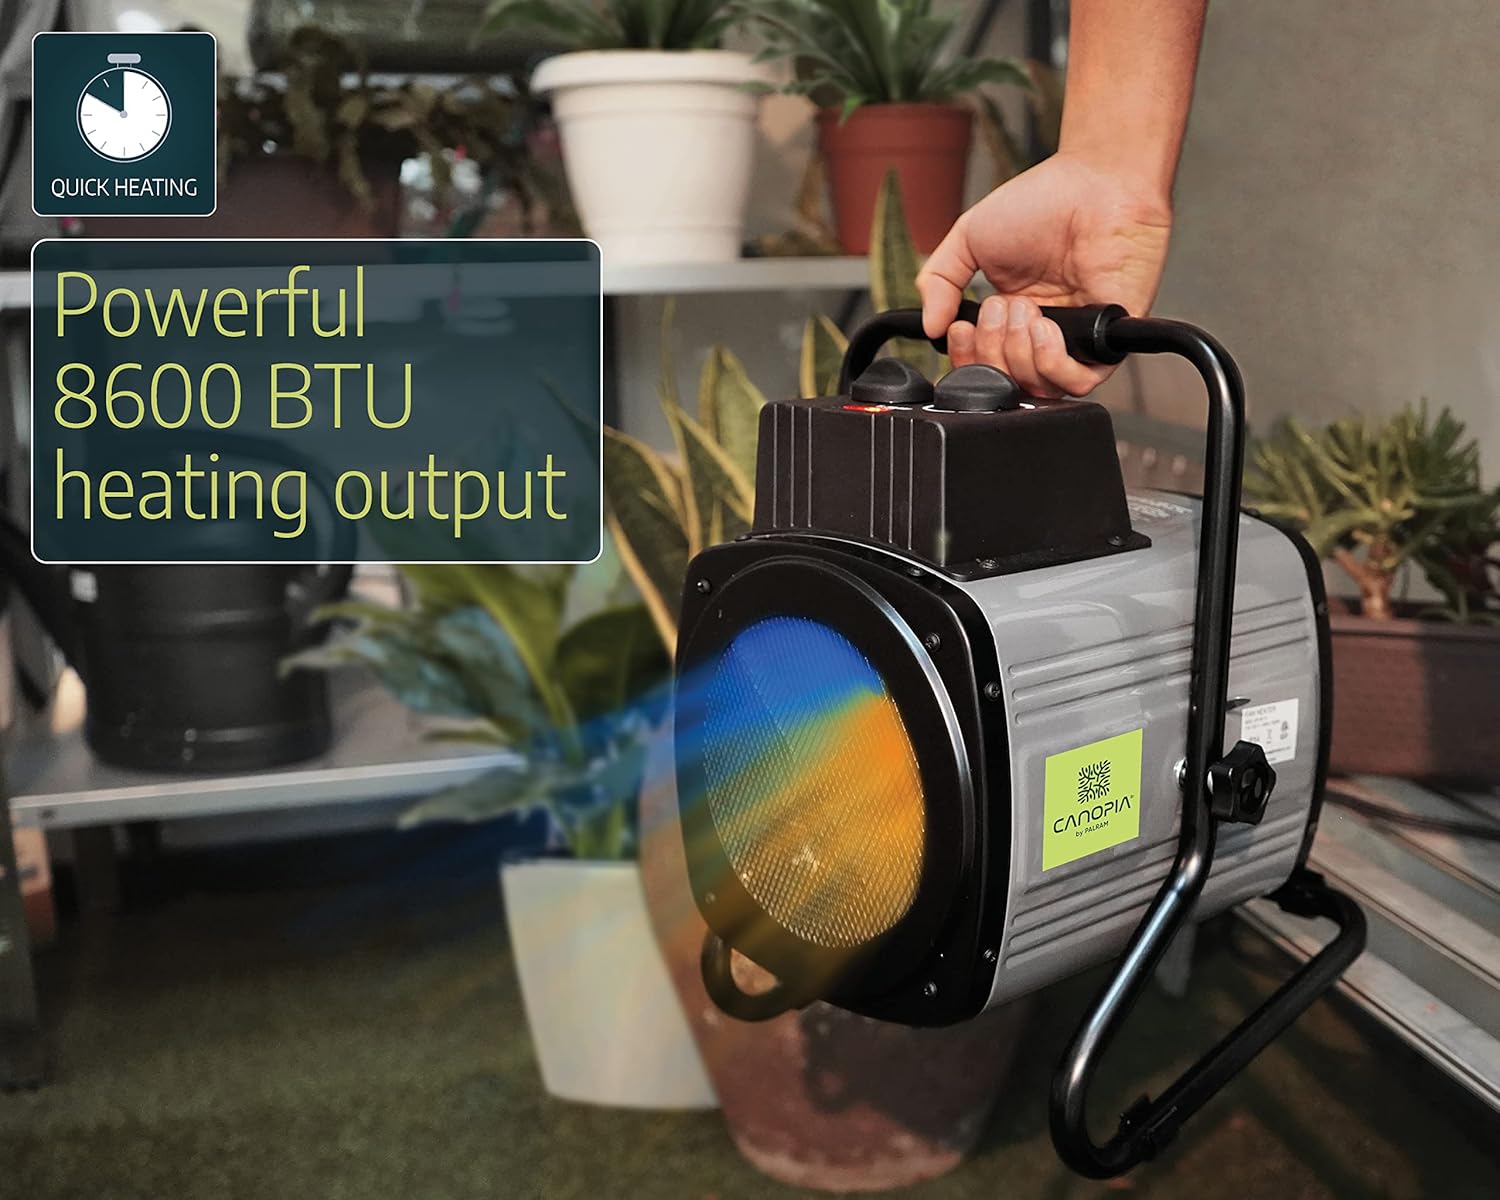
Image: A user adjusting the control knobs on the heater unit.
Maintenance
Regular maintenance ensures the longevity and efficient operation of your heater.
- Cleaning: Before cleaning, always unplug the heater from the power source. Use a soft, damp cloth to wipe down the exterior of the heater. Do not use abrasive cleaners or solvents. Ensure no water enters the electrical components.
- Dust Removal: Periodically check the air intake and output grilles for dust or debris accumulation. Use a soft brush or vacuum cleaner to gently remove any blockages.
- Storage: When not in use for extended periods, store the heater in a dry, cool place, protected from dust and moisture.
Troubleshooting
If you encounter issues with your Palram Greenhouse Heater, refer to the following common problems and solutions:
| Problem | Possible Cause | Solution |
|---|---|---|
| Heater not turning on | No power supply; Thermostat set too high; Overheating protection activated; Heater power switch off. | Check power outlet and connections; Lower the set temperature on the digital thermostat; Allow unit to cool down and reset; Ensure heater power switch is set to a heating mode. |
| Heater runs continuously | Thermostat set too low; External temperature sensor incorrectly placed or faulty. | Increase the set temperature on the digital thermostat; Reposition sensor away from cold drafts or direct contact with cold surfaces; Contact support if sensor is suspected faulty. |
| Inaccurate temperature reading | External temperature sensor improperly placed. | Ensure sensor is in a representative area of the greenhouse, away from direct sunlight, drafts, or the heater's direct output. |
| Heater emits unusual noise or smell | Dust accumulation; Internal component issue. | Unplug immediately and clean the unit. If problem persists, discontinue use and contact customer support. |
Specifications
| Brand | Palram (CANOPIA) |
| Model Number | 705776 |
| Power Output | 2400 W |
| Voltage | 240 Volts |
| Airflow Capacity | 233 m³/h |
| Recommended Heating Area | Up to 18 m² |
| Material | Aluminum |
| Product Dimensions | 36 x 26 x 30 cm |
| Product Weight | 5 kg |
| Heater Protection Rating | IPX4 (Splash-proof) |
| Sensor Protection Rating | IP65 (Dust-tight, protected against low-pressure water jets) |
| Features | Digital thermostat control, External temperature sensor (1.5m cable), Automatic safety cutoff. |
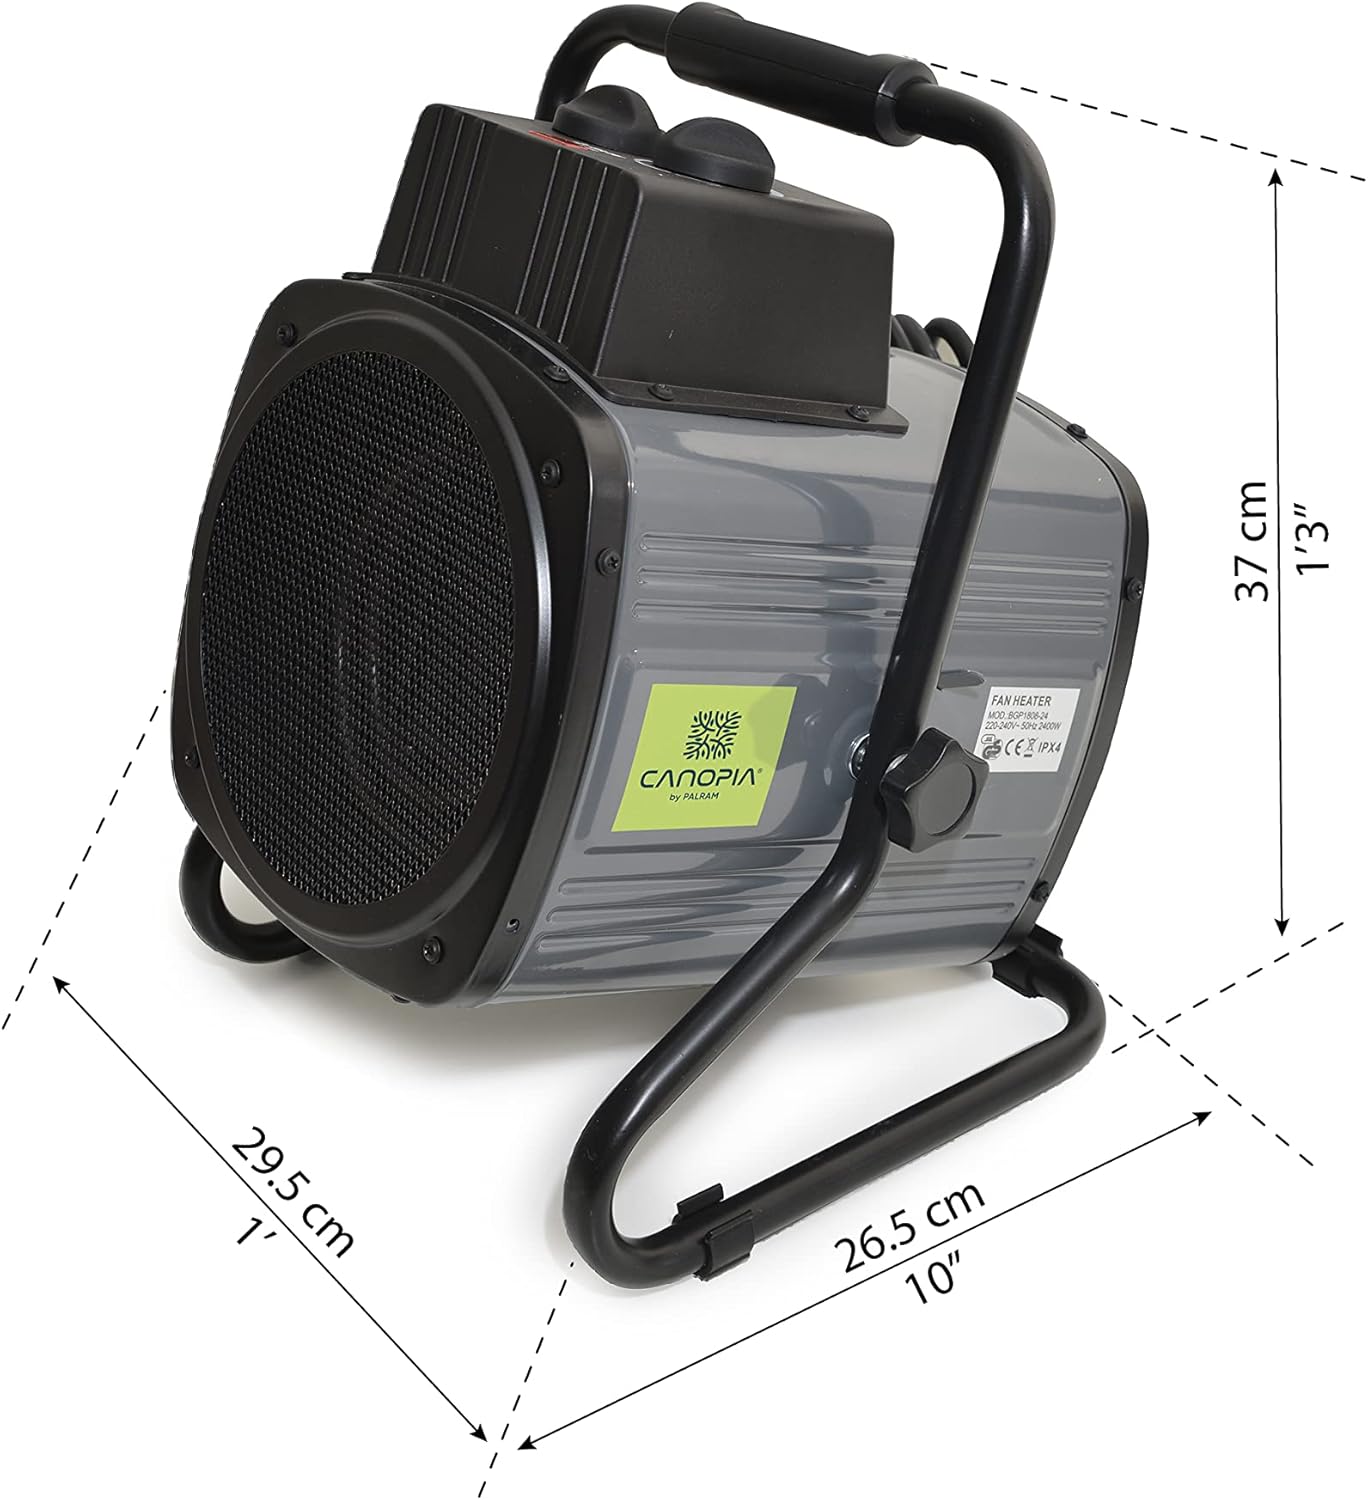
Image: Dimensions of the Palram Greenhouse Heater unit.
Warranty and Support
For warranty information or technical support, please refer to the documentation provided with your purchase or contact Palram customer service directly. Keep your proof of purchase for warranty claims.