1. Introduction
This manual provides detailed instructions for the installation, operation, and maintenance of your TOTMOX 12V Car Heater LCD Switch Controller with 4 Button Remote Control. This device is designed for universal compatibility with car heater air diesel heaters and parking heaters, offering precise control over fuel, electricity, and temperature settings. Please read this manual thoroughly before use to ensure proper function and safety.
2. Safety Information
- Always ensure the power supply matches the device's requirements (12V).
- Do not attempt to modify or disassemble the controller or remote control.
- Keep the device away from water, extreme temperatures, and direct sunlight.
- Ensure all connections are secure and properly insulated to prevent short circuits.
- Consult a qualified technician if you are unsure about any installation steps.
3. Package Contents
Verify that all items are present in your package:
- 1 x LCD Switch Controller
- 1 x 4-Button Remote Control
- Connection Cable (integrated with controller)

Image 3.1: The LCD Switch Controller and its accompanying 4-button remote control.
4. Product Overview
4.1 LCD Switch Controller
The LCD Switch Controller features a clear display for monitoring and adjusting heater settings. It includes buttons for navigation and confirmation, as well as a power button. The integrated cable connects directly to your diesel air heater system.

Image 4.1: The LCD Switch Controller showing its display and connection cable.
4.2 4-Button Remote Control
The remote control allows for convenient operation of your heater from a distance. It typically features buttons for power on/off, heating, and defrosting functions. The remote is designed to be compact and portable, often with a keychain attachment.
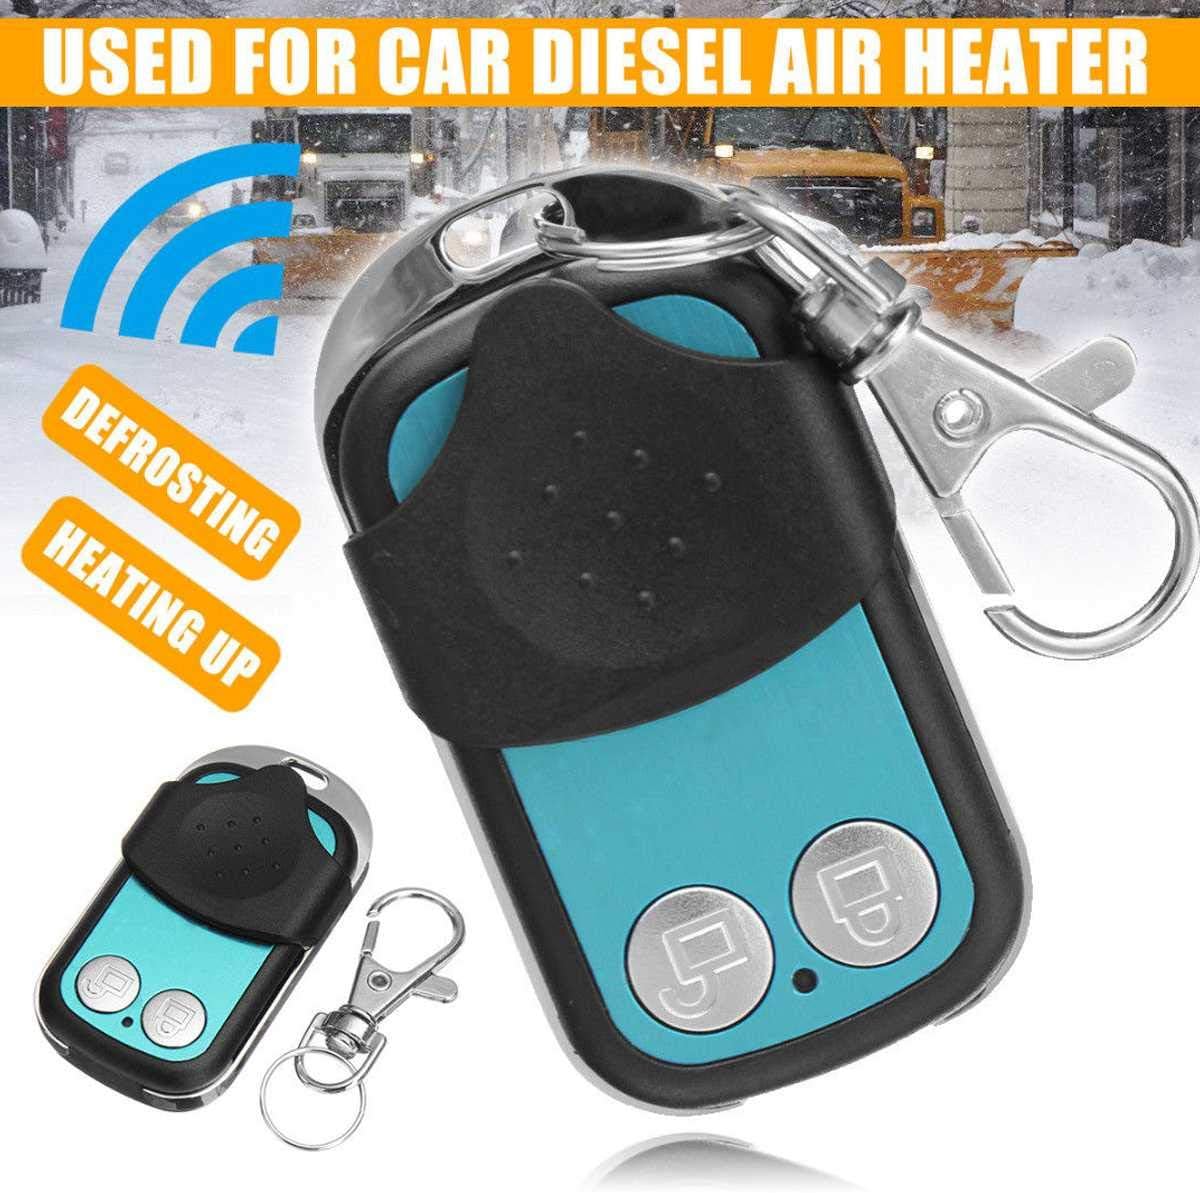
Image 4.2: The 4-button remote control, highlighting its compact design and functionality for car diesel air heaters.
5. Setup
5.1 Installation of the LCD Controller
- Mounting: Choose a suitable location for the LCD controller within your vehicle, ensuring it is easily accessible and visible.
- Connection: Connect the controller's cable to the corresponding port on your car diesel air heater unit. Ensure the connector is fully seated and secure. The controller is designed for 12V systems.
- Power: Verify that the heater unit is receiving proper 12V power.
5.2 Remote Control Pairing
To pair the remote control with the heater system:
- Ensure the heater system is in the OFF state.
- On the LCD controller, press the UP button first, then press and hold the OK/Confirmation button for more than 3 seconds.
- The LCD display should show 'HFA-' or enter a remote control pairing interface.
- While 'HFA-' is displayed, press any button on the 4-button remote control to initiate the pairing code transmission.
- Upon successful pairing, the system will exit the code interface and enter the boot state. If pairing fails, the system will not enter the boot state, and you may need to repeat the process. The system will automatically exit the pairing state if no remote signal is received within a timeout period.
6. Operating Instructions
6.1 Basic Operation via LCD Controller
The LCD controller allows for comprehensive management of your heater:
- Power On/Off: Use the power button (often indicated by a circle with a vertical line) to turn the heater on or off.
- Navigation: Use the UP and DOWN arrow buttons to navigate through menu options or adjust values.
- Confirmation: Press the OK button to confirm selections or enter sub-menus.
- Settings: You can arbitrarily set fuel, electricity, and temperature levels. The display provides real-time feedback on these settings.
- Timing Function: The controller supports setting a specific time for the heater to start or stop.
- Fuel Filling Manual Mode: This mode allows for manual control over the fuel pump for priming or specific fuel delivery needs.
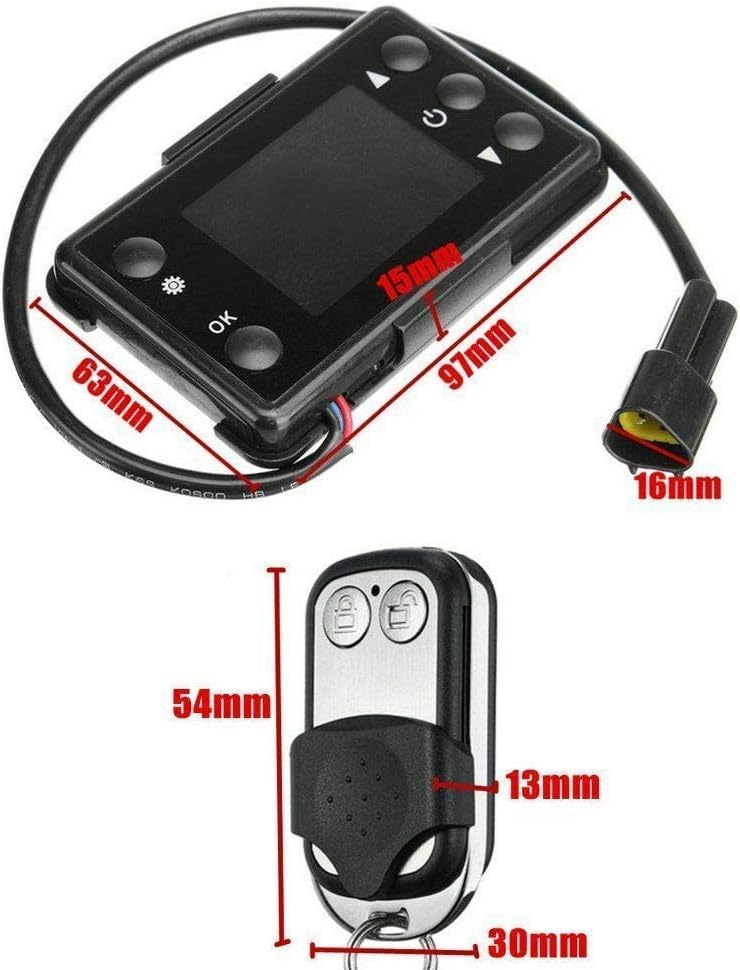
Image 6.1: The LCD display of the controller showing various settings and indicators.
6.2 Remote Control Operation
Once paired, the remote control provides convenient remote access to key functions:
- Power On/Off: Typically, one button controls the main power state of the heater.
- Heating/Defrosting: Other buttons may activate specific modes like heating or defrosting, depending on the remote's design.
7. Maintenance
- Cleaning: Wipe the LCD controller and remote control with a soft, dry cloth. Avoid using abrasive cleaners or solvents.
- Connections: Periodically check all cable connections to ensure they remain secure and free from corrosion.
- Remote Battery: If the remote control's range or responsiveness decreases, replace its internal battery (type typically CR2032 or similar, refer to remote for specifics).
- Storage: When not in use for extended periods, store the controller and remote in a dry, cool place.
8. Troubleshooting
Refer to the following table for common issues and their solutions:
| Problem | Possible Cause | Solution |
|---|---|---|
| Controller not powering on | No power to heater unit; loose connection; faulty controller. | Check heater's power supply; verify cable connections; test with another controller if available. |
| Remote control not working | Remote not paired; dead battery; out of range. | Perform remote pairing procedure (Section 5.2); replace remote battery; ensure remote is within operating range. |
| Error Code E-07 displayed | No communication with the heater's ECU (Electronic Control Unit). | Verify all wiring connections between the controller and the heater unit. Ensure the controller is compatible with your specific heater model. If the issue persists, the heater's ECU or the controller may be faulty. |
| Error Code P-08 displayed | Low voltage detected. | Check the vehicle's battery voltage and the power supply to the heater unit. Ensure there is no significant voltage drop during operation. |
| Inaccurate temperature readings | Faulty temperature sensor; sensor placement. | Ensure the heater's temperature sensor is clean and correctly positioned. If the problem persists, the sensor may need replacement. |
If you encounter issues not listed here or if the suggested solutions do not resolve the problem, please contact customer support.
9. Specifications
| Feature | Detail |
|---|---|
| Brand | TOTMOX |
| Model Number | mtx 7.5 |
| Input Voltage | 12V (compatible with 12/24V systems for some heaters) |
| Item Weight | 4.2 ounces |
| Product Dimensions | 7.87 x 6.69 x 1.18 inches |
| Control Type | LCD Digital Switch with Remote Control |
| Functions | Fuel, electricity, temperature setting; Timing start/stop; Fuel filling manual mode. |
10. Warranty and Support
For warranty information or technical support, please refer to the documentation provided with your original heater unit or contact the seller/manufacturer directly. Keep your purchase receipt as proof of purchase.
For further assistance, you may visit the TOTMOX Store on Amazon.